How to Create a Festive Eggnog for the Holidays
The holiday season is all about traditions, joy, and, of course, delicious treats. Among the plethora of holiday delights, eggnog stands out as a classic and quintessential holiday treat that embodies the spirit of the season. This creamy and comforting beverage, often spiked with a hint of liquor, is a favorite for many and a staple at holiday gatherings. But here’s a secret: making your very own festive eggnog at home is easier than you might think! Plus, homemade eggnog tastes way better than the store-bought versions. Here’s a simple guide on how to whip up a batch of festive eggnog that will impress your guests and elevate your holiday cheer.
Ingredients:
To get started, you’ll need the following ingredients:
– 4 large eggs (you’ll be using both yolks and whites separately)
– 1/3 cup of sugar, plus 1 tablespoon
– 2 cups of whole milk
– 1 cup of heavy cream
– 1/2 teaspoon of ground nutmeg
– 1 teaspoon of vanilla extract
– 3/4 cup of bourbon, rum, or brandy (optional but recommended for that festive kick)
– Additional nutmeg for garnish
Step-by-Step Guide:
Now, let’s dive into the simple steps to create your festive eggnog. Remember, the key to a great eggnog is patience and love.
Step 1: Separate Your Eggs
Crack your eggs carefully, separating the yolks from the whites. Put the yolks in one bowl and the whites in another. You’ll be using both, so make sure not to discard anything.
Step 2: Mix Yolks and Sugar
Take the yolks and beat them with 1/3 cup of sugar. Keep whisking until the mixture is smooth, creamy, and has a light-yellow color. This process is essential for giving your eggnog its rich texture.
Step 3: Heat Milk and Cream
In a saucepan, mix the milk, cream, and nutmeg. Heat this mixture over medium heat until it starts to simmer—but don’t let it boil. Stirring occasionally will ensure the milk infuses nicely with the nutmeg.
Step 4: Combine Yolk Mixture and Milk
Once the milk mixture is hot, slowly pour it into the egg yolk mixture while whisking continuously. This slow addition and constant stirring prevent the eggs from scrambling, which is crucial for a smooth eggnog.
Step 5: Heat Again
Pour the combined mixture back into the saucepan and heat it over medium heat. Stir constantly until the mixture thickens enough to coat the back of a spoon. This usually takes a few minutes. Don’t let it boil, or the eggnog may curdle.
Step 6: Add Flavor and Alcohol
Remove from heat and stir in the vanilla extract and your choice of bourbon, rum, or brandy. The alcohol is optional, but it adds that extra warmth and festive spirit to your eggnog.
Step 7: Chill
Pour the eggnog into a pitcher or bowl and let it cool to room temperature. Then cover it and refrigerate until it’s thoroughly chilled. This could take about an hour or so.
Step 8: Beat Egg Whites
Just before serving, beat the egg whites with the remaining tablespoon of sugar until soft peaks form. Gently fold these beaten egg whites into your chilled eggnog. This step adds a light and fluffy texture that makes homemade eggnog truly special.
Step 9: Serve and Enjoy
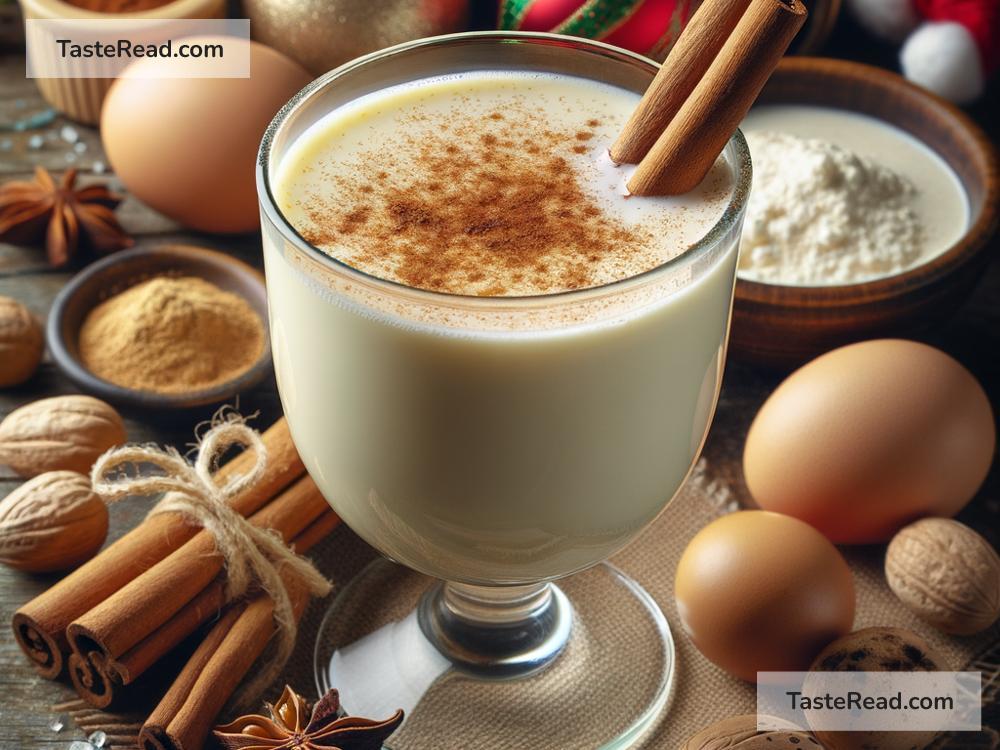
Serve your homemade festive eggnog in glasses or mugs, garnished with a sprinkle of nutmeg on top for that extra touch of holiday cheer. Whether you enjoy it by the cozy fire or at a lively holiday party, your homemade eggnog is sure to be a hit.
Conclusion:
Creating a festive eggnog for the holidays is a delightful way to add a touch of homemade magic to your celebrations. This creamy, comforting beverage is not only delicious but also brings a sense of tradition and nostalgia to your holiday festivities. By following this simple guide, you’ll be able to craft an eggnog that’s not only tasty but also packed with the love and care that embodies the holiday spirit. So gather your ingredients, grab a whisk, and start creating your own eggnog tradition this holiday season. Cheers to a joyful, festive, and delicious holiday!