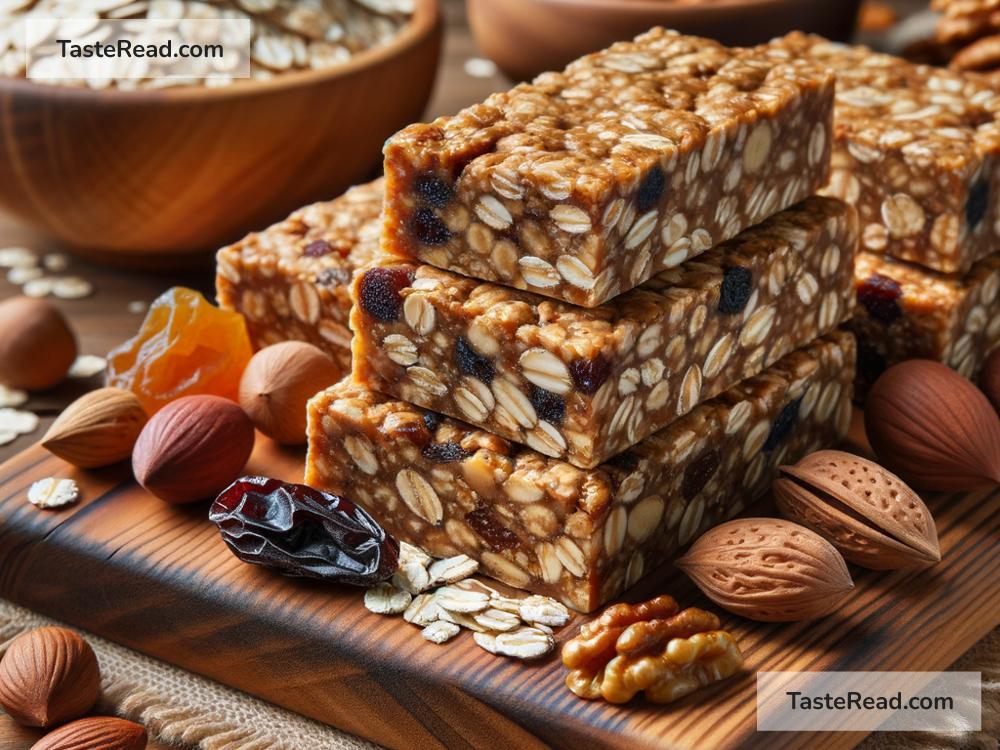
Making your very own chewy and nutty oatmeal energy bars is not just incredibly satisfying but also super simple! Whether you’re needing a quick breakfast, a tasty snack, or a burst of energy before your workout, these bars will do the trick. Plus, the fact that you can customize them to your liking makes them even more irresistible. Let’s dive into how you can whip up these delicious and healthy treats right in your kitchen.
What You’ll Need:
Before we get started, let’s check out the ingredients and tools you’ll need. Don’t worry; everything here is pretty standard and can be easily found in your local grocery store or might already be in your pantry.
Ingredients:
- Old-fashioned oats: These are your base. They provide a lovely texture and are packed with fiber.
- Nuts and seeds of your choice: Think almonds, walnuts, pumpkin seeds, or sunflower seeds. They add crunch and loads of nutrition.
- Dried fruits: For a touch of sweetness and chewiness. Raisins, dried cranberries, or chopped dates are fantastic options.
- Nut butter: Almond butter, peanut butter, or any nut butter you prefer helps to bind everything together and adds creaminess.
- Honey or maple syrup: This acts as a natural sweetener and also helps in binding the ingredients.
- Vanilla extract: Just a dash for some added aroma.
- Salt: A pinch to enhance all the flavors.
- Optional add-ins: Think chocolate chips, coconut flakes, or a dash of cinnamon for extra flavor.
Tools:
- A mixing bowl
- A spatula
- A baking dish (around 8×8 inches works well)
- Parchment paper
- An oven
Let’s Make Some Energy Bars!
Step 1: Preheat and Prepare
First thing’s first, get your oven heating up to about 350°F (175°C). Then, line your baking dish with parchment paper, letting some overhang on the sides. This makes removing the bars super easy later on.
Step 2: Mix Dry Ingredients
In your mixing bowl, toss in about 2 cups of old-fashioned oats, a handful of your chosen nuts and seeds, and if you’re adding them, your dried fruits and optional add-ins. Give everything a good mix.
Step 3: Bind It Up
Now, in a smaller bowl, mix together half a cup of nut butter and a quarter cup of honey or maple syrup. If it’s too thick, gently warm it up on the stove or in the microwave for a few seconds. Then, stir in a teaspoon of vanilla extract and a pinch of salt.
Step 4: Combine Everything
Pour your nut butter mixture over the dry ingredients. Use your spatula to mix everything really well, ensuring all the dry bits are coated nicely. The mixture should be sticky but not too wet.
Step 5: Press and Bake
Transfer the mixture to your prepared baking dish. Press it down firmly (really pack it in there) to help the bars stick together after baking. Pop it in the oven for about 20-25 minutes, or until the edges start to turn golden.
Step 6: Cool and Slice
Patience is key! Let the baked mixture cool in the dish for about 10 minutes, then lift it out using the parchment paper and let it cool completely on a wire rack. This cooling process helps them firm up. Once cool, use a sharp knife to cut them into bars or squares.
Enjoy Your Creation!
Congratulations! You’ve just made yourself a batch of chewy, nutty oatmeal energy bars. Not only are they scrumptious, but they’re also packed with nutrients to give you that much-needed energy boost without any artificial junk. These bars are perfect as a quick breakfast on-the-go, a mid-afternoon snack, or even a post-workout fuel.
The beauty of this recipe is how amazingly versatile it is. Feel free to tweak the ingredients based on what you love or what you have on hand. Want to make it vegan? Use maple syrup instead of honey. Gluten-free? Ensure your oats are certified gluten-free. The possibilities are endless!
Now, go ahead, give it a try and enjoy the fruits of your labor. Who knew being healthy could taste so good?


