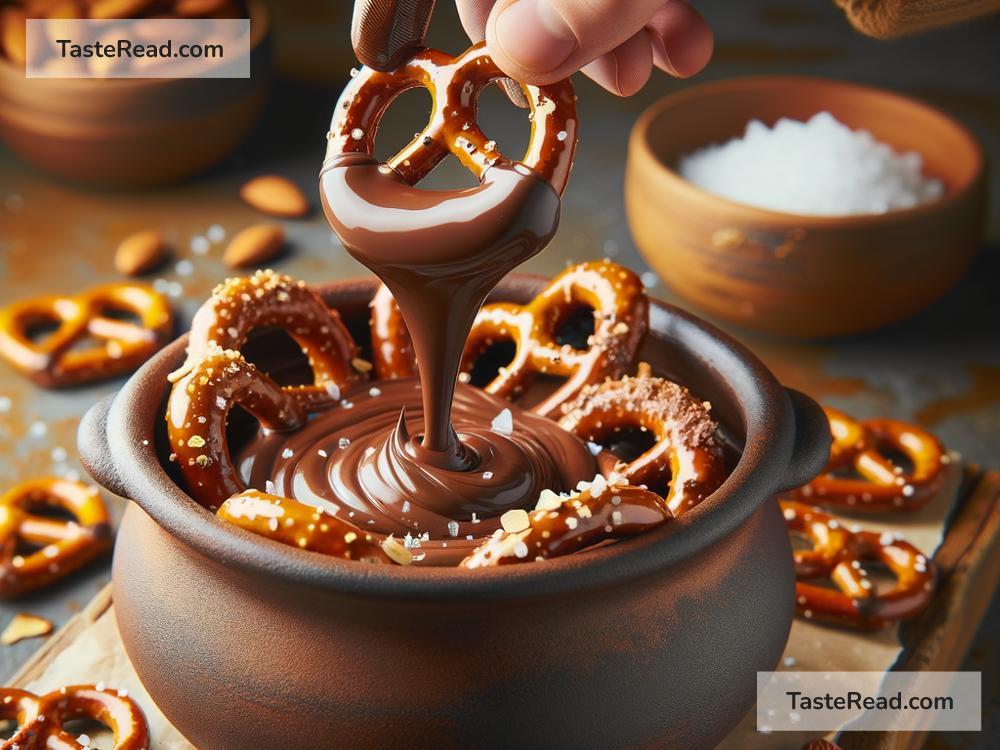
How to Make Homemade Chocolate-Covered Pretzels: A Simple Guide
Chocolate-covered pretzels offer the perfect blend of salty and sweet, crunchy and smooth, making them an irresistible snack for many. While they might seem like a gourmet treat, making them at home is surprisingly easy and fun. Whether you’re looking for a quick snack, a party favor, or just a way to spend a fun afternoon with the kids, creating your own homemade chocolate-covered pretzels is the way to go. Here’s how you can make these delicious treats in just a few simple steps.
What You Need
Before you get started, make sure you have all the necessary ingredients and tools. You’ll need:
- Pretzels: You can use any shape you like, but the traditional twists and rods work great.
- Chocolate: Choices include dark, milk, or white chocolate. For a more diverse taste, feel free to mix and match.
- Toppings (optional): Sprinkles, crushed nuts, mini M&Ms, or sea salt for extra flavor and decoration.
- Microwave-safe bowl for melting the chocolate.
- Baking sheet lined with parchment paper or a silicone mat.
- Forks or tongs: These will help you dip the pretzels and shake off the excess chocolate.
Step 1: Melt the Chocolate
The first step is to melt your chocolate. While there are several ways to do this, using a microwave is the quickest and easiest. Break the chocolate into small pieces and place it in a microwave-safe bowl. Microwave it in 30-second intervals, stirring in between, until it’s completely melted and smooth. If you prefer, you can also melt the chocolate using a double boiler method, but be careful not to let any water mix with the chocolate as this can cause it to seize.
Step 2: Dip the Pretzels
Once your chocolate is melted and smooth, it’s time to start dipping. Hold a pretzel by one end and dip it into the chocolate, ensuring it’s coated as much or as little as you like. You can use a spoon to help drizzle chocolate over hard-to-reach spots. Gently tap the pretzel against the side of the bowl to shake off any excess chocolate. This step can get a bit messy, but that’s part of the fun!
Step 3: Add Toppings
If you’re using toppings, now is the time to sprinkle them on. Do this immediately after dipping each pretzel, before the chocolate sets. Be creative and mix and match toppings as you like. This is a great step for kids to help with, as they can customize their pretzels.
Step 4: Let Them Set
Place the dipped and decorated pretzels on the prepared baking sheet. Once all your pretzels are dipped and decorated, allow them to set. You can leave them at room temperature to harden slowly or place them in the refrigerator to speed up the process. They usually take about 30 minutes to an hour to fully set, depending on the temperature and humidity.
Step 5: Enjoy or Store
Once the chocolate has hardened, your chocolate-covered pretzels are ready to be enjoyed! If you’re not eating them right away, store them in an airtight container at room temperature for up to two weeks. They make fantastic gifts, party snacks, or simply a delicious treat for yourself.
Tips for Success
- Quality Matters: The better the quality of chocolate, the tastier your pretzels will be. Consider using high-quality chocolate bars instead of chips, as they often melt smoother.
- Avoid Water: Ensure your tools and hands are dry before handling chocolate. Water can cause chocolate to seize and become grainy.
- Customize: Don’t be afraid to experiment with different types of chocolate and toppings. The possibilities are endless!
Conclusion
Making chocolate-covered pretzels at home is an enjoyable and straightforward process that yields delicious results. By following these simple steps and tips, you can create a treat that’s as fun to make as it is to eat. Whether for a special occasion or just a cozy night in, these homemade delights are sure to impress. Happy dipping!


