Title: A Deliciously Simple Recipe: Sweet Chocolate Mint Protein Bars
Are you looking for a delicious snack that satisfies your sweet tooth and helps keep your health goals on track? Look no further! Today, I’m excited to share a simple yet incredibly delicious recipe that you’re going to love – Sweet Chocolate Mint Protein Bars. These homemade bars are perfect for anyone who loves the classic combination of chocolate and mint, with the added benefit of being packed with protein. Whether you need a quick breakfast, a post-workout snack, or a healthy treat, these bars have got you covered. So, let’s dive into how you can create these mouth-watering bars right in your own kitchen.
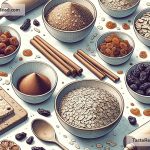
Ingredients You’ll Need:
- Dry Ingredients:
- 1 and 1/2 cups of rolled oats
- 1 cup of protein powder (chocolate or vanilla works well)
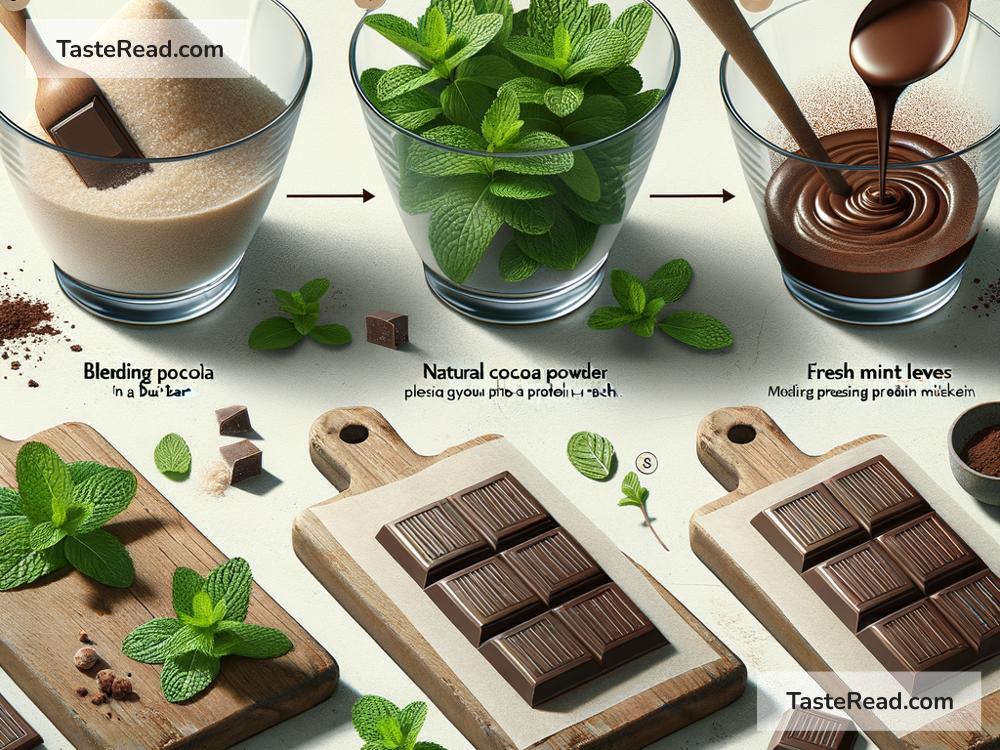
- 1/4 cup of cocoa powder
-
A pinch of salt
-
Wet Ingredients:
- 1/2 cup of almond butter (or any nut butter of your choice)
- 1/4 cup of honey or maple syrup (for a vegan option)
-
1 teaspoon of mint extract (adjust according to preference)
-
Extras:
- 1/2 cup of chocolate chips (dark chocolate chips for less sugar)
- Optional: crushed nuts or seeds for extra crunch
Step-by-Step Guide to Making Your Chocolate Mint Protein Bars:
Step 1: Prepare Your Ingredients
Start by gathering all your ingredients. This recipe is simple, so prepping won’t take long. Measure everything out so it’s ready to go. No fancy equipment needed – just a good old mixing bowl and a spatula.
Step 2: Mix Dry Ingredients
In a large mixing bowl, combine your rolled oats, protein powder, cocoa powder, and a pinch of salt. Give these dry ingredients a good stir to make sure they’re well mixed. This ensures your bars have an even flavor and texture.
Step 3: Mix Wet Ingredients
In a separate bowl, mix your wet ingredients – almond butter, honey (or maple syrup), and mint extract. Stir until you get a smooth and consistent mixture. If the mixture feels too thick, you can add a tablespoon of milk (dairy or plant-based) to loosen it up.
Step 4: Combine Both Mixtures
Now, pour your wet mixture into the bowl with the dry ingredients. Mix everything together until it starts to look like a sticky dough. This is where the magic happens, and you begin to see your protein bars take shape.
Step 5: Add Chocolate Chips
Once your dough is ready, fold in the chocolate chips (and any optional extras like nuts or seeds) into the mixture. The chocolate chips add that extra sweetness and texture that make these bars irresistible.
Step 6: Press into a Pan
Line an 8×8-inch baking pan with parchment paper (this makes for easy removal later). Transfer your mixture to the pan and press it down firmly with the back of a spoon or your hands. You want to make sure it’s packed tightly so the bars stay together once cut.
Step 7: Chill and Set
Cover the pan with cling film and pop it into the refrigerator for at least an hour. This chilling time helps the bars to set and become firm enough to cut. If you’re in a hurry, you can put them in the freezer to speed up the process.
Step 8: Cut and Enjoy
Once your bars have set, take them out of the fridge, lift them out of the pan using the parchment paper, and cut them into squares or bars. And that’s it – your Sweet Chocolate Mint Protein Bars are ready to be enjoyed!
Conclusion:
Creating Sweet Chocolate Mint Protein Bars is not only simple but also a fun way to indulge in a treat that’s good for you. This recipe is customizable, so feel free to experiment with different add-ins and make it your own. These bars are perfect for on-the-go snacks, post-exercise refueling, or even as a healthy dessert. Making your own protein bars at home not only saves you money but also allows you to control what ingredients go into your food, ensuring you’re eating something nutritious and delicious. So, go ahead and give this recipe a try – your body (and taste buds) will thank you!