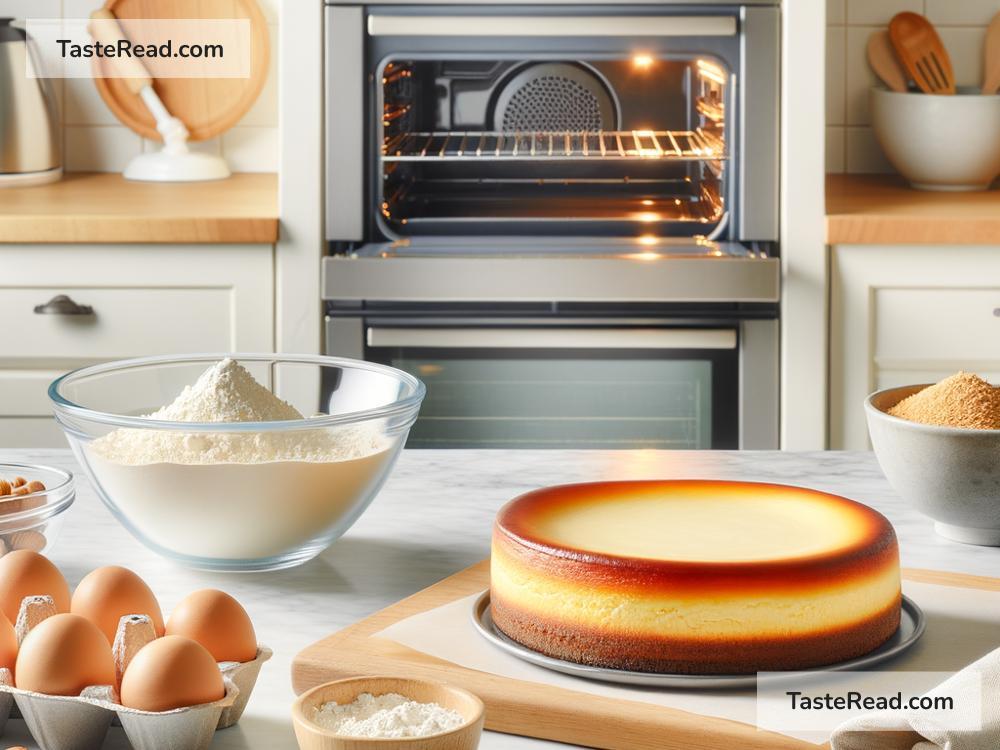
How to Make a Fluffy Japanese Cheesecake: A Step-by-Step Guide
Have you ever tried a slice of Japanese cheesecake? It’s like biting into a fluffy cloud! Unlike the dense, rich New York-style cheesecake, the Japanese version is airy, light, and boasts a subtle sweetness that makes it absolutely irresistible. If you’re intrigued to make this delightful dessert at home, we’ve got you covered with this simple guide. Let’s embark on a culinary journey to create the fluffiest, most delicious Japanese cheesecake!
Ingredients You’ll Need:
Before we dive into the steps, let’s gather all the ingredients you’ll need:
- 200g (7 oz) cream cheese (room temperature)
- 60g (2 oz) unsalted butter (room temperature)
- 100 ml (3.4 fl oz) whole milk
- 60g (2 oz) all-purpose flour (sifted)
- 20g (0.7 oz) cornstarch (sifted)
- 6 large eggs (separated)
- 140g (5 oz) granulated sugar (divided)
- 1/4 teaspoon cream of tartar (optional, helps stabilize egg whites)
- 1 tablespoon lemon juice
Preparing Your Ingredients and Tools
-
Preheat your oven: Set it to 150°C (300°F). This low temperature helps the cake cook gently, ensuring a uniform texture.
-
Line the pan: Use a 9-inch (23 cm) round cake pan. Line the bottom and sides with parchment paper. This helps in easy release after baking.
-
Separate the eggs: Make sure there is no yolk in the whites, as any fat can prevent them from reaching stiff peaks.
Creating the Perfect Batter
-
Melt the cream cheese, butter, and milk: Use a double boiler (or a heatproof bowl over a pan of simmering water) to gently melt these ingredients together. Stir until smooth and homogeneous. Remove from heat and let it cool slightly.
-
Add the egg yolks and dry ingredients: Once the cream cheese mixture is not too hot, mix in the egg yolks, then sift in your flour and cornstarch. Add the lemon juice here. Whisk until you have a smooth, lump-free batter.
-
Whip the egg whites: This is the secret to that fluffy texture! Start whipping the egg whites on low speed. When they start to foam, add the cream of tartar. Gradually add half of the granulated sugar, a little at a time, as you increase the speed to high. Continue until stiff peaks form – the mixture should be glossy and hold its shape.
-
Fold the egg whites into the batter: Take about 1/3 of the egg whites and gently stir them into the batter to lighten it. Then add the remaining egg whites. Gently fold them in until just combined, taking care not to deflate the meringue.
-
Bake with a water bath: Pour the batter into your prepared pan. Tap it lightly on the counter to release any large air bubbles. Place the cake pan into a larger roasting pan and fill the roasting pan with hot water halfway up the sides of the cake pan. This water bath prevents the cake from drying out and promotes an even, gentle cook.
-
Bake and cool: Bake for about 85-90 minutes or until done. The top should be golden, and a toothpick inserted into the center comes out clean. Turn off the oven, leave the door slightly ajar, and let the cake cool inside for an hour. This gradual cooling helps prevent the cake from collapsing.
-
Finishing touches: Once cooled, remove the cake from the pan and peel off the parchment paper. The texture should be wonderfully light and cotton-soft.
Serving Your Japanese Cheesecake
Serve your Japanese cheesecake with a dusting of powdered sugar, some fresh berries, or a dollop of whipped cream. It’s best enjoyed chilled, so refrigerate for a few hours before serving.
And there you have it—a simple guide to making a fluffy, mouth-watering Japanese cheesecake right in your kitchen. This cake is sure to impress with its unique texture and mild sweetness. Remember, the key is in the gentle folding of the egg whites and patience during baking and cooling. Happy baking, and enjoy the lightest, fluffiest slice of cheesecake you’ve ever tasted!


