How to Make a Healthy Collagen-Rich Bone Broth Soup
Have you ever heard the saying, “good things take time”? Well, when it comes to making a healthy collagen-rich bone broth soup, this saying couldn’t be truer. In a world that often opts for instant gratification, taking the time to prepare a nourishing bone broth soup from scratch is not just an act of culinary love, but a powerful step towards better health. Packed with protein, minerals, and vitamins, this liquid gold is a marvel for your skin, joints, and gut health. But how exactly do you go about making it? Fear not, for it’s simpler than it sounds, and I’m here to guide you through each step.
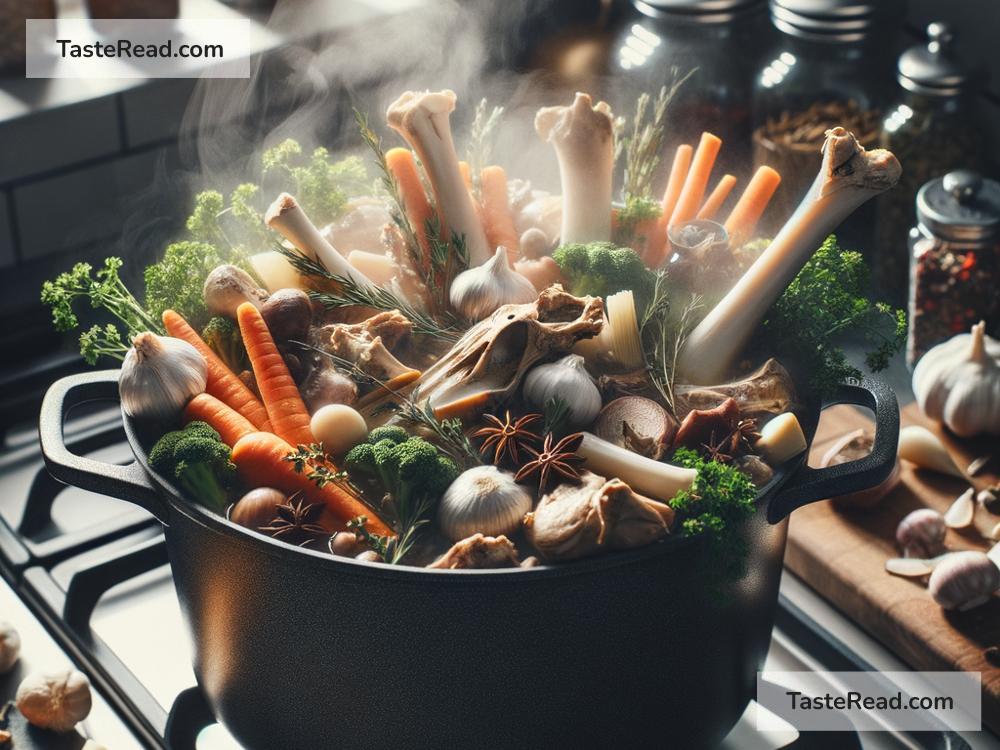
1. Gather Your Ingredients
First thing’s first, the quality of your ingredients is key. You’ll want to get your hands on some high-quality, preferably organic, bones. You can use chicken, beef, or even fish bones – each will have its own unique flavor profile. Alongside the bones, here’s what you’ll need:
- Vegetables: Think onion, carrots, and celery. These will add depth and sweetness to your broth.
- Acid: A splash of apple cider vinegar helps in extracting all those precious minerals from the bones.
- Herbs and Spices: Feel free to get creative here, but some good starters include bay leaves, peppercorns, and fresh parsley.
2. Roast the Bones
This step is optional, but it’s worth it for that extra layer of flavor. Preheat your oven to 400°F (200°C), place your bones on a baking sheet, and give them a good roast for about 30 minutes. If you’re using beef bones, you’ll notice them browning and releasing a delicious aroma.
3. Let’s Get Cooking
Once your bones are roasted, it’s time to transfer them into a large pot or a slow cooker. Fill it with enough water to cover the bones, add your splash of vinegar, and let it simmer away. Here’s the trick: you want a low and slow cook. If using a stovetop, keep it at a bare simmer; if you’re using a slow cooker, you can set it on low. This gentle cooking process is what allows the broth to become infused with all the goodness from the bones.
4. Adding the Veggies
After your broth has been simmering for a couple of hours, it’s time to add your veggies and herbs. By adding them later in the process, you ensure they don’t become overcooked and lose their flavors. Allow the broth to continue simmering with all the ingredients for at least another hour.
5. Patience is Key
Now comes the hardest part: the wait. For a truly collagen-rich broth, you’re going to want to let those bones simmer for a good 12-24 hours for chicken, and up to 48 hours for beef. The longer you let it cook, the more nutrient-dense your broth will be. Remember to check occasionally, adding water if needed to ensure the bones remain covered.
6. Strain and Store
Once your broth has achieved a rich, golden color, and the bones are falling apart, you know it’s done. Carefully strain the broth through a fine mesh sieve to remove all the bone bits and veggies. What you’re left with is a clear, aromatic liquid that’s teeming with nutrients.
7. Cool and Skim
Before storing, let your broth cool to room temperature. You’ll notice a layer of fat solidifying at the top. You can skim this off if you prefer a leaner broth, but leaving it can add flavor and additional nutrients.
8. Storage Solutions
Your bone broth can be stored in the fridge for up to 5 days, or frozen for up to 6 months. I recommend portioning it out into smaller containers or ice cube trays for convenience.
Why Go Through All This Trouble?
The benefits of homemade bone broth are manifold. It’s rich in collagen, which is essential for healthy skin, hair, and nails, and it’s packed with amino acids that support gut health and immunity. Not to mention, it’s a delicious base for soups, stews, or simply sipped on its own.
Making bone broth from scratch is an exercise in patience and simplicity. It harkens back to a time when nothing was wasted, and every part of the animal was used. This traditional method of cooking not only respects the ingredients but also rewards you with a deeply nourishing and healing food. So, give it a try – your body (and taste buds) will thank you.