How to Make a Quick 3-Layer No-Bake Icebox Cake
In a world constantly on-the-go, finding time to bake can feel like an impossible mission. Luckily, the beauty of no-bake desserts lies in their simplicity and the minimal time they require. One such delight is the 3-layer no-bake icebox cake. Known for its creamy layers and ease of preparation, this dessert is the perfect quick fix for any sweet tooth. Whether you’re aiming to impress guests, looking for a fun activity with kids, or simply craving something sweet and effortless, this icebox cake is the answer. Let’s dive into the surprisingly simple steps to whip up this delectable treat.
The Ingredients:
Before we start, you’ll need to gather the following ingredients:
- 2 packs of graham crackers
- 2-3 cups of whipping cream
- ½ cup of powdered sugar
- 1 teaspoon of vanilla extract
- Fresh fruits (like strawberries or bananas), or any topping of your choice
Make sure all your ingredients are ready and accessible to make the process as smooth as possible.
Step 1: Whip the Cream
The first step is to make the deliciously creamy layer that will sandwich between the graham crackers. In a large bowl, pour in your whipping cream, powdered sugar, and vanilla extract. With a hand mixer or a stand mixer, whip the mixture on high speed until stiff peaks form. This process usually takes about 5-7 minutes. You’ll know it’s done when the cream holds its shape without drooping when you lift the beaters out.
Step 2: The First Layer
Grab your serving dish – this can be a rectangular baking pan, a square dish, or even a round cake pan, depending on what you have available. Start by laying down a layer of graham crackers. You might need to break some crackers apart to fit the pan properly, but that’s part of the fun.
Next, take about one-third of your whipped cream mixture and spread it evenly over the graham crackers. This acts as the “glue” holding the cake together. If you’re adding a fruit layer, now is the time. Slice your strawberries, bananas, or any other fruit you fancy and lay them on top of the cream.
Step 3: Repeat the Layers
After your first layer is complete, it’s time to repeat the process. Add another layer of graham crackers on top of your fruit (if you decided to add fruit, that is), followed by another layer of whipped cream. Continue this process one more time, giving you three full layers of graham crackers and cream. Be sure to end with a layer of cream on top.
Step 4: Add the Final Touches
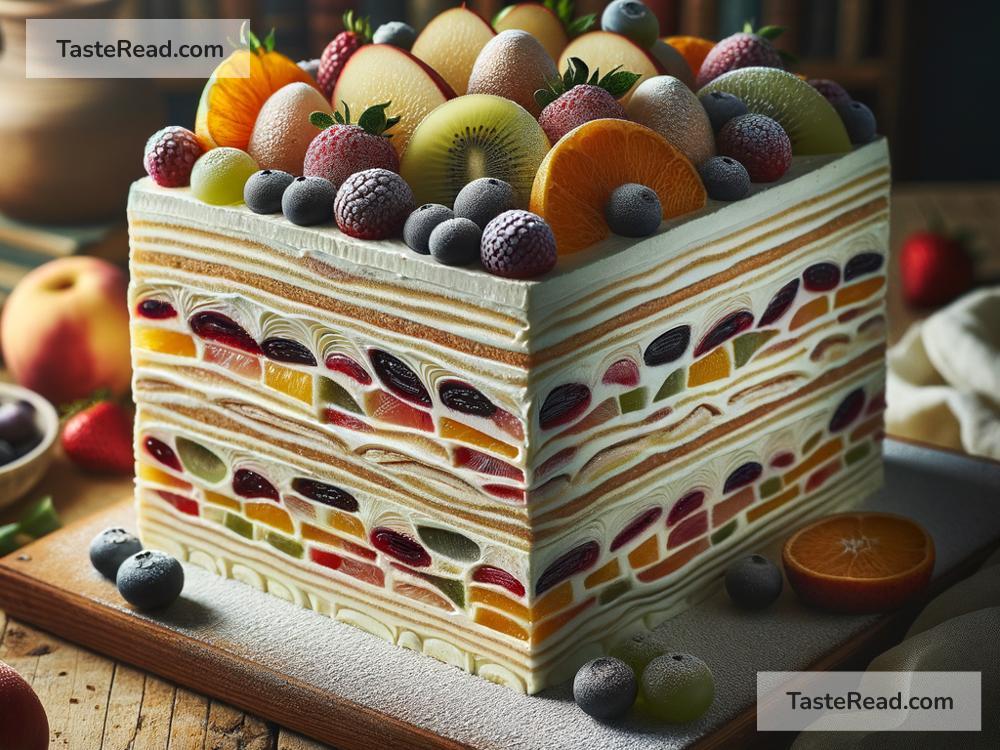
For the final touch, add your choice of toppings. This could be slices of fresh fruit like strawberries or kiwis, shaved chocolate, or even a sprinkle of crushed nuts for a bit of crunch. The beauty of this cake is that it’s incredibly adaptable to your taste preferences.
Step 5: Let it Set
Once your masterpiece is assembled, cover it with plastic wrap and set it in the fridge. Ideally, you should let it chill for at least 4 hours, but overnight is best. This waiting period allows the graham crackers to soften from the moisture in the cream, transforming them into a cake-like texture.
Serving Your Icebox Cake
After your cake has set, it’s ready to be served. Cut into it just like you would any other cake, and enjoy the creamy, dreamy layers. It’s the perfect treat for a hot day, a special occasion, or just because.
Tips for Success:
- Make sure your whipping cream is very cold before you start whipping it; this helps it whip up better.
- Feel free to customize the layers. Experiment with different fruits, or even add a layer of chocolate or caramel sauce for an extra decadent dessert.
- If you’re in a real rush, you can use pre-whipped store-bought cream, but homemade whipped cream really takes the cake to the next level.
Creating a no-bake 3-layer icebox cake is as simple as that! It’s a fun, easy, and delicious dessert that anyone can make. With just a few ingredients and a little bit of patience, you can whip up a dessert that’s sure to impress. So the next time you’re in need of a quick sweet treat, give this icebox cake a try. It’s sure to become a go-to in your dessert repertoire.