How to Make Homemade Raspberry Sorbet: A Simple and Refreshing Recipe
In the sweltering heat of summer, there’s nothing quite as refreshing as a scoop of cold, fruity sorbet. If you’re looking to indulge in a homemade treat without the guilt, raspberry sorbet is a perfect choice. Not only is it delicious and refreshing, but it’s also surprisingly simple to make, requiring just a few ingredients and no special equipment. In this article, we’ll guide you through the process of making your very own raspberry sorbet.
Ingredients:
- 4 cups of fresh raspberries
- 1 cup of sugar (adjust based on your sweetness preference)
- 1 cup of water
- Juice from 1 lemon
Remember, the beauty of homemade sorbet is that you can tweak the ingredients to suit your palate. If you’re looking for a lower sugar version, feel free to reduce the amount of sugar or substitute it with your preferred sweetener.
Equipment:
- Blender or food processor
- Fine mesh strainer
- Freezer-safe container
- Ice cream maker (optional)
Step 1: Prepare the Raspberry Puree
The journey to homemade raspberry sorbet begins with transforming your raspberries into a smooth puree. Gently rinse your raspberries under cold water and pat them dry. Place the raspberries in a blender or food processor and blend until smooth.
Once you have a smooth puree, strain it through a fine mesh strainer into a bowl to remove the seeds. This step ensures that your sorbet has a smooth, enjoyable texture. Use the back of a spoon or spatula to press the puree through the strainer, extracting as much liquid as possible.
Step 2: Make the Sweet Syrup
Next, it’s time to create a simple syrup that will sweeten your sorbet. Combine the water and sugar in a small saucepan and bring to a boil over medium heat. Stir the mixture until the sugar has completely dissolved into the water. Remove from heat and let it cool to room temperature.
Step 3: Combine and Chill
In a large bowl, combine the raspberry puree, the cooled sweet syrup, and the juice from one lemon. The lemon juice not only adds a zesty flavor but also helps to balance the sweetness of the sorbet.
After mixing thoroughly, cover the bowl and place it in the refrigerator to chill. It’s essential for the mixture to be cold before you freeze it, so let it chill for at least 2 hours. If you’re planning ahead, you can even leave it overnight.
Step 4: Freeze and Enjoy
Once your mixture is nicely chilled, it’s time to turn it into sorbet. If you have an ice cream maker, pour the mixture into the machine and follow the manufacturer’s instructions. Generally, it will take about 20 to 30 minutes for your sorbet to reach the perfect consistency.
Don’t have an ice cream maker? No problem. Pour the mixture into a freezer-safe container and place it in the freezer. Every 30 minutes for the first 2-3 hours, take it out and stir it vigorously with a fork. This process helps break up ice crystals, leading to a smoother texture.
After the initial few hours, let your sorbet freeze solid, which will take about 4-6 hours or ideally overnight.
Step 5: Serve and Savor
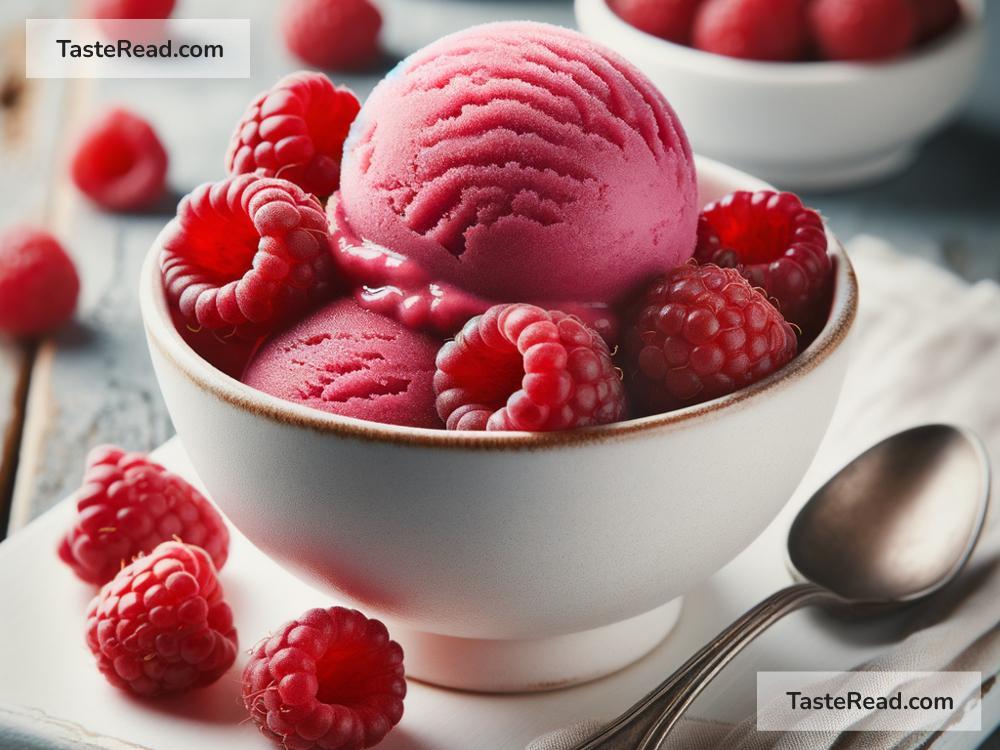
Once your raspberry sorbet is frozen and ready, it’s time to serve it up. Remove the sorbet from the freezer and let it sit for a few minutes at room temperature to make scooping easier. Serve the sorbet in bowls or cups, garnish with fresh raspberries or mint leaves if desired, and enjoy the fruits of your labor.
Conclusion
Crafting homemade raspberry sorbet is a simple and satisfying process. With just a few ingredients and these easy-to-follow steps, you can create a delicious treat that’s perfect for hot summer days or anytime you crave something sweet and refreshing. Plus, the versatility of this recipe means you can experiment with different fruits and sweeteners to create a variety of flavors. So go ahead and give it a try – your taste buds will thank you!