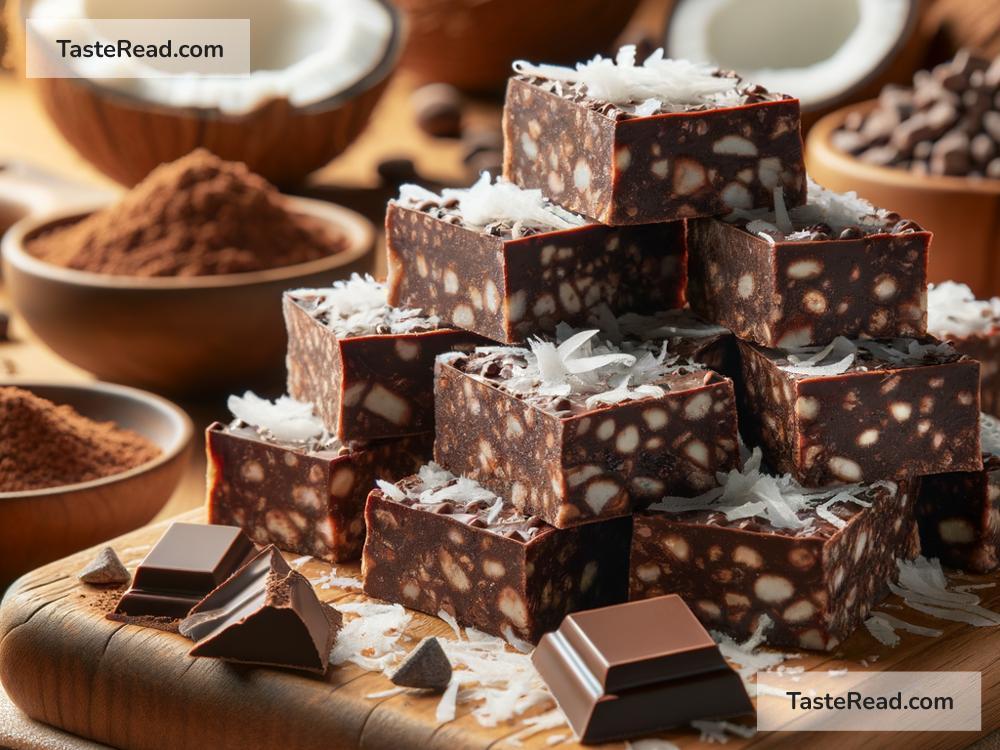
How to Make Vegan Chocolate Coconut Protein Bars
In the world of fitness and health, protein bars have become an indispensable part of our diet. They are the perfect snack for a quick energy boost, to support muscle repair after workouts, or simply to satisfy your sweet tooth in a healthier way. And if you’re on a vegan diet, you don’t have to miss out on the delicious convenience of protein bars. Today, I’m going to share with you an incredibly simple and tasty recipe: Vegan Chocolate Coconut Protein Bars. These bars are not only delicious but also packed with nutritious ingredients. Let’s dive in!
Ingredients:
- 1 cup of rolled oats
- ½ cup of vegan protein powder (chocolate or vanilla works great)
- ½ cup of unsweetened shredded coconut
- ¼ cup of cocoa powder
- ½ cup of almond butter (or any nut butter of your choice)
- ½ cup of maple syrup (or agave syrup)
- 1 teaspoon of vanilla extract
- A pinch of salt
- ½ cup of dairy-free chocolate chips
- 2-3 tablespoons of almond milk (or any plant-based milk)
Instructions:
1. Prep your pan: Start by lining an 8×8 inch baking pan with parchment paper. This makes it easier to remove the bars once they have set, and it also helps with cleanup.
2. Mix the dry ingredients: In a large mixing bowl, combine the rolled oats, vegan protein powder, shredded coconut, cocoa powder, and a pinch of salt. Stir these together until they’re well mixed.
3. Combine the wet ingredients: In a separate bowl, mix together the almond butter, maple syrup, and vanilla extract. If your almond butter is particularly thick, you might want to slightly warm it up in the microwave for a few seconds to make it easier to mix.
4. Merge the wet and dry: Pour the wet mixture into the bowl with the dry ingredients. Mix everything together until it looks uniform. This will be a bit sticky, and that’s perfectly okay. If the mixture is too dry, add a tablespoon of almond milk at a time until the desired consistency is reached.
5. Add chocolate chips: Fold in the dairy-free chocolate chips gently into the mix. These chips add an extra burst of chocolatey goodness to every bite.
6. Press into the pan: Transfer your mixture into the prepared pan. Press it down firmly into an even layer. You can use the back of a spatula or your hands (sometimes, hands are the best tool!).
7. Chill and slice: Place the pan in the refrigerator for at least an hour to set. This chilling time helps the ingredients to stick together, making it easier to cut. Once set, remove it from the fridge and lift the entire block out of the pan using the edges of the parchment paper. Slice into bars or squares, depending on your preference.
8. Optional chocolate topping: For an extra chocolatey treat, melt some dairy-free chocolate chips with a teaspoon of coconut oil. Drizzle this over your bars for a decadent finish.
Storing your bars:
These Vegan Chocolate Coconut Protein Bars can be stored in an airtight container in the fridge for up to a week. For a longer shelf life, you can even freeze them for up to a month. Just make sure to let them thaw for a few minutes before enjoying if you choose to freeze them.
Key Tips:
- Customize: Feel free to get creative with your add-ins. Nuts, seeds, dried fruits, or different flavoured protein powders can add an extra dimension to your bars.
- Protein powder: Choose a high-quality vegan protein powder that you enjoy. The taste of the protein powder can significantly influence the overall flavor of your bars.
- Texture: Adjust the amount of almond milk to achieve your desired consistency. Some like their protein bars denser, while others prefer a slightly softer texture.
Conclusion:
There you have it – delicious, nutritious, and incredibly simple Vegan Chocolate Coconut Protein Bars. They are perfect for a pre-workout snack, a mid-day energy boost, or a healthy treat to satisfy your sweet cravings. The best part is knowing exactly what’s in your snack, free from preservatives and unnecessary additives found in store-bought bars. So, go ahead and give this recipe a try. Happy snacking!


