Unleashing Your Inner Baker: Crafting Perfectly Crispy Cannoli with Sweet Ricotta Filling
Ah, cannoli, the quintessentially Sicilian pastry that has won over palates across the globe with its irresistible blend of creamy, rich filling encased in a crispy, golden shell. If you have ever dreamt of creating this delightful dessert at home but hesitated, thinking it’s too complex, let’s dispel those fears right here. Preparing cannoli might seem like a culinary feat reserved for the pros, but with a bit of guidance and confidence, you’ll be whipping up these sweet treats in no time. Here’s a step-by-step guide to making homemade crispy cannoli with sweet ricotta filling that even a novice can master.
What You’ll Need
First, let’s talk ingredients and tools. For the shells, you’ll need:
- 2 cups of all-purpose flour
- 2 tablespoons of sugar
- 1/2 teaspoon of salt
- 2 tablespoons of unsalted butter, diced
- 1 egg yolk
- 1/2 cup of Marsala wine (you can substitute with dry white wine or grape juice for a non-alcoholic version)
- Vegetable oil, for frying
For the sweet ricotta filling:
- 2 cups of ricotta cheese (for best results, opt for full-fat)
- 3/4 cup of powdered sugar
- 1 teaspoon of vanilla extract
- 1/2 teaspoon of orange zest (optional for an added zing)
- Mini chocolate chips or chopped pistachios for garnish
You’ll also need a set of cannoli forms (metal tubes) for shaping, a rolling pin, a deep saucepan or fryer for frying, and a piping bag or a large ziplock bag for filling.
Preparing the Cannoli Shells
-
In a large bowl, sift together the flour, sugar, and salt. Add the diced butter and rub it into the flour using your fingers until the mixture resembles coarse breadcrumbs.
-
Create a well in the center, add the egg yolk and slowly pour in the Marsala wine. Mix it all together to form a slightly tacky dough. If it’s too dry, add a splash more wine.
-
Knead the dough on a lightly floured surface until smooth, then wrap it in cling film and chill in the refrigerator for about an hour. This resting time helps the gluten relax and makes the dough easier to roll out.
-
Once chilled, divide your dough into small pieces and roll them out on a floured surface to about 1/8-inch thickness. Aim for an oval shape that’s large enough to wrap around your cannoli forms.
-
Wrap each dough piece around a cannoli form, sealing the edges with a dab of beaten egg white. Ensure they’re sealed well to prevent the shell from opening during frying.
-
In a deep saucepan or fryer, heat the vegetable oil to 360°F (182°C). Fry the wrapped cannoli forms a few at a time, turning them occasionally, until golden brown—this usually takes about 1 minute.
-
Carefully remove the shells from the oil, and using tongs, gently slide them off the forms. Place them on a wire rack to cool and crisp up.
Whipping Up the Sweet Ricotta Filling
-
In a mixing bowl, combine the ricotta cheese with powdered sugar, vanilla extract, and orange zest. Mix well until smooth and creamy. For an extra smooth texture, you can pass the filling through a sieve.
-
Chill the filling in the refrigerator for at least 30 minutes to firm up.
Filling and Finishing Your Cannoli
-
When you’re ready to serve (not before, or your shells might get soggy), spoon the ricotta filling into a piping bag fitted with a wide nozzle. If you don’t have a piping bag, snip the corner off a large ziplock bag.
-
Pipe the filling into the cannoli shells from both ends, filling them completely.
-
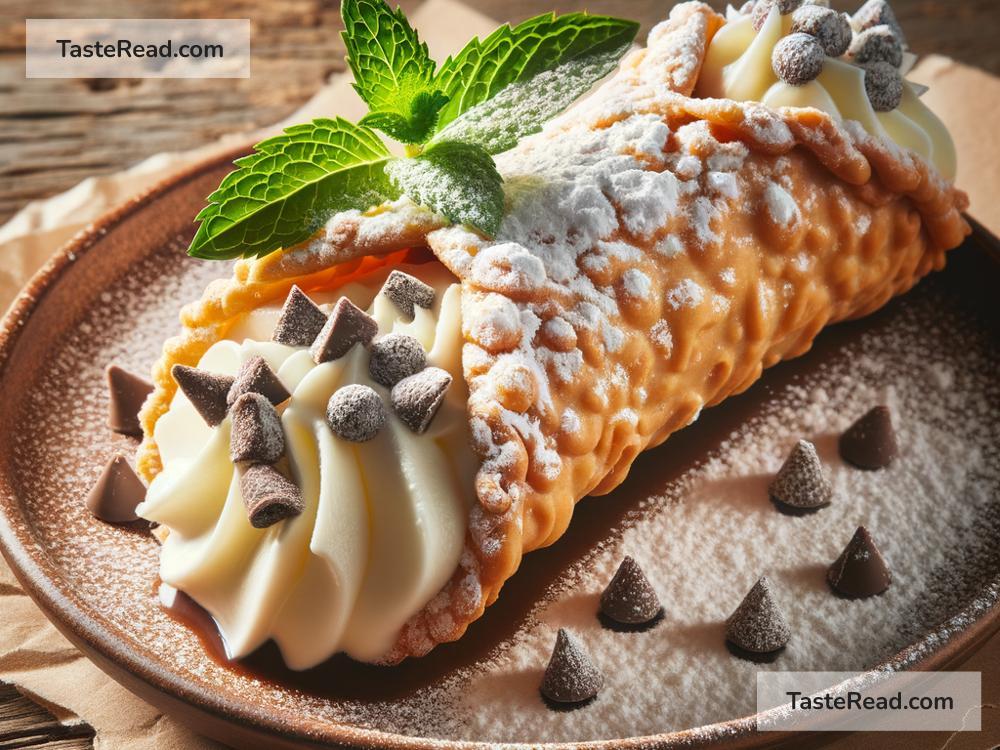
As a final touch, dip the ends into mini chocolate chips or chopped pistachios, and dust with a little powdered sugar.
A Few Parting Tips
- For the crispiest shells, ensure your dough isn’t too wet, and the oil is hot enough before frying.
- Always fill your cannoli just before serving to maintain that signature crisp.
- Experiment with variations in the filling by adding mini chocolate chips, chopped candied fruits, or a dash of cinnamon for a personalized touch.
With these simple steps, the elusive crispy cannoli with sweet ricotta filling is within your reach. Patience and practice are your friends in achieving that perfect balance of crunchy shell and creamy, decadent filling. So, don your apron, channel your inner pastry chef, and get ready to delight in the fruits of your labor. Buona fortuna and happy baking!