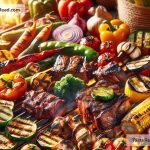
Beef jerky is a favorite snack for many due to its savory flavor and satisfying chew. It’s perfect for on-the-go munching, hiking trips, or as a quick protein boost. If you’re following a Paleo diet, finding beef jerky without added sugars or preservatives can be a challenge. The Paleo diet emphasizes whole, unprocessed foods, mirroring what our hunter-gatherer ancestors might have eaten. This means many store-bought jerkies are off the menu due to their added sugars and artificial ingredients.
But here’s the good news: making your own Paleo-friendly beef jerky at home is not only possible but surprisingly simple! Plus, homemade beef jerky gives you the freedom to select quality ingredients and customize the flavors to your liking. Ready to make your own? Let’s dive into the how-to.
Ingredients and Tools You’ll Need
For the Jerky:
– 2 pounds of lean beef (flank steak or brisket works well)
– 1/2 cup of coconut aminos (a Paleo-friendly substitute for soy sauce)
– 2 tablespoons of apple cider vinegar
– 2 cloves of garlic, minced
– Salt (preferably sea salt) to taste
– Black pepper to taste
– Optional: chili flakes or powder for a spicy kick
Tools:
– A sharp knife
– A bowl
– A zip-lock bag or a container with a lid
– A dehydrator or an oven
Preparing the Beef Jerky
Step 1: Select and Prepare the Meat
Start with lean beef to avoid too much fat, which can cause the jerky to spoil faster. Flank steak is a popular choice due to its low fat content and fiber direction, which makes slicing easier. Freeze the beef for about 1-2 hours before slicing. This isn’t about turning it into a beef-sicle but firming it up for easier, more consistent slices.
Step 2: Slice the Beef
Using a sharp knife, slice the beef against the grain into thin strips, no thicker than 1/4 inch. Slicing against the grain makes the jerky more tender. Consistent thickness in your slices ensures an even drying process.
Step 3: Marinate the Beef
Combine the coconut aminos, apple cider vinegar, minced garlic, salt, pepper, and optional chili flakes in a bowl. Add the sliced beef, ensuring each piece is well coated with the marinade. Place everything in a zip-lock bag or container, and let it marinate in the fridge. Overnight is ideal, but if you’re pressed for time, a few hours will do.
Step 4: Dry the Beef
After marinating, remove the beef slices and pat them dry with paper towels to remove excess marinade. This helps speed up the drying process.
If you’re using a dehydrator, arrange the slices on trays without overlapping and dry at 165°F (74°C) for about 4-6 hours, depending on thickness.
If you’re using an oven, place a wire rack on a baking sheet, arrange the beef slices on the rack, and set your oven to the lowest possible temperature, usually around 175°F (80°C). Prop the oven door slightly open with a wooden spoon to allow moisture to escape. This process can take 3-8 hours depending on your oven and slice thickness.
Step 5: Store Your Beef Jerky
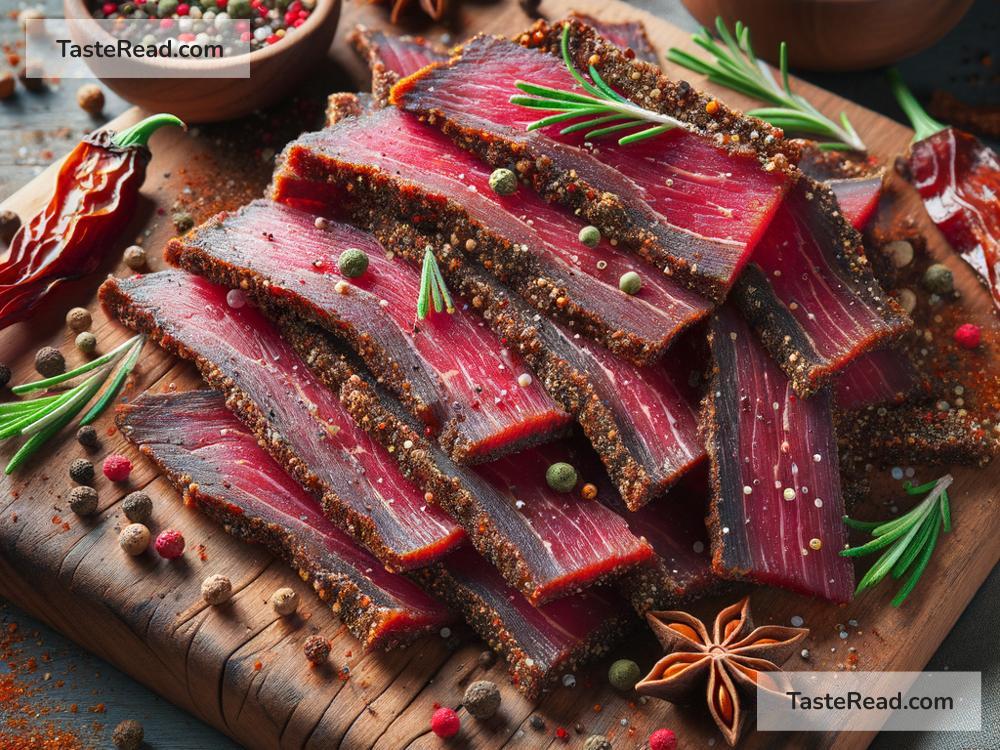
Once dehydrated, your beef jerky should be leathery and slightly bendy. Allow it to cool completely before storing. Homemade beef jerky can be kept in an airtight container for about two weeks at room temperature. For longer storage, consider refrigerating or freezing it.
Tips for Perfect Paleo-Friendly Beef Jerky
-
Experiment with flavors: Once you’re comfortable with the basic recipe, feel free to add your favorite herbs and spices to customize your jerky. Just ensure they’re Paleo-friendly.
-
Watch the drying process closely: The exact drying time can vary depending on the thickness of your slices and your drying method. Start checking your jerky after the first few hours to avoid over-drying.
-
Cut off any visible fat: Before slicing, trim away any visible fat from your beef. Fat doesn’t dry well and can make your jerky go rancid faster.
Making Paleo-friendly beef jerky at home may seem like a project, but it’s a rewarding one. Not only do you end up with a delicious, healthy snack, but you also gain the satisfaction of knowing exactly what’s in your food. Happy jerky making!