How to Make Paleo-Friendly Energy Bars for On-the-Go
In our fast-paced world, finding quick and healthy snacks can be a challenge, especially if you’re following a specific eating plan like the paleo diet. The paleo diet focuses on eating the way our ancestors did, which means lots of fruits, vegetables, meats, and nuts, and avoiding processed foods, grains, and dairy. If you’re looking for a nutritious snack that fits within these guidelines and is easy to take with you on-the-go, look no further than homemade paleo-friendly energy bars.
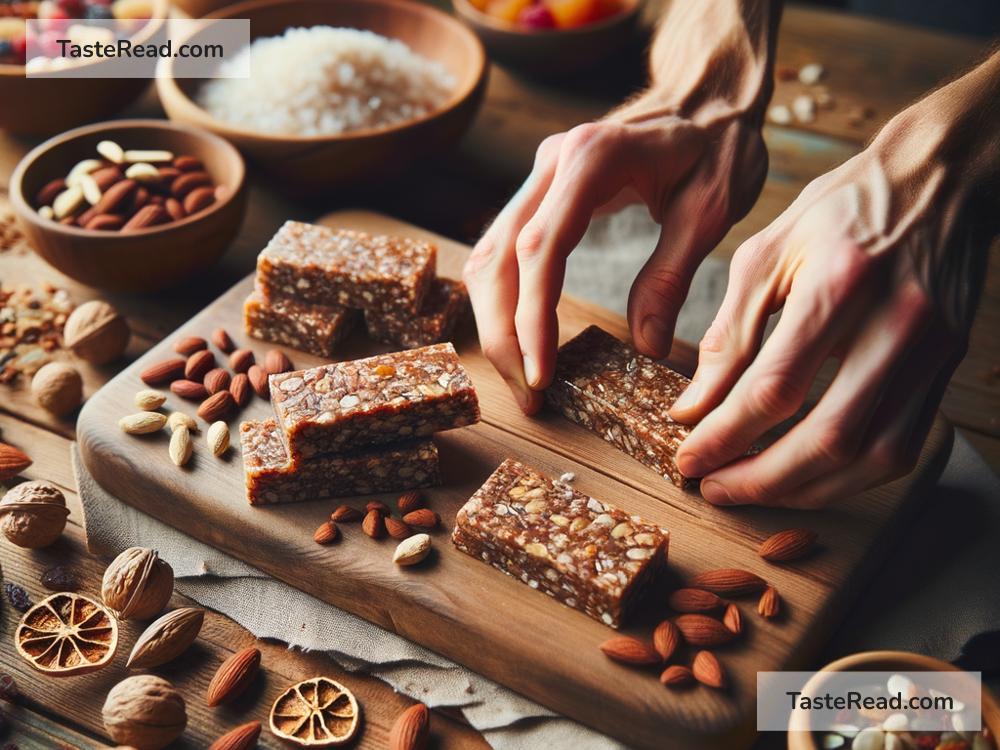
Not only are homemade energy bars a healthier alternative to many store-bought options, but they’re also simple to make and customizable to your taste preferences. Let’s dive into how you can create your own delicious and nutritious paleo energy bars.
Ingredients You’ll Need:
To start, gather the following staple ingredients:
– 1 cup of nuts (like almonds, cashews, or walnuts – your choice!)
– 1 cup of dates (these acts as a natural sweetener and binder)
– 1/2 cup of unsweetened shredded coconut
– 1/2 cup of dried fruit (think cranberries, cherries, or apricots)
– 1/4 cup of seeds (pumpkin seeds or sunflower seeds are great options)
– 1/2 teaspoon of sea salt
– Optional: 1/4 cup of your favorite nut butter for added stickiness and flavor
– Optional for chocolate lovers: 2 tablespoons of unsweetened cocoa powder
Remember, the best part about making your energy bars is the flexibility to swap ingredients based on what you have in your pantry or your dietary preferences.
Instructions:
-
Prep Work: Begin by lining an 8×8 inch baking dish with parchment paper. This will help you easily remove the bars once they’re set.
-
Blend the Nuts and Dates: In a food processor, blend the nuts and dates until they form a coarse mixture. This usually takes about 1 minute. It’s important not to overdo it; you want some texture in your bars.
-
Mix It All Together: Transfer your nut and date mixture to a large mixing bowl. Add in the shredded coconut, dried fruit, seeds, and sea salt. Now is also the time to mix in nut butter or cocoa powder if you’re using them. Use your hands or a spatula to mix everything together thoroughly.
-
Press Into the Pan: Pour the mixture into your lined baking dish. Using the back of a spoon (or your hands), press the mixture firmly into the dish. The more compact it is, the better your bars will hold together.
-
Chill and Slice: Place the dish in the fridge for at least an hour to set. Once the mixture is firm, lift the parchment paper out of the dish and slice your creation into bars or squares, depending on your preference.
-
Wrap and Go: Wrap individual bars in parchment paper or place them in airtight containers. They’re now ready to accompany you on your next adventure, whether it’s a day at the office or a hike in the great outdoors.
Storage:
Your homemade energy bars can be stored in the refrigerator for up to 2 weeks or in the freezer for a longer shelf life. Just be sure to let them thaw for a few minutes if you opt for the frozen route.
Benefits:
Creating your own energy bars not only gives you control over the ingredients but also ensures you have a wholesome, nutritious snack on hand. They are packed with energy, thanks to natural sugars from the dates and dried fruits, protein from the nuts, and healthy fats. Plus, they’re incredibly convenient for those busy days when you need a little boost but don’t want to compromise on your eating habits.
Conclusion:
Making your own paleo-friendly energy bars is a simple and rewarding process that can save you time and money in the long run. It’s also a fun way to experiment with different flavor combinations and find what you love best. By choosing high-quality, nutritious ingredients, you can enjoy a delicious snack that supports your health goals and keeps you energized throughout the day. Give it a try, and you might be surprised by how easy and satisfying it is to make your own on-the-go treats.