How to Make a Traditional Korean Bibimbap
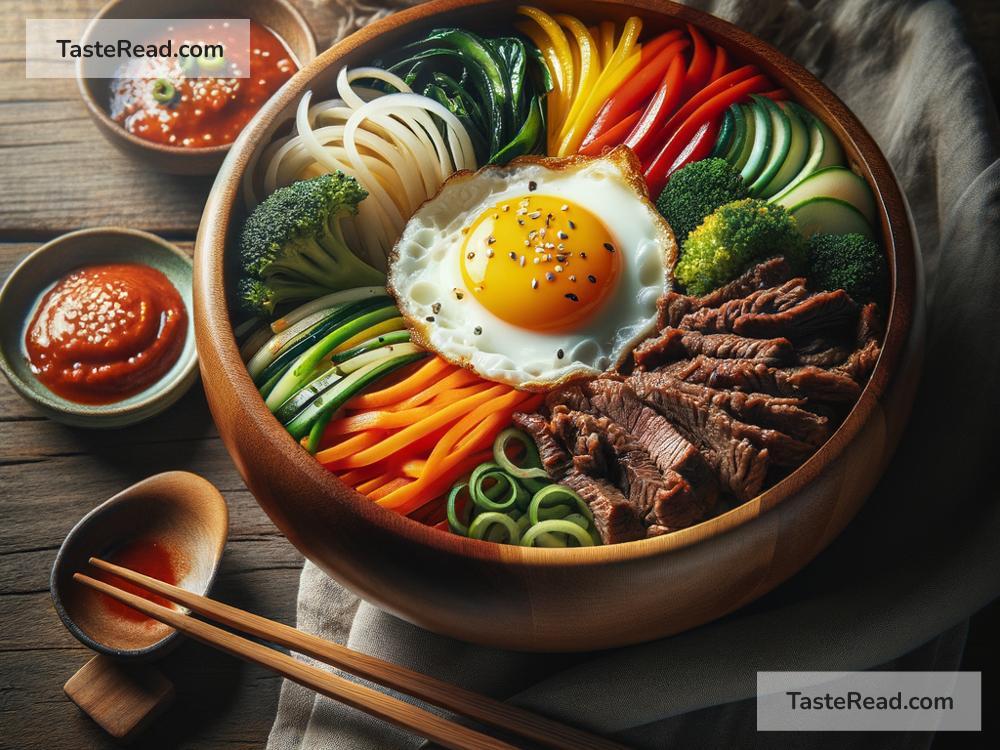
Bibimbap is a beloved Korean dish that is not only delicious but also a colorful feast for the eyes. This dish is a beautiful blend of rice, mixed vegetables, protein, and a spicy gochujang sauce. Its name literally means “mixed rice”, signaling the heart of its creation – mixing. It’s a versatile dish that allows for a lot of creativity and can be adjusted to fit any diet. Whether you are a seasoned chef or a cooking novice, making traditional Korean bibimbap can be simple and fun. Here’s how you can create this tasty meal in your own kitchen.
Ingredients:
To make bibimbap, you’ll need the following ingredients:
- Rice: The base of bibimbap. Use short or medium-grain rice for the best texture.
- Vegetables: Common choices include carrots, spinach, bean sprouts, and zucchini. Feel free to add your favorite veggies.
- Protein: Beef is traditional, but chicken, tofu, or even a fried egg can be used.
- Gochujang (Korean chili paste): This provides the distinctive spicy flavor. Adjust the amount according to your spice tolerance.
- Sesame oil and soy sauce: These are used for seasoning the vegetables and the meat.
- Garlic: For marinating the protein and adding flavor to the vegetables.
- Optional toppings: Common options include a fried egg, sesame seeds, and nori (seaweed) strips.
Instructions:
1. Prepare the Rice
Start by cooking your rice according to the package instructions. Remember, well-cooked rice is the foundation of a good bibimbap.
2. Cook the Vegetables
Each vegetable needs to be prepared differently:
- Spinach: Blanch in boiling water for 30 seconds, then quickly move to cold water to stop the cooking process. Squeeze out the excess water and season with a bit of soy sauce and sesame oil.
- Carrots and Zucchini: Julienned (cut into thin strips) and lightly sautéed in a pan with a small amount of oil. Season lightly with salt.
- Bean Sprouts: Blanch like spinach, then season with salt.
You should lightly salt or season each vegetable individually for the best flavor.
3. Prepare the Protein
If using beef or chicken, slice it thinly. Marinate the slices in a mixture of soy sauce, a little bit of sugar, minced garlic, and sesame oil for at least 30 minutes. After marinating, cook it in a pan over medium heat until well-done. If you’re vegetarian, you can pan-fry tofu slices instead or simply top your bibimbap with a fried egg.
4. Assemble the Bowl
With all the components ready, it’s now time to assemble your bibimbap. Start with a generous helping of rice as your base. Then, carefully place your cooked vegetables and protein on top in sections around the bowl. The idea is to present all the different colors and textures in an attractive way.
Pour over a little bit of sesame oil for an extra flavor boost. If you enjoy a crispy rice bottom (known as socarrat in paella or nurungji in Korean), you can put your bibimbap back on the stove in a stone bowl or pan for a few minutes to create that delicious crust.
5. Add the Gochujang
Add a dollop of gochujang on top of your bowl. The amount of gochujang you add depends on how spicy you want your bibimbap to be.
6. Mix and Enjoy
Before eating, mix all the ingredients together thoroughly—this is where bibimbap gets its name! The mixing allows all the flavors to meld together beautifully.
Customization and Tips:
The beauty of bibimbap lies in its versatility. Feel free to replace any of the vegetables with what you have on hand or prefer. Mushrooms, bell peppers, and radishes also make great additions. Traditional bibimbap is served in a heated stone bowl, which keeps the food warm and creates a crispy rice bottom, but any large bowl will do.
Eating healthy? Replace white rice with brown for a fiber boost. Looking for a vegan option? Omit the egg and use tofu as your protein. Bibimbap is all about making it your own.
Conclusion:
Bibimbap is a colorful, healthy, and utterly delicious dish that you can easily customize to suit your taste. By following these simple steps, you can create a traditional Korean meal that is sure to impress both your eyes and your palate. Enjoy the process of making each component, and don’t forget the joy in mixing everything together before taking that delicious first bite. Happy cooking!


