A Simple Guide to Exploring the Art of Pickling Vegetables for Lunch Accents
Introduction
Pickling isn’t just a method to preserve your favorite vegetables; it’s an art form that transforms the ordinary into extraordinary, adding a punch of flavor to any meal. Believe it or not, introducing pickled veggies into your lunch routine can elevate your meals from mundane to marvelous with little effort. And the best part? It’s surprisingly simple to get started. So, let’s dive into the colorful and tangy world of pickling vegetables for lunch accents.
What is Pickling?
At its core, pickling is a process that uses vinegar or saltwater brine to preserve and flavor vegetables. This method not only extends the shelf life of seasonal produce but also imbues them with a unique, tangy taste and crunchy texture, making them irresistible additions to any plate.
Benefits of Adding Pickled Vegetables to Your Meals
- Flavor Boost: Pickled vegetables pack a flavorful punch that can liven up any dish, from sandwiches and wraps to salads and grain bowls.
- Health Perks: Many pickled veggies offer probiotics, which are good for gut health, plus they’re low in calories and can contribute to your daily vegetable intake.
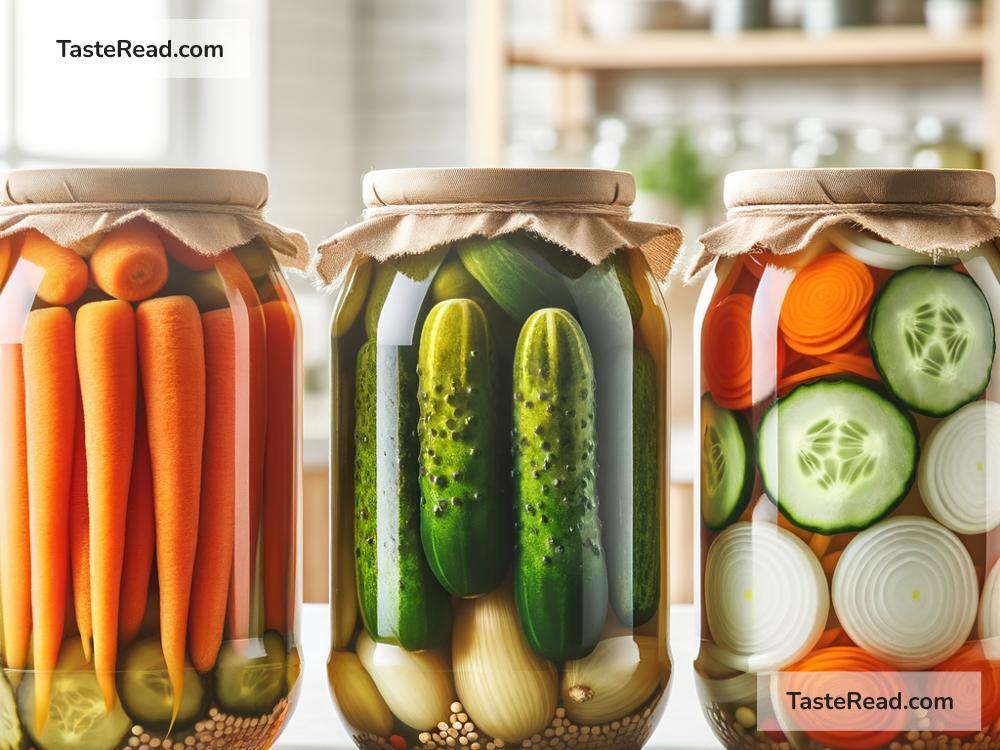
- Versatility: From cucumbers and carrots to more unique choices like radishes and green beans, there’s no limit to the types of vegetables you can pickle.
Getting Started with Pickling
Eager to start pickling? Here’s a simple recipe to kick off your pickling journey:
Simple Pickling Recipe
Ingredients:
- 1 cup of water
- 1 cup of vinegar (white or apple cider)
- 2 tablespoons of salt
- 2 tablespoons of sugar (optional, for a sweeter pickle)
- Your choice of vegetables (cucumbers, carrots, radishes, etc.)
- Spices and herbs (such as dill, mustard seeds, garlic, or peppercorns)
Instructions:
-
Prepare the Vegetables: Wash and chop your veggies into bite-sized pieces or slices, depending on your preference.
-
Create the Brine: In a pot, combine water, vinegar, salt, and sugar. Bring to a boil and stir until the salt and sugar dissolve.
-
Add Flavor: Place your chosen spices and herbs at the bottom of a clean, heatproof jar.
-
Jar the Veggies: Pack your vegetables tightly into the jar, leaving some space at the top.
-
Pour the Brine: Carefully pour the hot brine over the vegetables in the jar, ensuring they are completely submerged. Leave a bit of space at the top.
-
Seal and Cool: Close the jar with its lid and let it cool at room temperature. Once cool, refrigerate the pickles.
-
Patience Pays Off: For the best flavor, let the vegetables sit in the brine for at least 48 hours before enjoying them.
Incorporating Pickled Vegetables into Your Lunches
Now that you have your pickled delights, what’s next? Here are some creative ways to include them in your lunches:
- Sandwiches and Wraps: Add a tangy crunch to your sandwiches and wraps with slices of pickled cucumber, radish, or carrot.
- Salad Toppers: Elevate your greens by topping them with a handful of pickled veggies.
- Buddha Bowls: Create a colorful and healthy lunch bowl with grains, greens, and your pickled vegetables as a zesty element.
- Snacking: Don’t underestimate the joy of snacking on pickled vegetables straight from the jar!
Tips for Successful Pickling
-
Experiment with Flavors: Don’t be afraid to play with different spice and herb combinations to discover your favorite flavors.
-
Use Fresh Produce: For the crunchiest pickles, use vegetables that are fresh and in season.
-
Patience is Key: Allow your pickles enough time to develop their flavors. The longer they sit, the more pronounced the flavor.
Conclusion
Pickling is a fun, easy, and creative way to add excitement to your lunches. With some basic ingredients and a bit of experimentation, you can transform the humblest vegetables into gourmet treats that boost the taste and nutritional value of your meals. So why not start your pickling adventure today and discover the endless possibilities this age-old technique offers? Happy pickling!