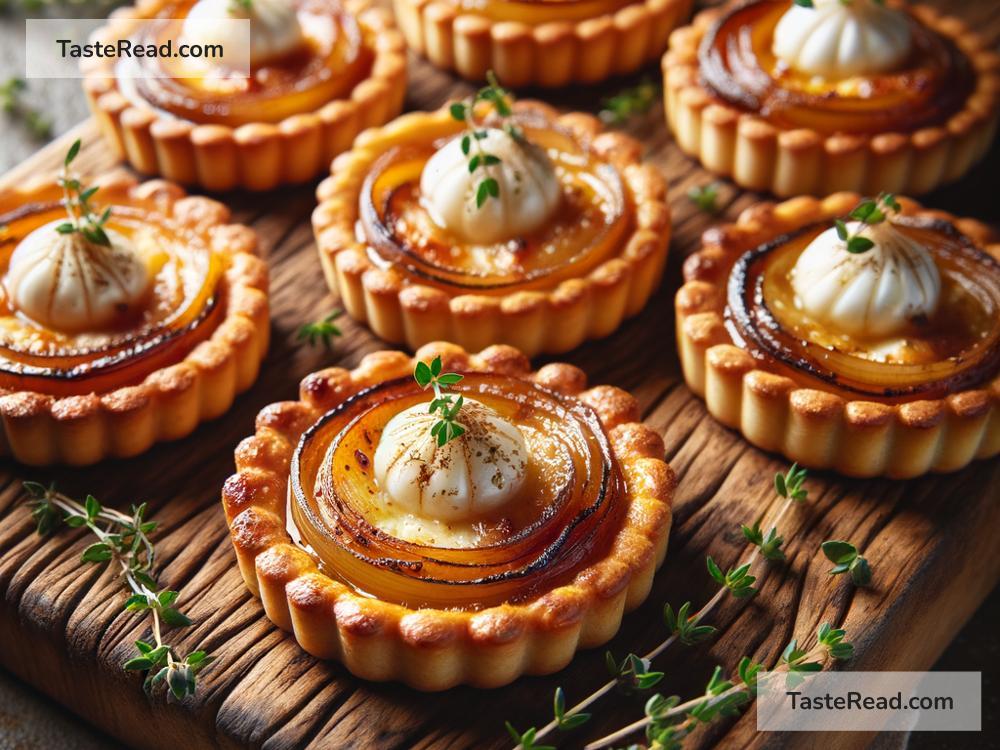
Dive into the Rich Flavors with Caramelized Onion and Goat Cheese Tarts
Looking for a show-stopping appetizer that’s sure to impress your guests? Why not try making caramelized onion and goat cheese tarts? These bite-sized delights are not only bursting with complex flavors but are also simpler to make than you might think. Here’s a step-by-step guide to crafting these savory treats, whether for a cozy night in or your next big gathering.
Ingredients You’ll Need:
Before diving into the kitchen, ensure you have the following ingredients ready:
– Puff Pastry Sheets: These are usually found in the freezer section of most grocery stores. Let them thaw as per the package instructions.
– Onions: About 2-3 large onions. Yellow onions are perfect for their balance of sweet and tangy.
– Goat Cheese: Roughly 150 grams (5.3 ounces). The tangy flavor of goat cheese pairs wonderfully with the sweetness of the onions.
– Olive Oil: For sautéing the onions.
– Butter: A small amount, adding depth to the onion’s flavor.
– Balsamic Vinegar: Just a splash to deglaze the pan and add a layer of umami.
– Salt and Pepper: For seasoning.
– Fresh Thyme: Optional, for garnish and a hint of freshness.
Step-by-Step Instructions:
1. Preparing the Onions:
Start by peeling and thinly slicing your onions. Don’t worry about perfection here; just aim for relatively even slices to ensure they cook at the same rate.
2. Caramelizing the Onions:
In a large pan, heat a mix of olive oil and butter over medium heat. Add your onions and a pinch of salt, then stir to coat. The key to caramelizing onions is patience – let them cook slowly, stirring occasionally, for about 20-30 minutes, or until they’re a deep golden brown. If the pan gets too dry, add a little more oil or a splash of water. Towards the end, add a splash of balsamic vinegar to deglaze the pan and add a layer of flavor.
3. Preparing the Puff Pastry:
While your onions are caramelizing, roll out your puff pastry on a flat surface. Using a cookie cutter or a knife, cut the pastry into small circles or squares, depending on your preference.
4. Pre-baking the Pastry:
Preheat your oven as per the pastry package’s instructions. Arrange your cut pastry pieces on a baking sheet lined with parchment paper. Using a fork, prick each piece a few times to prevent it from puffing up too much. Bake them in the oven for about 10 minutes or until they’re lightly golden. Remove and let them cool slightly.
5. Assembling the Tarts:
Once your onions are caramelized and your pastry shells are pre-baked, it’s time to assemble. Spread a small amount of goat cheese on each pastry, followed by a spoonful of caramelized onions.
6. Final Baking:
Pop the assembled tarts back into the oven for another 5-10 minutes or just until the cheese is slightly melted and the pastry edges are a rich golden brown.
7. Serving:
Allow the tarts to cool for a few minutes before transferring them to a serving platter. Garnish with a sprinkle of fresh thyme leaves for an aesthetic touch and a pop of flavor.
Tips for Success:
- Patience is Key for Caramelizing: Rushing this step can lead to burnt onions. Low and slow is the mantra.
- Size Matters: When cutting your pastry, consider the size of your appetizers. Smaller sizes are great for finger food, while larger ones can be good starters.
- Pre-bake the Pastry: This step ensures your pastry doesn’t get soggy from the topping and maintains its crispiness.
- Experiment with Flavors: Feel free to add a personal touch with different herbs or a sprinkle of spices on top for an extra flavor boost.
Why These Tarts?
Caramelized onion and goat cheese tarts strike a perfect balance between sweet and tangy, crispy and creamy. They’re not only a delight to the taste buds but also to the eyes, making them a perfect starter for any occasion. Plus, the process of making them, especially caramelizing the onions, fills your kitchen with an aroma that’s sure to get everyone’s stomachs rumbling.
So, whether you’re hosting a wine night, a family dinner, or just treating yourself, these tarts are a wonderful choice. Follow this simple guide and prepare to bask in the glory of your culinary creation. Enjoy!