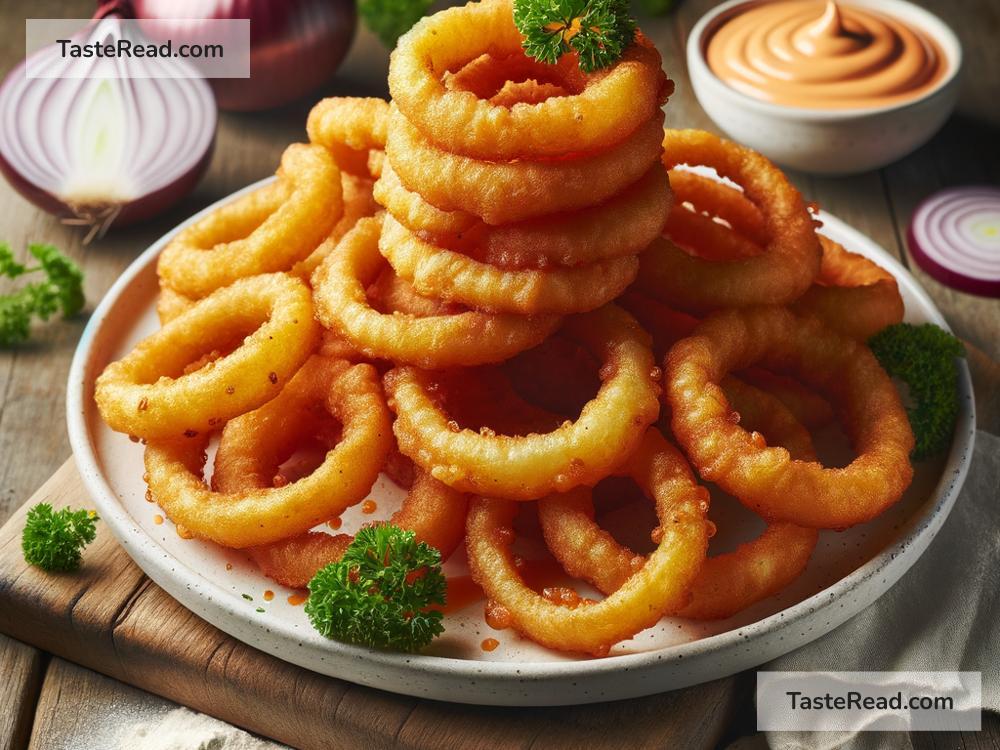
Title: The Ultimate Guide to Making Crispy Onion Rings for a Crunchy Appetizer
Are you looking to impress your guests or simply treat yourself to a delicious snack? Crispy onion rings are a classic favorite for many – they are crunchy, flavorful, and surprisingly easy to make at home. Forget the frozen versions or takeaway options; nothing beats homemade onion rings fresh from the fryer. Here’s a straightforward guide on how to prepare crispy onion rings that will leave everyone asking for seconds.
Ingredients You’ll Need:
- 2 large onions
- 1 cup all-purpose flour
- 1 tablespoon baking powder
- 1 tablespoon paprika
- 1 teaspoon salt
- 1 egg
- 1 cup milk
- Bread crumbs (optional for extra crunch)
- Oil for frying
- Salt and pepper to taste
Step 1: Prepare the Onions
Start by peeling your onions and slicing them into approximately 1/4-inch-thick rings. Separate the rings carefully to avoid breaking them. It’s essential to have rings of consistent thickness so they will cook evenly. Once done, set them aside on a plate or a rack.
Step 2: Create Your Batter
In a large mixing bowl, combine the flour, baking powder, paprika, and salt. These dry ingredients will create the base of your batter, giving the onion rings their flavor and crispy texture. In another bowl, whisk together the egg and milk until well combined. Gradually add the wet ingredients to the dry ingredients, stirring continuously to avoid clumps. The batter should be smooth and thick enough to coat the back of a spoon. If it’s too thick, you can add a little more milk; if it’s too thin, add a bit more flour.
Step 3: Dredge the Onion Rings
Before frying, it’s time to dredge the onion rings in the batter. Dip each ring into the batter, ensuring it’s completely coated. Allow the excess batter to drip off. Then, if you opted for extra crunch, roll the battered rings in bread crumbs until well coated. This step will give your onion rings an additional crispy layer.
Step 4: Frying to Perfection
Heat the oil in a deep fryer or a deep pan to about 375°F (190°C). It’s crucial for the oil to be at the right temperature; too hot, and the onion rings will burn outside while being raw inside; too cool, and they’ll be greasy and soggy.
Carefully lower the coated onion rings into the hot oil. Don’t overcrowd the pan, as this can cause the rings to stick together and cook unevenly. Fry the rings in batches, turning them once, until they turn golden brown and crispy. This usually takes about 2 to 3 minutes per batch.
Step 5: Serve and Enjoy
Once the onion rings are golden and crispy, use a slotted spoon to remove them from the oil. Drain them on paper towels to remove excess oil. Sprinkle with salt and pepper while they’re still hot. Serve your crispy onion rings immediately with your favorite dipping sauce – think ketchup, mayonnaise, or a tangy barbecue sauce.
Tips for the Perfect Crispy Onion Rings:
- Use cold onions: Chilled onions tend not to soften too much when fried, ensuring a better texture.
- Dry your onion rings before battering: Pat the onion slices dry with a paper towel to remove excess moisture. This helps the batter stick better.
- Get creative with your batter and seasonings: Feel free to experiment by adding different spices to your batter, like garlic powder, onion powder, or even a bit of cayenne pepper for a kick.
- Reheating: If you have leftovers or you made a big batch ahead of time, reheat your onion rings in the oven on a wire rack at 350°F (175°C) for about 10-15 minutes to keep them crispy.
Crispy onion rings are a delightful appetizer or side dish that are not only easy to make but also a surefire hit with any crowd. By following this simple guide, you’ll be able to whip up a batch of deliciously crunchy onion rings that will rival any restaurant’s version. So, the next time you’re in the mood for something crispy and satisfying, give this recipe a try – your taste buds will thank you!


