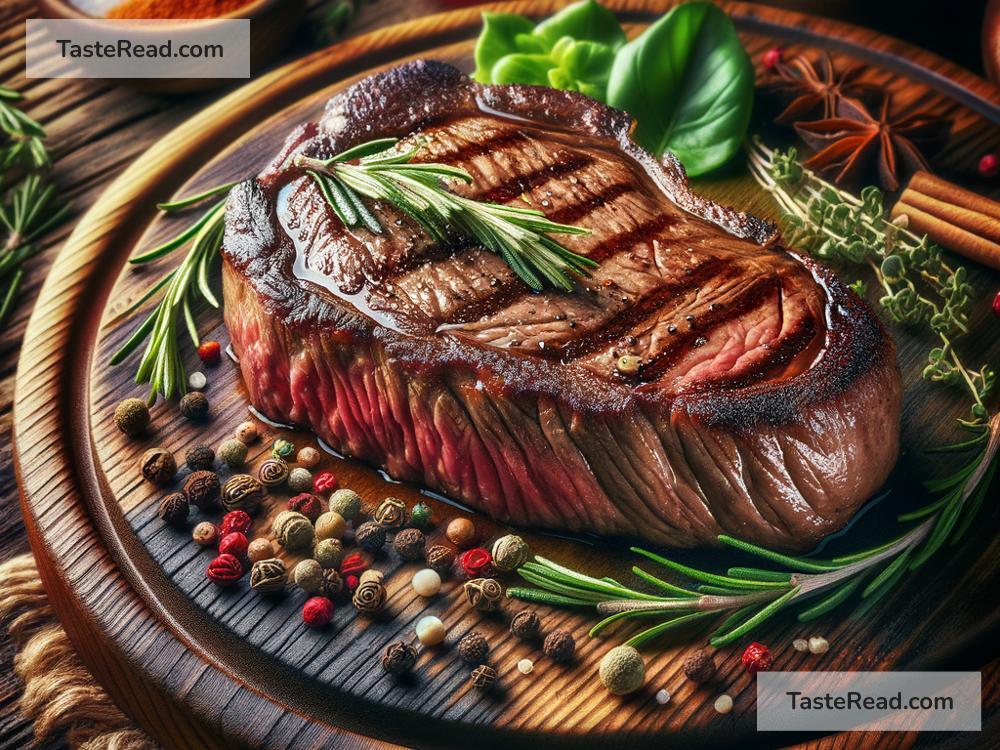
Advanced Techniques for Achieving the Perfect Sear on Steaks
Everyone loves a good steak, especially one that’s been cooked to perfection with a delicious, crispy sear on the outside. That golden, caramelized crust is not just about taste; it’s about texture, aroma, and elevating the steak to a whole new level. If you’re looking to step up your steak game and achieve that perfect sear every time, let’s dive into some advanced techniques that will make your next steak unforgettable.
1. Start with the Right Cut
The journey to a perfect sear starts well before your steak hits the pan. Choosing the right cut is crucial. Opt for cuts like ribeye, T-bone, or New York strip, which are well-marbled with fat. Fat is a key player in achieving richness and helps in creating that iconic crust.
2. Bring It to Room Temperature
Patience is a virtue, especially when prepping your steak. Take your steak out of the fridge and let it sit for about 30 to 40 minutes until it reaches room temperature. This ensures your steak cooks evenly, preventing that dreaded raw center with an overcooked exterior.
3. Dry It Out
Moisture is the enemy of a good sear. Use paper towels to pat your steak dry on all sides thoroughly. Extra moisture on the steak’s surface will steam before it sears, robbing you of that golden crust. Consider also leaving the steak uncovered in the fridge for a few hours or overnight. The circulating air will dry out the surface, which is perfect for searing.
4. Crank Up the Heat
High heat is essential. Whether using a cast iron skillet, griddle, or grill, make sure it’s screaming hot before your steak touches down. This high heat is what creates the Maillard reaction, a chemical process that gives browned food its distinctive flavor. If using a skillet, heat it until it just starts to smoke, then you’re ready to go.
5. Salt and Oil Are Your Best Friends
Right before cooking, season your steak generously with coarse salt. Salt not only flavors the meat but also draws moisture to the surface, aiding in the sear. When it comes to oil, choose one with a high smoke point like canola, vegetable, or grapeseed oil. Apply a thin layer directly to your steak instead of the pan. This ensures an even coat and prevents excess smoke.
6. Let It Sear
Once your steak hits the pan, resist the urge to move it. Let the steak sear untouched for a few minutes. This contact without disturbance is what creates that delectable crust. Depending on thickness, 3-4 minutes per side should suffice for a medium-rare finish on most steaks.
7. Use a Thermometer
To avoid guesswork and ensure perfect doneness, use a meat thermometer. Insert it sideways into the center of the steak. For medium-rare, look for a temperature of about 130°F (54°C). Remember, the steak will continue to cook a little after it’s removed from the heat, so pull it off a few degrees before your target temp.
8. Rest Your Steak
Resting is as crucial as the cooking process itself. Once off the heat, let your steak rest for about half its cooking time. This allows the juices to redistribute throughout the meat, ensuring every bite is flavorful and succulent. Covering it loosely with foil will keep it warm without sweating the meat.
9. Slice Against the Grain
Observing the direction of the muscle fibers, slice against the grain for maximum tenderness. This technique shortens the fibers, making the steak easier to chew and enhancing the overall experience.
10. Experiment with Compound Butter or Herbs
After perfecting your sear, experiment with flavors. Compound butter, herbs, or a squeeze of lemon can add an extra dimension to your steak. Place your choice of enhancement on the steak during its resting period to imbue it with aromas and flavors without compromising the crust.
Mastering the perfect sear on a steak is a culinary achievement that’s both satisfying and delicious. By following these advanced techniques, you’re well on your way to elevating your steak dinners to professional standards. Remember, cooking is as much about intuition as it is about technique, so don’t be afraid to experiment and tweak these methods to suit your taste. Happy cooking!