How to Achieve Balanced Lighting in Food Photography
When it comes to making your food photos pop, balanced lighting plays a crucial role. It’s all about making the dish look as appetizing and natural as possible, which can be quite the challenge if you’re not sure where to start. In this guide, we will walk you through some simple, yet effective techniques to achieve that perfect glow in your food photography. Let’s get into it!
Understanding the Basics of Lighting
First things first, let’s talk about the basic types of lighting you’ll encounter:
– Natural light: This comes from the sun. It’s free, and when used correctly, it can produce beautiful, soft, and natural-looking photos.
– Artificial light: These are light sources like lamps and LED panels. They’re great because you can control them, no matter the time of day or weather conditions.
Each type has its benefits, and often, photographers will use a mix of both to get the best results.
1. Start with Natural Light
Natural light is a powerful tool in food photography. It tends to be softer and more diffused compared to direct artificial light, which can create harsh shadows. To utilize natural light:
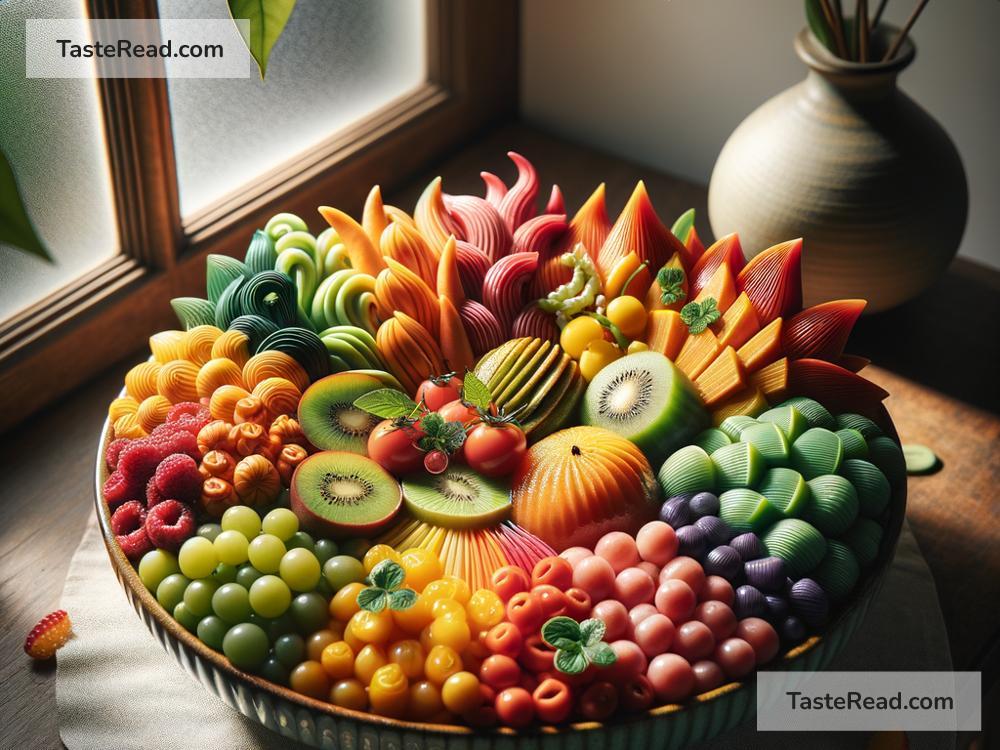
– Position your setup near a window: This will give you a good source of natural light. Remember, the time of day affects the color and intensity of light, so experiment with shooting at different times.
– Use a reflector: This can be anything from a professional reflector to a simple piece of white cardboard. Use it to bounce light back onto your subject, filling in unwanted shadows.
2. Soften the Artificial Light
If you’re using artificial light, the key is to soften it, so it mimics natural light. Harsh light can create unappealing shadows and highlights. Here’s how to soften artificial light:
– Use diffusers: These can be professional softboxes or something as simple as a piece of white fabric or paper between the light and the subject.
– Bounce the light: Instead of pointing your light source directly at the food, try bouncing it off a wall or ceiling. This creates a more even, diffused lighting.
3. Play with Angles
The angle of your light can dramatically change the look and feel of your photo. Most food photographers prefer one of these lighting setups:
– Side lighting: This is when the light comes from either side of the food. It’s great for emphasizing texture and details.
– Backlighting: When the light comes from behind the food, it can create a glowing effect, making transparent or liquid items look particularly appealing.
Experiment with different angles to see which one complements your dish the best.
4. Mind the Shadows
Shadows can either be your friend or foe in food photography. They add depth and dimension but can also obscure detail if they’re too harsh. To manage shadows:
– Adjust the light position: Sometimes, moving your light source just a bit can soften unwanted shadows.
– Use fill lights or reflectors: These can help lighten the shadows, making the details of the food more visible.
5. Keep It Consistent
When conducting a food photo shoot, especially if it involves multiple dishes, maintaining consistent lighting is key. This doesn’t mean every photo should look the same, but the light quality and direction should be similar across all shots for a harmonious look in your portfolio or cookbook.
6. Practice and Experiment
Finally, the best advice is to keep practicing and experimenting. Each type of food has its unique challenges when it comes to lighting. What works for a shiny bowl of soup might not work for a textured salad. By experimenting with different lighting setups, you’ll start to understand what techniques best suit different situations.
Wrapping Up
Achieving balanced lighting in food photography might seem daunting at first, but with these tips and practices, you’ll be on your way to capturing mouth-watering images. Remember, the goal is to make your food look its best, inviting viewers to want to reach into the picture and take a bite. With the right lighting, you can make any dish look like a star!


