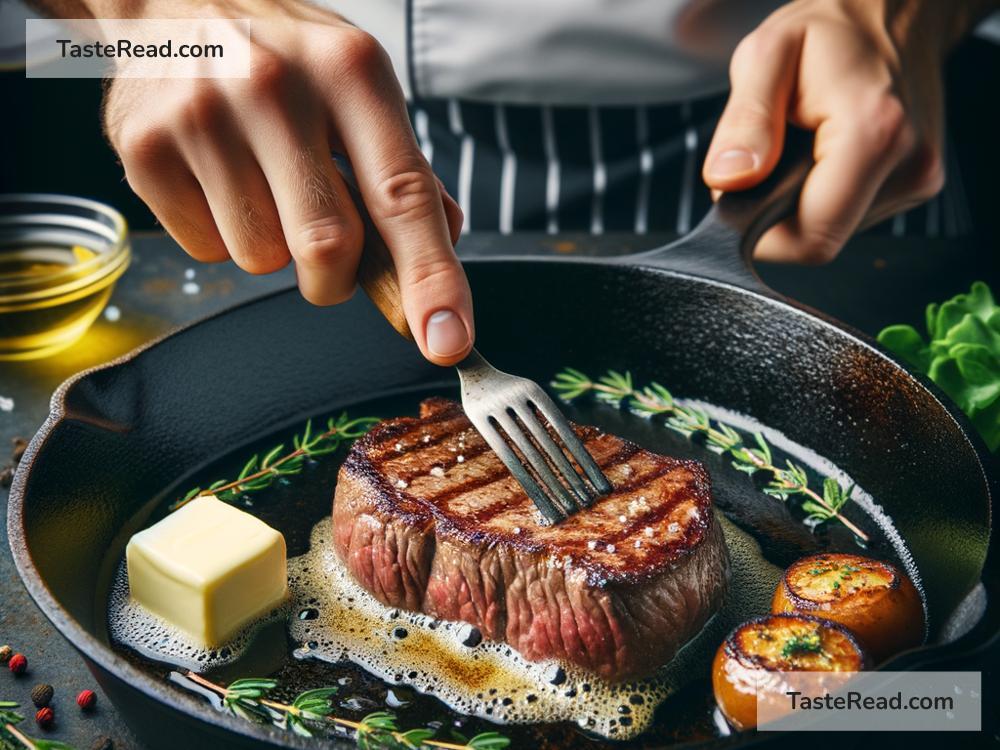
Unlock the Secret to Achielecting the Perfect Sear on Steaks and Chops
When it comes to cooking steaks and chops, achieving that perfect sear is like the holy grail of grilling and pan-frying. A well-executed sear not only adds a delicious crust but also locks in the flavors and juices, turning a good piece of meat into a memorable meal. If you’ve been struggling to get that chef-like sear at home, worry not. With a few simple tips and tricks, you’ll be on your way to mastering the art of searing. Let’s dive in!
1. Start with the Right Meat
The first step towards achieving a perfect sear is selecting the right piece of meat. Look for steaks or chops with a good amount of marbling (fat running through the meat). This fat melts as you cook, adding flavor and aiding in the caramelization process that contributes to a great sear.
2. Bring Your Meat to Room Temperature
Before you even think about firing up your stove or grill, make sure to take your meat out of the fridge and let it come to room temperature, usually for about 30 minutes to an hour depending on the thickness. This step ensures that your meat cooks evenly throughout, preventing that dreaded raw middle and overcooked exterior.
3. Dry It Off
Moisture is the enemy of a good sear. Pat your steaks or chops dry with paper towels to get rid of any excess moisture. The drier your meat, the better the sear since water steams and steaming prevents browning.
4. Crank Up the Heat
Whether you’re using a pan or a grill, make sure it’s screaming hot before you add the meat. High heat is crucial as it creates a faster and more consistent searing across the meat’s surface. For pans, a cast-iron skillet is highly recommended because it retains heat really well. Just remember to give it enough time to preheat.
5. Season Generously
Right before cooking, season your meat generously with salt and pepper. Salt not only enhances flavor but also helps in creating a great crust. If you’re using additional spices or rubs, now is the time to add them as well.
6. No Touchy
Once your meat hits the pan or grill, resist the urge to move it around. Let it sear uninterrupted for a few minutes until it naturally releases from the cooking surface. This patience will be rewarded with a beautifully browned and even crust. The length of time will depend on the thickness of your meat and your desired doneness, but a general rule of thumb is about 3-4 minutes per side for a medium-rare steak.
7. Flip It Just Once
After the first side has achieved a perfect sear, flip it over to sear the other side. Flipping multiple times doesn’t just risk ruining the crust you’ve so patiently developed, but it can also lead to uneven cooking.
8. Finish It Off
Depending on the thickness of your meat and your desired level of doneness, you may need to finish cooking it in the oven, especially for thicker cuts. This slow and steady heat helps cook the inside without overcooking the outside. A meat thermometer is your best friend here to ensure perfect results every time. For medium-rare, aim for an internal temperature of about 130-135°F.
9. Let It Rest
Resist the temptation to slice into your meat right away. Resting allows the juices to redistribute throughout the steak or chop, ensuring every bite is as juicy as the first. A good 5-10 minutes under a loose foil tent should do the trick.
10. Enjoy!
Congratulations! You’ve just mastered the art of achieving the perfect sear on steaks and chops. All that’s left is to slice, serve, and bask in the glory of your culinary achievement.
Achieving the perfect sear might seem like a daunting task initially, but with practice and patience, anyone can become a sear master. Remember, cooking is as much about the journey as it is about the destination. So have fun with it, experiment, and enjoy the delicious rewards of your labor. Happy cooking!


