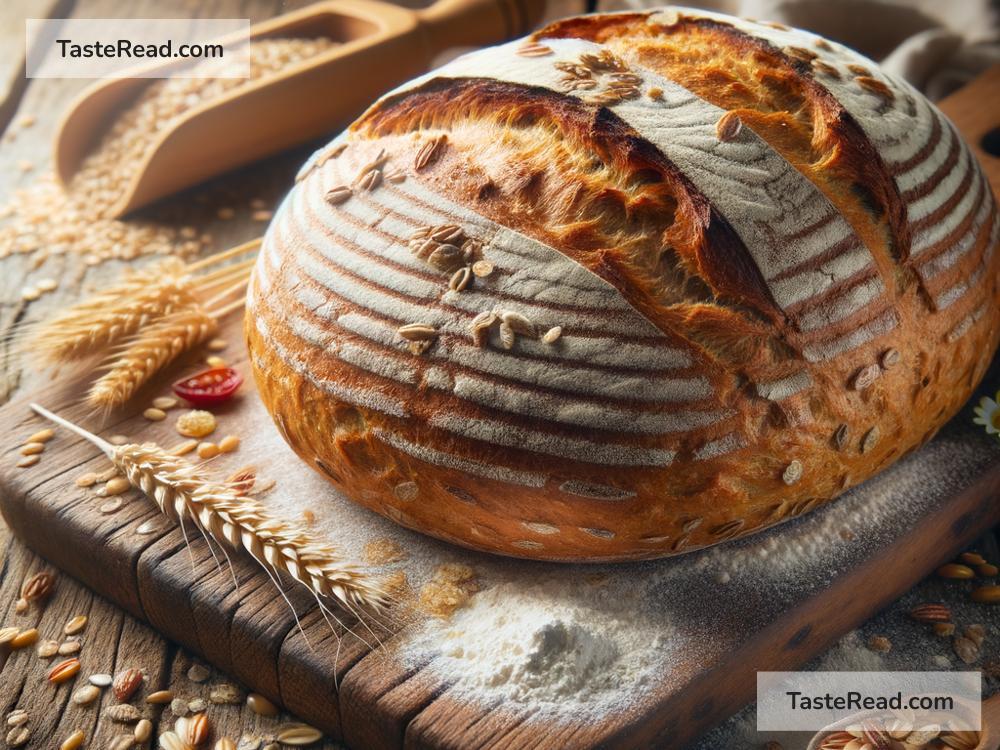
How to Bake Multi-Grain Bread with Perfect Texture
Baking bread at home can seem like a daunting task, especially if you’re aiming for that perfect multi-grain loaf with just the right texture. But don’t worry! With these simple steps and some patience, you’ll be baking delicious, healthy multi-grain bread with a great texture in no time. So, let’s dive into the world of bread-making and discover how to create that perfect loaf.
Ingredients You’ll Need:
- 2 cups of bread flour
- 1 cup of whole wheat flour
- 1/2 cup of multi-grain cereal mix (soaked overnight in water)
- 1 tablespoon of instant yeast
- 1 1/2 teaspoons of salt
- 2 tablespoons of honey or sugar
- 2 tablespoons of vegetable oil
- Approximately 1 cup of warm water
- Optional: seeds or nuts for topping
1. Preparing Your Ingredients
The secret to a great multi-grain bread starts with soaking your multi-grain cereal mix overnight. This step is crucial for achieving the perfect texture as it softens the grains, ensuring they’re not too hard in the final product. Before starting, also ensure your other ingredients are measured and ready to use.
2. Mixing Your Dough
In a large bowl, combine the bread flour, whole wheat flour, and salt. Then, stir in the yeast. Next, add the soaked multi-grain cereal (make sure to drain any excess water first), honey (or sugar), and vegetable oil. Gradually add warm water and begin mixing everything together. You can start with a spoon and then move on to using your hands once the dough starts forming.
Remember, you’re looking for a dough that’s sticky but not overly wet. You might not need all the water, or you might need a little more—adjust as necessary.
3. Kneading Your Dough
Now, onto one of the most crucial stages: kneading. Dust a clean surface with a little flour and transfer your dough. Start kneading by pushing the dough with the heels of your hands, folding it over, and repeating. Knead for about 10 minutes, or until the dough becomes smooth and elastic. This process develops the gluten in the flour, which is key to getting that perfect texture.
4. Letting the Dough Rise
Once your dough is nicely kneaded, place it in a large, oiled bowl, and cover it with a damp cloth. Let it sit in a warm spot for about 1 to 2 hours, or until it doubles in size. This is where the yeast does its magic, creating air pockets that will make our bread light and fluffy.
5. Shaping and Second Rise
After the first rise, punch the dough down gently to release any excess air. Shape it into a loaf by tucking the edges under and place it in a greased loaf pan. If you like, now is the time to sprinkle the top with your choice of seeds or nuts. Cover it again and let it rise for another hour, or until it puffs up nicely above the rim of the pan.
6. Baking Your Bread
Preheat your oven to 375°F (190°C). Once it’s up to temperature and your loaf has risen, bake your bread for about 35-40 minutes. You’ll know it’s done when the top is golden brown, and the loaf sounds hollow when tapped on the bottom.
Tip: If you find the top of your bread is browning too quickly, place a piece of aluminum foil over it to prevent burning.
7. Cooling and Enjoying
After taking your bread out of the oven, let it cool in the pan for about 10 minutes. Then, transfer it to a wire rack to cool completely. This cooling process helps the texture to set, so resist the temptation to slice into it too soon!
And there you have it—a beautiful loaf of homemade multi-grain bread with the perfect texture. Whether you’re enjoying it toasted with jam, as the base for a hearty sandwich, or simply with a slather of butter, you can taste the love and effort you’ve put into creating this wholesome, delicious bread. Happy baking!


