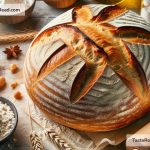
Baking scones that come out with the perfect texture every time might seem like a magic trick to some. But, believe me, it’s much easier than you might think. You do not need to be a professional baker or have special equipment to create that bakery-quality goodness at home. Today, I’m here to guide you through the steps to achieve perfectly textured scones every single time you bake them. So, let’s dive in.
The Secret to Scone Success
Perfectly textured scones are all about the right ingredients and the right technique. You want them to be light and flaky, but also moist and just dense enough to hold their shape. It sounds like a tall order, but I’ve broken down the process into simple steps anyone can follow.
Step 1: Choose Your Ingredients Wisely
First things first, the foundation of a great scone is quality ingredients. Make sure your baking powder is fresh, as it’s crucial for that lovely rise. Opt for cold butter – the colder, the better – as this contributes to the flakiness of your scones. And when it comes to your choice of dairy, full-fat options tend to promise more flavor and a richer texture.
Step 2: Mix Dry and Wet Ingredients Separately
It’s tempting to throw everything into one bowl and mix, but restraint here is key. Start by whisking together your dry ingredients – that’s your flour, baking powder, sugar, and a pinch of salt. In another bowl, beat together your wet ingredients, which typically include milk and an egg. This approach ensures an even distribution of ingredients, helping to avoid overmixing – the nemesis of light, airy scones.
Step 3: Cold Butter is Your Best Friend
The secret to achieving that coveted flaky texture? Cold butter. Instead of melting or softening it, cut the butter into small cubes or grate it with a cheese grater, then work it into the dry ingredients just until you have a crumbly mixture. Some larger butter lumps are fine – they’ll melt as they bake, creating those delicious pockets of air.
Step 4: Don’t Overwork the Dough
Once you combine the wet and dry ingredients, gently fold them together until just combined. Overworking the dough develops the gluten, leading to tough scones. Think of the process less like stirring and more like folding, using a cutting motion with your spatula or knife. The dough should be sticky but manageable.
Step 5: Chill the Dough
If there’s one extra step you shouldn’t skip, it’s chilling the dough before baking. Even just 30 minutes in the refrigerator makes a world of difference. Chilling helps solidify the fat, meaning it takes longer to melt in the oven, which is essential for creating those flaky layers.
Step 6: Shape and Cut with Care
When shaping your scones, resist the urge to roll out the dough too flat. Keeping it about an inch thick ensures that your scones have room to rise upward, not just outward. Use a round cutter (or even the rim of a glass) to press straight down without twisting; twisting seals the edges, impeding that desirable vertical rise.
Step 7: Brush with Love (and Egg Wash)
An egg wash (a beaten egg mixed with a bit of water or milk) brushed over the tops of your scones before baking gives them a beautiful golden sheen and a slight crispiness. It’s like the cherry on top – not strictly necessary, but it makes a noticeable difference.
Step 8: Oven Precision
Accuracy is key when it comes to baking temperature. Preheat your oven as you start your scone prep, ensuring it’s at the right temperature by the time your scones are ready to go in. Baking at too low a temperature can prevent scones from rising properly, while too high can lead to a burnt exterior and undercooked middle.
Step 9: Watch the Clock
Keep an eye on your baking time. Scones don’t take long to bake – usually around 12 to 15 minutes, depending on their size. They’re done when they’re a lovely golden brown and sound slightly hollow when tapped on the bottom.
Last but not Least: Enjoy!
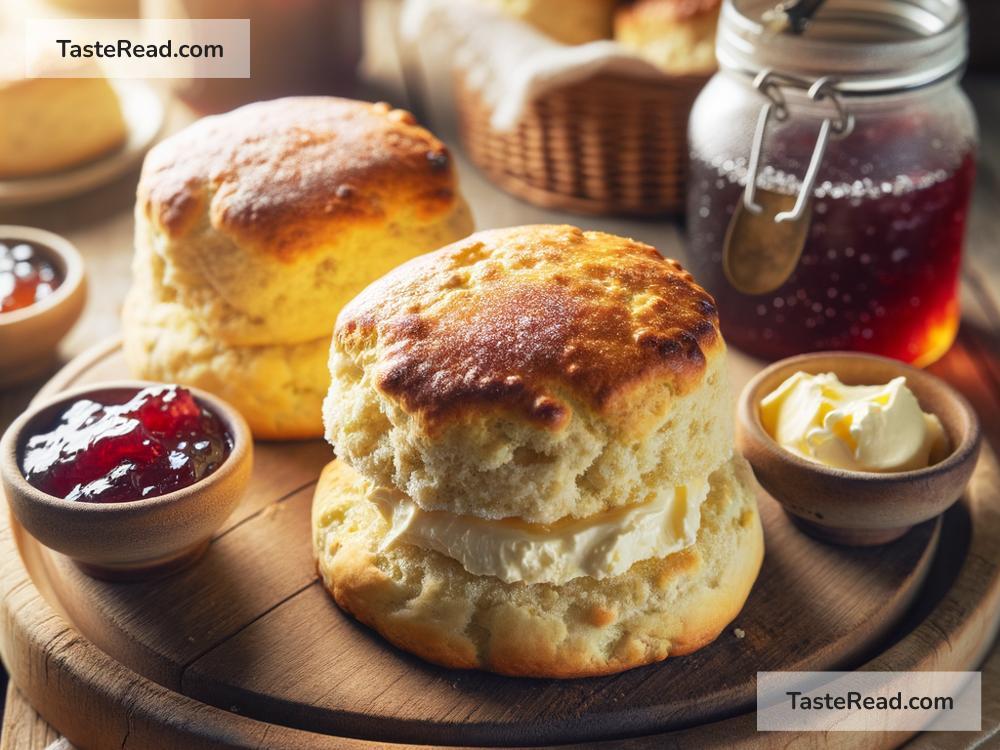
The final step, and undoubtedly the most enjoyable, is eating your freshly baked scones. Split them open while still warm, slather with your favorite jam and a dollop of clotted cream or butter, and enjoy the fruits of your labor.
Wrapping Up
Baking perfectly textured scones doesn’t have to be a daunting task. With the right approach and a bit of practice, you’ll be whipping up batches that are the envy of all your friends. Remember, baking is as much about the journey as it is about the destination. So, have fun experimenting and find what works best for you. Happy baking!