Capturing the Decadence of Desserts in Photography
Desserts are not just a treat for the palate but also a feast for the eyes. The allure of perfectly piped frosting, the glimmer of a sugar-coated pastry, or the vibrant swirl of a fruit tart can evoke emotions and cravings. This is why photographing desserts is not just about taking a snapshot of a sweet treat; it’s about capturing the decadence, the allure, and the temptation that desserts embody. Here’s how to make sure your dessert photography does just that, in a way that’s simple and achievable, even for beginners.
1. Lighting is Key
Good lighting is paramount in photography, and dessert photography is no exception. The ideal scenario is to use natural light, which beautifully highlights the textures and colors of your dessert. Position your dessert near a window where it can bask in soft, diffused light. Avoid direct sunlight, as this can create harsh shadows and overexposed spots. If shooting indoors without natural light, a softbox or an LED panel that mimics natural light can be useful. Remember, the goal is to make the dessert look as inviting as possible.
2. Focus on Texture
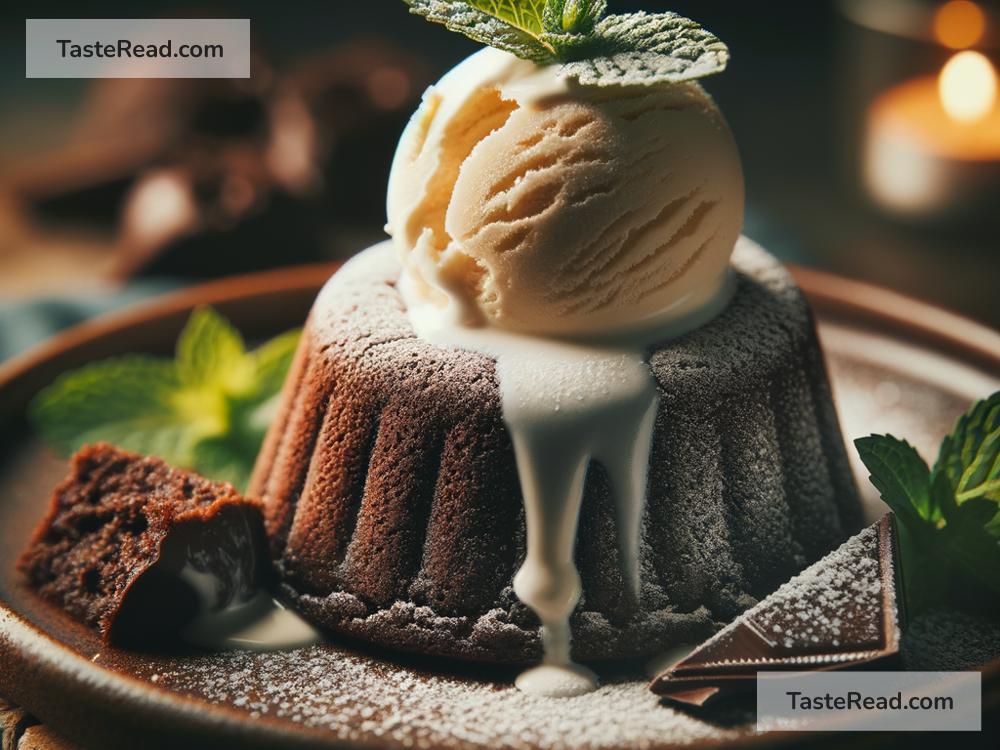
Desserts come in a delightful array of textures that, when captured correctly, can make a photo come alive. The crack of a crème brûlée, the flakiness of a croissant, or the gooeyness of a chocolate lava cake – these textures tell a story. Use a macro lens if you have one, to get in close and capture these details. Play with the depth of field, using a wider aperture (a lower f-stop number) to blur the background and ensure the focus is solely on the texture of the dessert.
3. Play with Angles
The right angle can dramatically change the story you’re telling with your dessert photo. Overhead shots work great for desserts that are more spread out or have interesting toppings, like a pizza-style dessert or a fruit tart. For layered desserts like cakes or parfaits, a side angle can be more effective to show off those layers. Don’t be afraid to experiment with different angles to find the most flattering shot for your dessert.
4. Color Matters
Desserts often feature vibrant colors that can make your photo pop. Use this to your advantage. A red velvet cake against a neutral background, for example, can make the color of the cake stand out even more. Alternatively, matching your dessert with a similarly colored background can create a pleasing monochrome effect. Be mindful of color theory; complementary colors can make your dessert appear even more appetizing.
5. Styling and Props
The way you style your dessert and the props you choose can add layers of storytelling to your photo. A sprinkle of powdered sugar, some fresh berries, or a dollop of cream can not only enhance the look of the dessert but also suggest how it might taste. Props should complement, not overpower, the dessert. Think of using vintage spoons, elegant plates, or rustic tablecloths that match the mood of your dessert. Remember, less is often more. You want the focus to be on the dessert, not on a cluttered table.
6. Post-Processing
Finally, don’t underestimate the power of post-processing. Even a simple edit can enhance your photo significantly. Adjusting the brightness, contrast, and saturation can help your dessert photo look more vibrant and appealing. Be careful not to overdo it; your aim should be to enhance the photo to look like the best version of itself, not to turn it into something it’s not.
In Conclusion
Capturing the decadence of desserts in photography is about more than just taking a picture of a sweet treat. It’s about highlighting the beauty, the textures, and the colors of the dessert in a way that appeals to the senses. By focusing on good lighting, playing with angles, emphasizing texture and colors, carefully styling your shot, and applying thoughtful post-processing, you can create mouth-watering dessert photos that look as good as those desserts taste. So, grab your camera, and let the sweet shooting begin!