A Step-by-Step Guide to Baking a Rich and Dense Chocolate Fudge Cake
There’s something incredibly comforting about a slice of rich and dense chocolate fudge cake. It’s like a warm hug for your taste buds, perfect for any occasion, or simply when you’re in need of a chocolate fix. If you’ve always wanted to bake one at home but weren’t sure how, I’ve got you covered. In this simple guide, I’ll walk you through the process of baking this decadent treat from scratch. Let’s get started!
Ingredients:
First, make sure you’ve got all your ingredients. For this cake, you’ll need:
- 1 ¾ cups of all-purpose flour
- 2 cups of sugar
- ¾ cup of unsweetened cocoa powder
- 2 teaspoons of baking soda
- 1 teaspoon of baking powder
- 1 teaspoon of salt
- 2 large eggs
- 1 cup of buttermilk (or make your own by adding a tablespoon of white vinegar to a cup of regular milk)
- ½ cup of vegetable oil
- 2 teaspoons of vanilla extract
- 1 cup of hot water or hot coffee (the heat enhances the chocolate flavor)
Instructions:
Step 1: Preheat and Prepare
Before anything else, preheat your oven to 350°F (or 175°C). This ensures your oven is at the right temperature when your cake is ready to go in. Then, grease your cake pan (9×13 inch works great) with a little butter or cooking spray and lightly flour it.
Step 2: Mix the Dry Ingredients
Take a large bowl and sift together your flour, sugar, cocoa powder, baking soda, baking powder, and salt. Sifting not only removes any lumps but also aerates the ingredients, leading to a lighter cake. Whisk these ingredients together until they’re well combined.
Step 3: Add the Wet Ingredients
In the same bowl, add the eggs, buttermilk, oil, and vanilla extract. Mix these together using a hand mixer or a sturdy whisk until the mixture is smooth and well incorporated. It might look a bit runny compared to other cake batters, but that’s what contributes to the fudge-like texture of the final product.
Step 4: The Hot Water/Coffee Magic
Finally, stir in the hot water or coffee. The batter will be very liquid at this point, but don’t panic; this is key to a moist and fudgy cake.
Step 5: Bake your Heart Out
Pour the batter into your prepared cake pan and gently tap it on your counter to remove any air bubbles. Slide it into the preheated oven and bake for 30-35 minutes, or until a toothpick inserted into the center comes out clean. The baking time might vary depending on your oven, so it’s good to start checking at around the 30-minute mark.
Step 6: Cool and Frost (Optional)
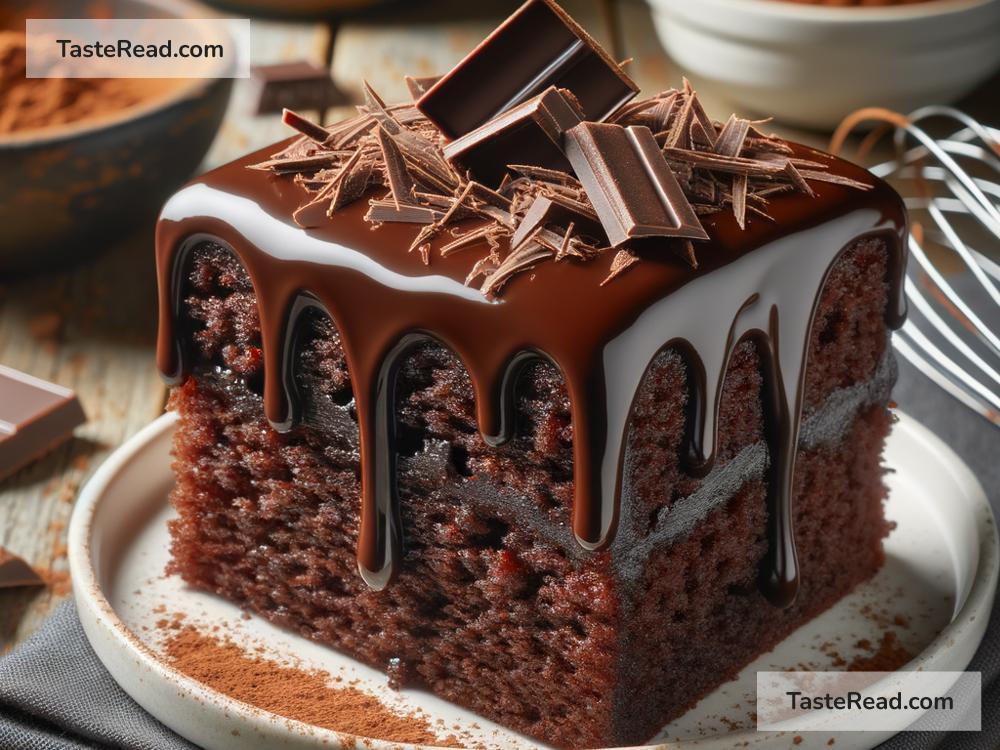
Once done, remove the cake from the oven and let it cool in the pan for about 10 minutes. Then, transfer it to a wire rack to cool completely. While it’s delicious on its own, adding a layer of chocolate frosting can make it even more indulgent. You can either use store-bought frosting or make your own by melting some chocolate and mixing it with cream for a simple ganache.
Extras:
Serving Suggestions:
Serve your chocolate fudge cake with a dollop of whipped cream, a scoop of vanilla ice cream, or simply dust it with some powdered sugar for a minimalistic yet elegant presentation.
Storage Tips:
This cake keeps well at room temperature for a couple of days (if it lasts that long!). Just make sure it’s covered so it doesn’t dry out. For longer storage, wrap it in cling film and refrigerate.
Decadence Overload:
If you’re feeling extra indulgent, add a layer of caramel sauce between the cake and the frosting. It’s sinfully delicious!
Final Thoughts:
Baking a rich and dense chocolate fudge cake from scratch might seem daunting at first, but it’s actually quite straightforward. The key is to follow the steps and not be alarmed by the runny batter – trust the process. This cake is perfect for celebrations, comforting a friend, or treating yourself because you definitely deserve it. So, go ahead and give it a try. Happy baking!