How to Capture the Texture and Layers of a Delicious Cake: A Simple Guide
There’s nothing quite like the anticipation and joy that comes with slicing into a beautiful, layered cake. The excitement of revealing the precise, moist layers paired with the creamy, rich frosting is almost as satisfying as the first bite. For anyone who loves baking, or simply enjoys the artistry of a well-crafted cake, capturing this moment through photography is an equally satisfying achievement. But how can you effectively capture the texture and layers of a delicious cake, making it look as tantalizing in photos as it does in real life? Here’s a simple guide to help you do just that.
1. Lighting Is Key
First things first: lighting can make or break your cake photography. To truly showcase the texture and layers of your cake, natural light is your best friend. Position your cake near a window where it can bask in plenty of indirect natural light. This type of lighting softens the details and gives the cake a more natural, appetizing look. Avoid direct sunlight, as it can create harsh shadows and highlight imperfections.
2. Angle Matters
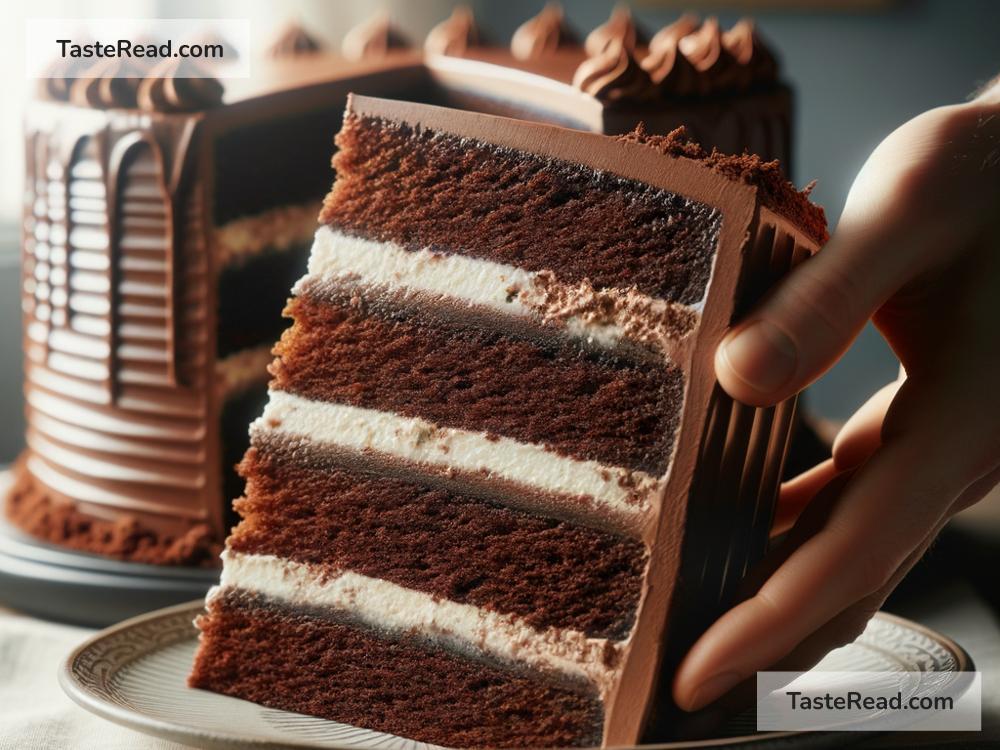
To highlight the layers and texture, the angle at which you take your photos is crucial. For layers, especially, a side angle works best. This means positioning your camera so it’s level with the middle of the cake, allowing you to capture the layers stacked upon each other. If you want to emphasize the texture of the cake’s frosting or top decorations, an overhead shot can be very effective. Experiment with different angles to find what showcases your particular cake best.
3. Zoom In on the Details
The devil is in the details, they say, and when it comes to cake photography, this couldn’t be more true. Don’t be afraid to get up close and personal with your cake. Zooming in or moving your camera closer can help capture the intricate details of the cake’s texture — be it the smoothness of the frosting, the fluffiness of the sponge, or the crunch of a decorative element. This can transport the viewer right into the scene, making them almost taste and feel the textures through the photo.
4. Play with Depth of Field
Utilizing a shallow depth of field (where only the subject is in focus while the background is blurred) can add a beautiful, professional touch to your cake photos. This technique helps in drawing attention directly to the texture and layers of the cake, making them the undeniable star of the show. You can achieve this by using a DSLR camera with an aperture setting or a smartphone photo app that simulates this effect.
5. Mind the Background
A cluttered background can detract from the beauty of your cake. Opt for simple, neutral backgrounds that complement the colors and textures of the cake without overwhelming them. Sometimes, less is truly more. A plain white table, a wooden board, or a simple cloth can serve as perfect backdrops that put your cake in the spotlight.
6. Don’t Forget the Garnish
Adding a little garnish or decoration around your cake can elevate your photograph from good to great. This could be as simple as a sprinkling of powdered sugar, some fresh berries, or a few edible flowers placed around the cake. Not only do these elements add a pop of color and interest, but they also provide a context to the texture and layers of the cake, enhancing its appeal.
Wrapping It Up
Capturing the beauty, texture, and layers of a delicious cake through photography can be as delightful as making or eating it. It’s all about understanding the interplay of light, angle, and detail, and using these elements to your advantage. Remember, practice makes perfect. Don’t be afraid to experiment with different techniques, settings, and compositions. Over time, you’ll find what works best for you, turning your cake photography into a delectable art form. So, grab your camera, bake (or buy) a cake, and start capturing the deliciousness!