Title: Cooking Up Memories: How to Tell a Story Through Food Photography
Whether you’re scrolling through Instagram, flipping through a cookbook, or checking out a food blog, the story behind the dish often shines brighter than the recipe itself. Why? Because food isn’t just about sustenance. It’s a universal language of culture, memories, and moments. Today, we’re going to dive into the delicious world of food photography and explore how you can create compelling stories that make your viewers’ stomachs rumble with just a photo.
Step 1: Set the Plate with a Concept
Before you even pick up your camera, think about the story you want to tell. Is it a lazy Sunday morning with pancakes and a side of nostalgia? Or a vibrant summer barbecue that reminisces on family gatherings? Your concept will guide your choices – from the dishes you select to the setting and the lighting. It’s the appetizer to the visual feast you’re about to create.
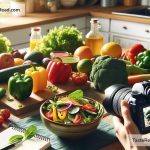
Step 2: Choose Your Ingredients Wisely
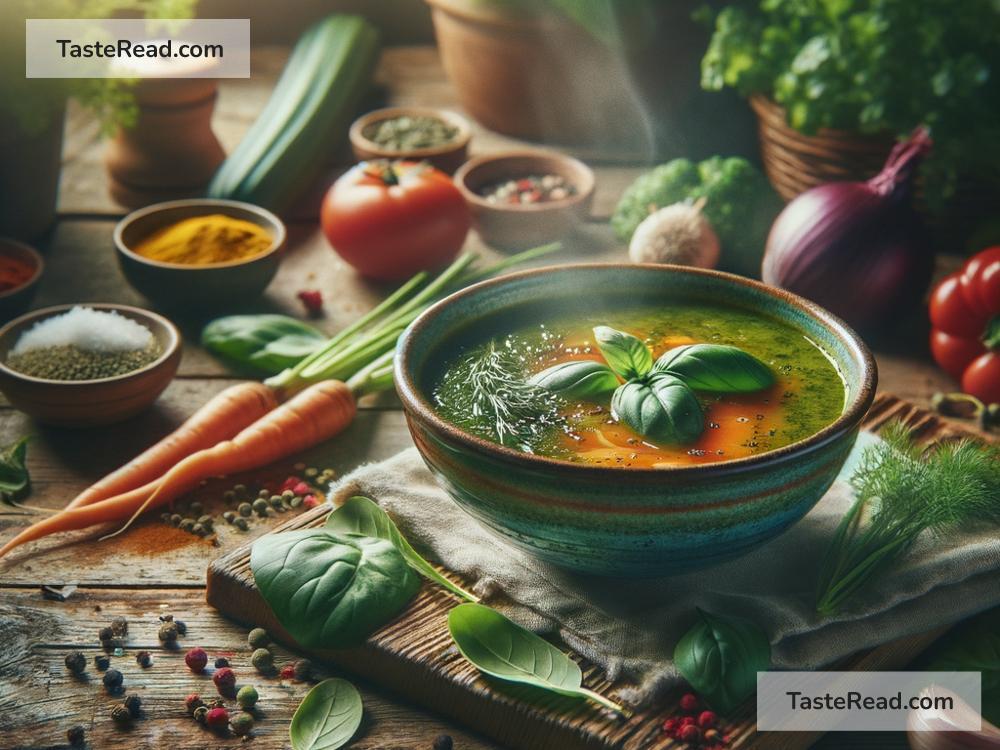
Just like in cooking, the ingredients (or elements in your photo) play a crucial role in storytelling. Select elements that add depth to your story. For a cozy winter soup photo, ingredients like rustic bread, fresh herbs, or an intricately knitted napkin can evoke feelings of warmth and comfort. Think of the props and the food as characters in your narrative; each should add something to the plot.
Step 3: Cooking Up the Perfect Setting
The setting is your stage, and how you arrange it speaks volumes. A worn wooden table can suggest a rustic, homely vibe, while a sleek marble countertop may hint at elegance and sophistication. The background, the surface, and even the cutlery are your supporting actors. Position them in a way that leads the viewer’s eye through the photo, telling the story step by step, bite by bite.
Step 4: Natural Light – The Best Seasoning
The best food stories are often told in the soft, diffused light of morning or late afternoon. It’s like nature’s filter that makes everything look appetizing. Position your dish near a window, and use reflectors (even a simple whiteboard will do) to soften shadows. This kind of lighting gives your food a fresh and natural look, just like it’s meant to be enjoyed.
Step 5: Capture the Moment
Now that your stage is set, it’s time to capture the story. Try different angles – a top-down shot can show the dynamic of a full table setting, while a close-up can capture the texture and detail of a dish, making it almost tactile. Remember, the angle and composition should enhance your story, guiding the viewer through the narrative you’ve crafted.
Step 6: The Editing Pantry
Editing is like adding the final seasoning to your dish. It should enhance, not overpower. Use editing tools to adjust the brightness, contrast, and saturation to make your photo pop, but keep it natural. The goal is to make your food look appetizing and true to life, keeping the essence of your story intact.
Step 7: Share Your Feast
The last step is to share your story with the world. Whether it’s through social media, a blog, or a printed album, the sharing part is crucial. It’s an invitation to your audience to sit at your table and share the meal – even if it’s just virtually. Engage with your viewers, share the backstory of your creation, and invite them to share their own food stories.
In Conclusion
Creating a story through food photography isn’t just about taking aesthetically pleasing shots of food. It’s about weaving a narrative that resonates with your audience, evoking emotions, and painting pictures that speak to the heart as much as they do to the stomach. With these steps, you now have the recipe to start telling your own mouthwatering tales. So, grab your camera, and let’s make some memories, one photo at a time. Remember, every dish has a story to tell, and you’re the storyteller. Bon Appétit and happy shooting!