How to Create Mouthwatering Food Photography for Social Media
In today’s digital age, food photography is not just for professionals. With the rise of social media, everyone from home cooks to restaurant owners can share their culinary creations with the world. But how do you make your dishes look so delicious that people can almost taste them through their screens? This blog post will guide you through the simple steps to creating mouthwatering food photography for social media.
Step 1: Use Natural Light
The first secret to amazing food photography is lighting. Nothing beats natural light for making food look appetizing. It brings out the colors and textures of the food, making it look fresh and delicious. Try to take your photos during the day, near a window. However, avoid direct sunlight as it can cause harsh shadows and wash out the colors. A cloudy day or a spot in the shade works the best as it provides soft, diffused light.
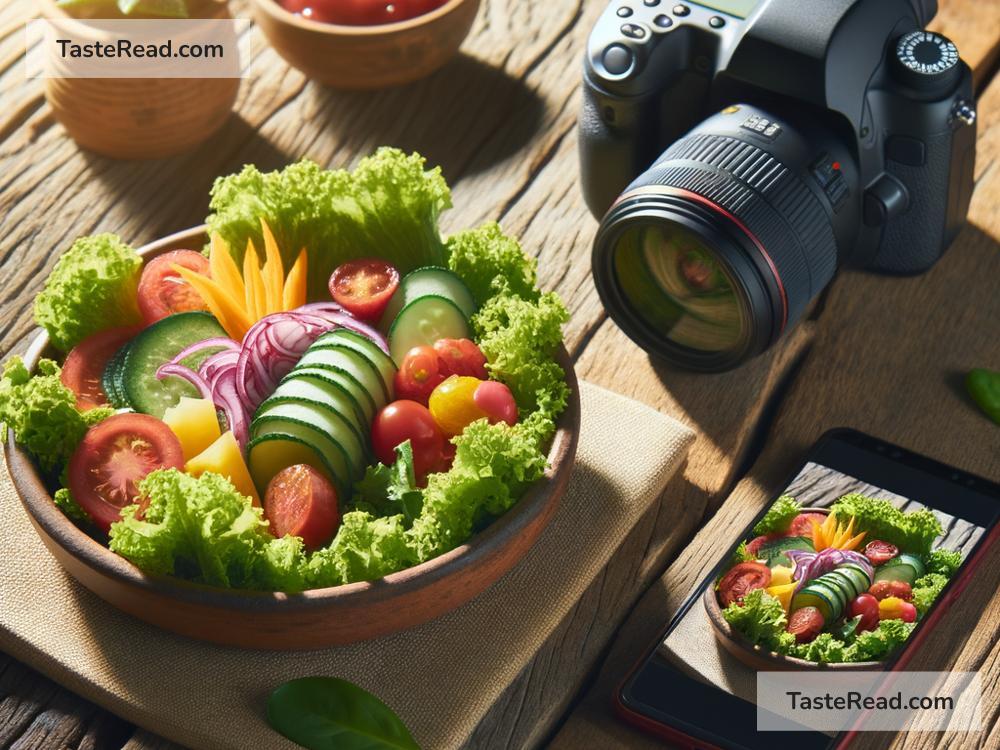
Step 2: Choose the Right Angle
The angle from which you take the photo can dramatically change how your food looks. Different dishes look better from different angles. For instance, to showcase the height of a layered cake or a burger, you’d want to shoot from the side. For dishes like pizza or a bowl of soup, an overhead shot works best. Don’t be afraid to experiment with angles to find what showcases your dish the best.
Step 3: Pay Attention to Composition
Composition is how you arrange the elements in your photo. It’s what draws the viewer’s eye to the most important parts of the picture. Use the rule of thirds by imagining your image is divided into nine equal parts by two equally spaced horizontal lines and two equally spaced vertical lines. Place your main dish off-center, where the lines intersect, to create a more interesting composition.
Also, don’t overcrowd the photo. Sometimes less is more. Use negative space (empty space) to make your dish stand out. Adding props like cutlery, napkins, or ingredients can add to the story but ensure they don’t distract from the main subject.
Step 4: Focus on the Details
Details make your food photos look more enticing. Zoom in to capture the texture of your dish. The crispy crust of a pizza, the gooey cheese in a grilled cheese sandwich, or the steam rising from a hot soup can make your photo come alive. A close-up shot invites the viewer to take a closer look and imagine the taste and smell of the food.
Step 5: Enhance with Editing
Editing can turn a good photo into a great one. Use editing apps like Lightroom or Snapseed to adjust the brightness, contrast, and saturation to make the colors pop. But be careful not to over-edit. Your food should look appetizing and real, not artificial.
Step 6: Be Authentic
Lastly, authenticity is key to engaging food photography. Your photos should reflect the true essence of the food you’re presenting. It’s okay if everything is not perfect. Sometimes, a slightly messy, lived-in look can make your photos more relatable and appealing. Share a bit of the story behind your dish. Did you grow the vegetables in your garden? Is this a family recipe? Adding a personal touch can make your photo more engaging and memorable.
Extra Tips for Great Food Photos
- Use a clean background. A cluttered background can detract from the food. Use a simple backdrop, like a wooden table or a plain cloth.
- Add a human element. A hand holding a burger or sprinkling salt can add life to your photo.
- Keep it fresh. Take photos of your food as soon as it’s ready to capture it looking its best.
- Practice makes perfect. The more you practice, the better you’ll get. Don’t be discouraged by initial failures.
Creating mouthwatering food photography for social media doesn’t require professional equipment or skills. With these simple steps, anyone can take stunning food photos that will make viewers stop scrolling and start drooling. Remember, the goal is to share your love for food and connect with others who share your passion. So, grab your camera, get cooking, and let your creativity shine. Happy shooting!