How to Create Perfect Sushi Rice for Authentic Rolls
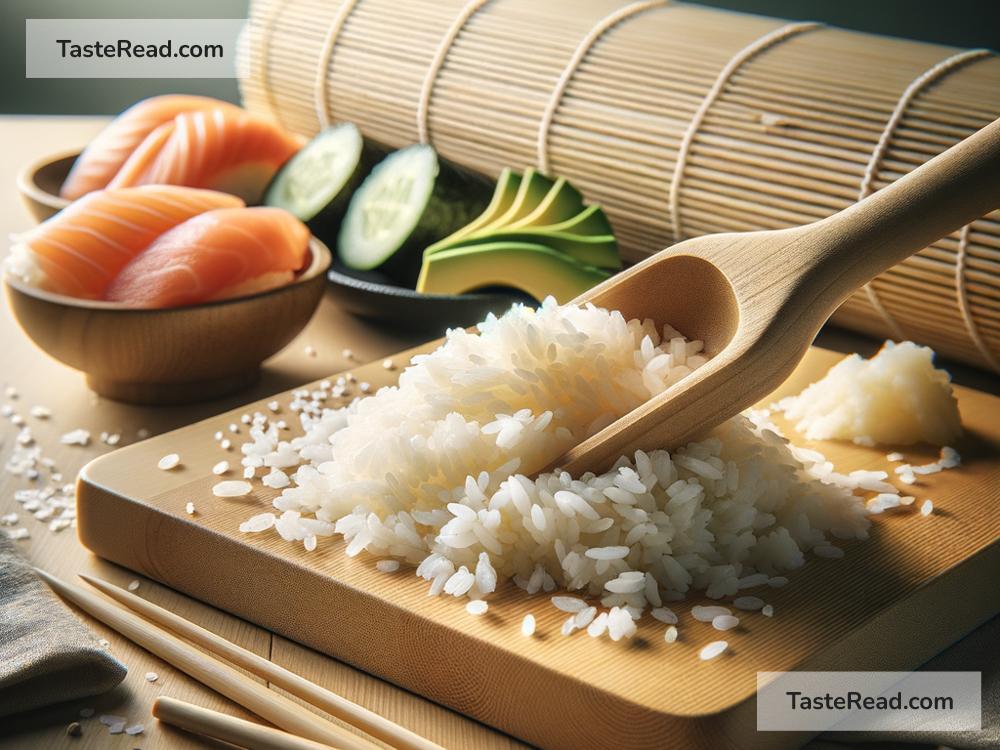
Sushi, a popular dish from Japan, has won over taste buds worldwide with its unique flavors and textures. Key to authentic sushi is its rice – shiny, sticky, and perfectly seasoned, it holds the rolls together and balances the flavors of the fish and vegetables. Creating perfect sushi rice may seem daunting, but with the right techniques, anyone can master it. Here’s a simple guide to help you make sushi rice that can turn your homemade sushi rolls into a delightful culinary experience.
Ingredients You’ll Need:
- 2 cups of short-grain Japonica rice (sushi rice)
- 2 ½ cups of water
- ½ cup of rice vinegar
- 2 tablespoons of sugar
- 1 teaspoon of salt
Choosing Your Rice:
The journey to perfect sushi rice starts with selecting the right type of rice. Short-grain Japonica, commonly known as sushi rice, is ideal because it has the perfect balance of stickiness and texture when cooked. Ensure your rice is of good quality, as old or low-quality rice can ruin your sushi experience.
Rinsing the Rice:
Your first step is to rinse the rice. Rinsing removes the excess starch from the rice, preventing it from becoming too sticky. Place your rice in a bowl and cover it with water. Gently stir the rice with your hands, then drain. Repeat this process 3-4 times until the water runs almost clear. This step is crucial for achieving the perfect texture.
Cooking the Rice:
Once rinsed, add your rice and 2 ½ cups of water to a rice cooker or pot. If you’re using a pot, bring the water to a boil, then reduce the heat to low, cover, and simmer for about 18 minutes. After cooking, let the rice sit, covered, for about 10 minutes. This allows it to steam and become fluffy.
Seasoning the Rice:
While the rice cooks, prepare your sushi vinegar. This is what gives sushi rice its distinct taste. Combine the rice vinegar, sugar, and salt in a saucepan. Heat gently until the sugar and salt dissolve. Do not boil. Cooling this mixture before using it on the rice is essential.
Mixing the Rice:
Transfer your cooked rice to a large bowl, preferably wooden (a hangiri if you have one), to cool it down quickly and evenly. Slowly pour your cooled sushi vinegar over the rice. Using a paddle or a wide spatula, gently fold the rice to mix it with the seasoning without mashing the grains. This gentle folding motion is essential to keep the rice fluffy and airy.
Cooling the Rice:
As you mix, fan the rice or let it cool naturally to room temperature. This helps to give the rice a glossy appearance and the perfect sticky texture without being too wet or dry. Do not refrigerate the rice to cool it, as this will affect its texture and make it too hard.
Ready to Roll:
Your sushi rice is now ready to use for making sushi rolls. Remember, freshly made rice works best for sushi rolls, so try to use it the same day you prepare it.
Additional Tips:
- Hands-On Approach: Keep a bowl of water mixed with a bit of rice vinegar near you when making your rolls. Dipping your hands in this solution prevents the rice from sticking to your hands and makes it easier to handle.
- Portion Control: Be careful not to overload your sushi rolls with rice. About a thin layer covering ¾ of the nori sheet is perfect. Too much rice can make the rolls difficult to close and eat.
- Storage: If you must store sushi rice, wrap it tightly to prevent it from drying out. Store in a cool place but never in the fridge.
Creating perfect sushi rice is an art that takes practice. Each step, from rinsing the rice to seasoning it, plays a crucial role in achieving the desired texture and flavor. By following this simple guide, you are well on your way to making authentic, delicious sushi rolls right in your kitchen. Remember, the key to great sushi lies not just in the ingredients but in the care and attention you put into preparing them. Happy rolling!


