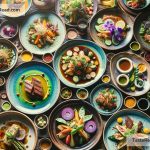
How to Create Stunning Food Photos with Simple Ingredients
In today’s social media-driven world, showcasing beautiful food photos has become a passion for many. Whether you’re a budding food blogger, a home cook sharing your creations, or simply looking to capture an appetizing meal, you don’t need a pantry full of exotic ingredients or a professional studio to take stunning pictures. Surprisingly, with simple ingredients and a few tricks under your sleeve, you can create mouth-watering images that will make your followers double-tap in no time. Here’s how to do it.
1. Play with Lighting
Light is the secret ingredient of every great food photo. Natural light works best to bring out the true colors and textures of your dishes. Try to set up your shooting area near a window with plenty of indirect sunlight. Morning or late afternoon light tends to be softer, avoiding harsh shadows on your food. Remember, the goal is to make your dish look as inviting as possible.
2. Simplify the Background
A cluttered background can take the focus away from your delicious creation. Use plain backgrounds such as a wooden table, a marble countertop, or a simple cloth. These elements add texture without overpowering the main subject. If you’re using fabric, ensure it’s ironed to avoid distracting wrinkles. Neutral colors like white, black, or beige help the colors of your food pop.
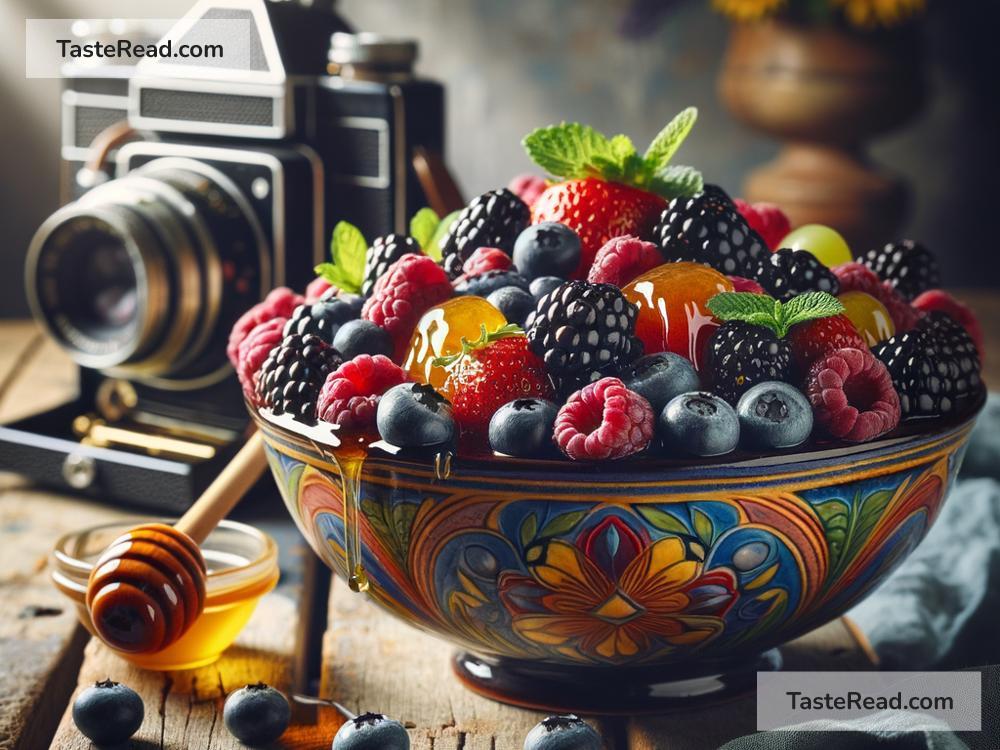
3. Composition is Key
Before you snap a picture, take a moment to think about how you want to arrange your dish. Try different placements and angles to see what looks best. Sometimes, shooting from above (bird’s eye view) works well, especially for dishes with multiple components. Other times, a side angle can make a stack of pancakes or a slice of cake look more appealing. Don’t forget to leave some space around your dish to avoid the photo looking cramped.
4. Use Simple Props
While the focus should always be on the food, a few well-placed props can enhance your photo. Think of cutlery, napkins, or ingredients related to the dish. A sprinkling of flour around a bread loaf or a few scattered herbs can add life and movement to your picture. Be mindful not to overdo it; every element in your photo should tell part of the story of your dish.
5. The Beauty of Fresh Ingredients
Fresh ingredients naturally look more appetizing. A vibrant red tomato, fresh green basil leaves, or a slice of lemon can add a splash of color and freshness to your dish. If your main dish is relatively plain, a garnish can be a game-changer. Remember, the camera eats first, so arrange these elements thoughtfully before taking a shot.
6. Editing Matters
Even the best-taken food photos can benefit from a bit of editing. However, the key is subtlety. Use editing apps to adjust the brightness, contrast, and saturation to make your dish stand out. Be cautious with filters; your food should look appetizing and real, not artificial. Sometimes, all it takes is a slight adjustment to transform a good photo into a great one.
7. Practice Makes Perfect
Like any other skill, mastering food photography takes practice. Don’t be afraid to experiment with different settings, ingredients, and compositions. Analyze your photos to see what works and what doesn’t. Look for inspiration from professional food bloggers and photographers but remember to develop your unique style.
Creating stunning food photos with simple ingredients isn’t just about having a high-end camera or access to exotic food items. It’s about understanding the interplay of light, composition, and color. By following these tips, you can turn even the most humble dishes into a feast for the eyes. So, grab your camera, let your creativity flow, and start capturing the beauty of simple ingredients one photo at a time. Happy shooting!