How to Create the Perfect Backdrop for Food Photography
Welcome, foodies and photography lovers! Have you ever scrolled through your social media feeds, stopping at those drool-worthy food photos, wondering how they look so perfect? Part of that magic comes from having an ideal backdrop. A well-chosen background can elevate your food photography from good to great. Let’s walk through the steps to create that perfect backdrop, simple and easy!
Understanding the Importance of a Good Backdrop
Before diving into the “how-to,” it’s crucial to understand why the backdrop matters. A good backdrop does more than just sit quietly behind your dish; it sets the mood, adds depth, and ensures your food looks as appetizing as possible. It’s like the stage for your food to shine!
Step 1: Choose Your Theme
The first step is deciding on the theme or mood you’re aiming for. Are you going for a rustic bread shot? Or maybe something clean and modern? Your theme will guide your choice of materials, colors, and textures.
Step 2: Gathering Materials
Based on your theme, it’s time to gather your materials. Here’s a quick guide:
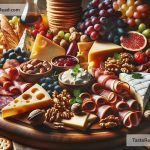
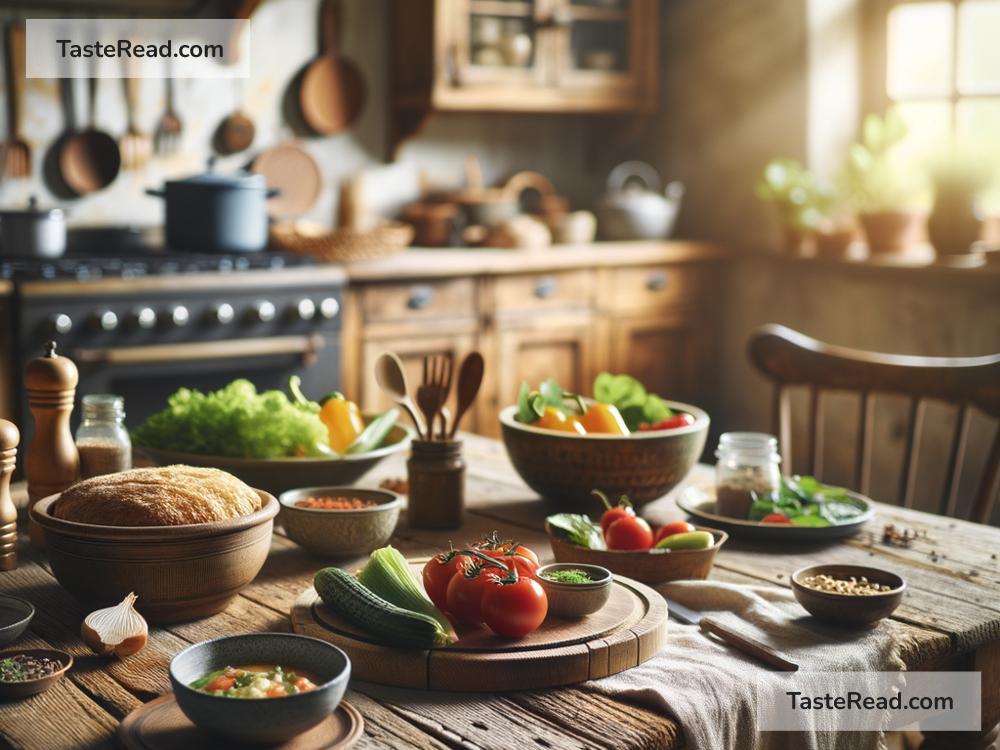
- Rustic Charm: Think wood, aged metal, or natural stone. Old wooden boards, worn baking trays, and stone slabs can add a rustic feel.
- Modern Elegance: Look for sleek, smooth surfaces like marble, polished wood, or even a plain, matte-finished table.
- Bright and Airy: Use light-colored fabrics, paper, or paint to create a backdrop that reflects more light and keeps the mood light and fresh.
- Dark and Moody: Dark wood, black slate, or even a painted canvas can create a rich, deep background that makes your food pop.
Step 3: DIY Backdrops
Creating your own backdrops can be both cost-effective and fun. Here are a few simple DIY ideas:
- Painted Canvases: Get a canvas board and some acrylic paint, then have fun! A mix of colors in a brush or sponge method can create unique, textured backdrops.
- Fabric Covers: Fabric can be an easy, versatile backdrop. Burlap for rustic shots, velvet for something more regal, or cotton for a casual look.
- Wood Boards: A quick visit to the hardware store for some wooden planks, and with a bit of staining or aging (sandpaper works wonders), you have a fantastic, reusable backdrop.
Step 4: Setting Up Your Backdrop
Once you’ve chosen or created your backdrop, setting it up is the next step. Here are a few tips:
- Natural Light: Position your setup near a window where natural light flows. It’s the most flattering light for food.
- Keep It Clean: Ensure the backdrop is free of dust and smudges. A clean backdrop means your food is the star.
- Angle Matters: Experiment with different angles. Sometimes, moving your setup slightly can catch the light better or hide imperfections in the backdrop.
Step 5: Complementing With Props
While not exactly part of the backdrop, props can enhance and complement it. Choose items that match your theme without stealing the spotlight from your food. Think about cutlery, napkins, or ingredients related to the dish you’re photographing. Remember, less is often more.
Step 6: Camera Settings and Post-Processing
Focus on your dish, using a shallow depth of field (if your camera allows) to blur the backdrop slightly. This technique ensures your food stands out. And don’t forget the power of post-processing. Editing software can tweak the colors, brightness, or contrast of your background to perfectly complement your dish.
Conclusion
Creating the perfect backdrop for food photography doesn’t require a professional studio or expensive equipment. With a bit of creativity, some DIY skills, and an understanding of what you want to convey, you can set the stage for stunning food shots right at home. Remember, the goal is to enhance your dish, making it the hero of the shot. So, get creative, experiment, and most importantly, have fun with it. Your next breathtaking food photo is just a backdrop away!
Happy shooting, and may your dishes always look as delicious as they taste!