How to Knead Dough for Bread and Pizza by Hand
Kneading dough by hand might seem like an ancient art in today’s world full of mixers and bread machines. However, the simplicity and satisfaction of kneading your dough cannot be matched by any machine. It’s not just about mixing ingredients; it’s about bringing life to bread and pizza, making them light, airy, and delicious. In this guide, we’ll walk you through the step-by-step process of hand-kneading dough, ensuring your bread and pizza turn out fantastic every time.
Why Knead Dough?
Before we dive into the “how,” let’s briefly talk about the “why.” Kneading develops the gluten in the flour, which is the protein network that gives bread and pizza their structure and chewy texture. Without adequate kneading, your dough will lack strength and won’t trap the gases produced by yeast, resulting in dense and flat bread or pizza.
What You’ll Need:
- Flour (bread flour is best for bread; all-purpose or bread flour works for pizza)
- Water
- Yeast
- Salt
- A large mixing bowl
- A clean, flat surface
- Your hands!
Step 1: Mixing Ingredients
First, mix your dry ingredients (flour and salt) in a large bowl. In another container, mix your wet ingredients (water and yeast), ensuring the yeast is fully dissolved. Then, combine the wet and dry ingredients, mixing with a wooden spoon or your hand until a shaggy dough forms. It will look rough and sticky, but that’s okay!
Step 2: Preparing the Surface
Sprinkle a little flour on a clean, flat surface. This could be your kitchen counter or a large wooden board. Ensure the area is wide enough for you to work comfortably.
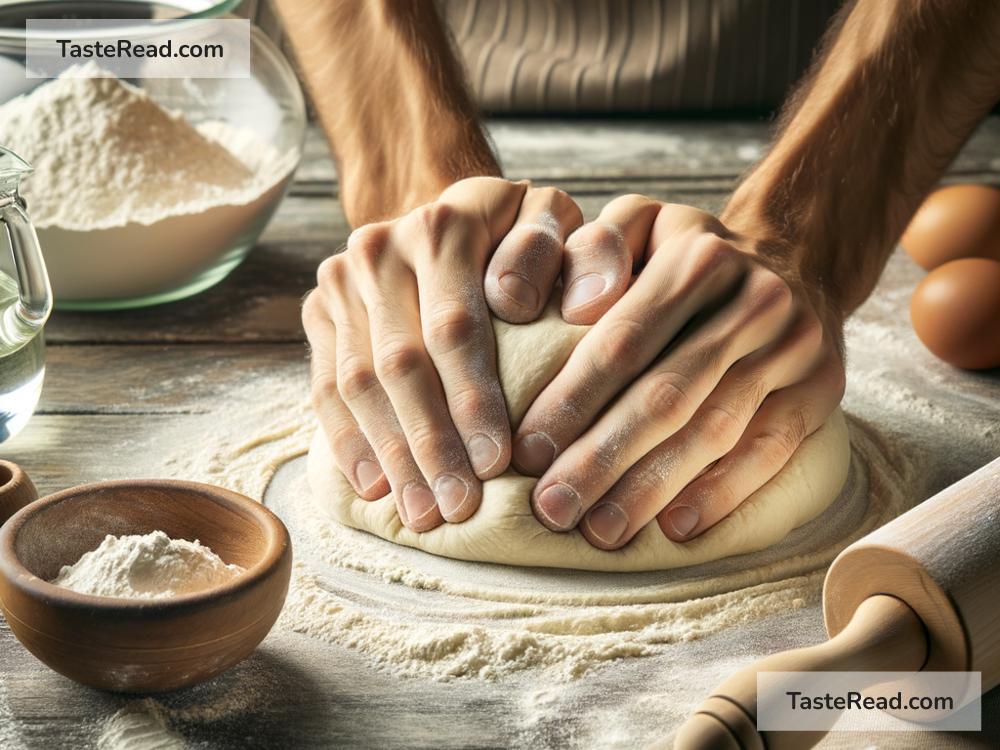
Step 3: The Kneading Process
Now, the fun begins. Transfer your dough to the floured surface. Start kneading by folding the dough over towards you, then pushing it away with the heel of your hands. Rotate the dough 90 degrees and repeat. It might be sticky at first, but resist the temptation to add too much flour initially. Too much flour can make the dough tough.
Kneading is all about rhythm and feeling. As you knead, the dough will become smoother and less sticky. This process usually takes about 10 to 15 minutes. You’ll know it’s kneaded enough when the dough is smooth, elastic, and springs back when you poke it with a finger.
Step 4: Letting the Dough Rest
Once kneaded, shape the dough into a ball and place it in a lightly oiled bowl, turning it once to coat. Cover the bowl with a damp cloth or plastic wrap and let it rise in a warm spot until it doubles in size. This usually takes about 1 to 2 hours, depending on the temperature and the recipe.
Step 5: Shaping
After the first rise, punch down the dough gently to remove air bubbles. You can now shape it according to your recipe, whether it’s a loaf for bread or a round base for pizza. Be gentle but firm, shaping it without deflating it too much.
Step 6: The Second Rise
Allow your shaped dough to rise again until puffy and nearly doubled. This usually takes less time than the first rise. For pizza, you might skip this rise and move straight to topping and baking, depending on your recipe.
Step 7: Baking
Now, you’re ready to bake according to your bread or pizza recipe. Each recipe will have different baking times and temperatures, so make sure to follow those instructions closely.
Tips for Success:
- Warmth is crucial: Yeast loves a warm environment. Make sure your working space and ingredients (especially water) are not too cold.
- Be patient: Kneading and rising times can vary. Trust what the dough is telling you instead of strictly adhering to timelines.
- Practice makes perfect: Each flour and recipe behaves differently. The more you knead, the better you’ll get at understanding the feel of a well-kneaded dough.
Kneading dough by hand is an incredibly rewarding baking task. It connects you directly to the food you’re making and gives you control over the texture and outcome of your bread or pizza. Embrace the process, and don’t be afraid to make mistakes—they’re all part of the learning curve. Happy baking!