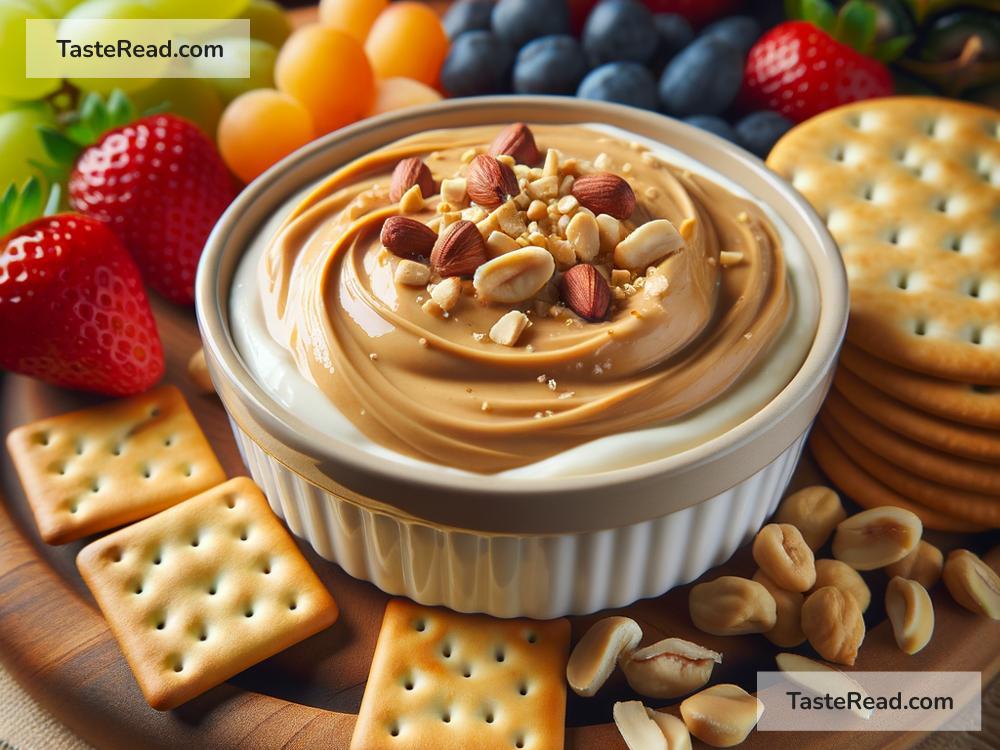
Craving something creamy, nutty, and slightly indulgent without tipping off the health scale? Look no further! Today, you’re going to learn how to whip together a deliciously creamy peanut butter yogurt dip that checks off all the boxes – it’s yummy, healthy, and so easy to make you’ll be dipping in no time.
This dip combines the velvety smoothness of peanut butter with the tangy creaminess of yogurt, making it an irresistible snack option. Whether you’re looking for a quick breakfast fix, a midday snack, or a healthier dessert option, this dip caters to all. And the best part? It doubles as a guilt-free treat that’s packed with protein and good fats thanks to its star ingredients. So, let’s not wait any longer and dive straight into how you can make this delightful dip at home with just a few simple ingredients and steps.
Ingredients:
Before we get started, here’s what you’ll need. These measurements will make about 4 servings of dip, but feel free to adjust the quantity based on your needs.
- 1 cup Greek yogurt (choose full-fat for a creamier dip or low-fat for a healthier option)
- 1/4 cup natural creamy peanut butter (make sure it’s free of added sugars to keep this recipe clean)
- 1-2 tablespoons honey or maple syrup (depending on how sweet you like it)
- 1/2 teaspoon vanilla extract (to add that lovely aroma)
- A pinch of salt (to balance the sweetness)
Once you’ve got all your ingredients ready, it literally takes about 5 minutes to put everything together.
Steps to Make Creamy Peanut Butter Yogurt Dip:
-
Find a mixing bowl: Grab a medium-sized mixing bowl where you’ll be combining all your ingredients. This doesn’t have to be anything fancy. Any clean mixing bowl will do.
-
Add your base ingredients: Into your mixing bowl, add the 1 cup of Greek yogurt and the 1/4 cup of creamy peanut butter. These two are the heart of your dip, giving it the unmistakable creaminess and nutty flavor.
-
Sweeten it up: Next, add in your sweetener. Whether you’ve chosen honey or maple syrup, put in 1 tablespoon first. Remember, it’s always easier to add more sweetness, but you can’t take it away once it’s in there.
-
Enhance the flavor: Now, pour in the 1/2 teaspoon of vanilla extract and sprinkle the pinch of salt. These might seem like small additions, but they’re essential for rounding out the flavors, making your dip even more irresistible.
-
Mix it all together: With all your ingredients in the bowl, it’s time to mix. Use a whisk or a spoon to stir everything together until it’s all beautifully combined. You’re looking for a smooth, evenly mixed dip with no lumps. If the dip seems too thick for your liking, feel free to add a teaspoon of milk to loosen it up.
-
Taste test: Before you call it done, give your dip a quick taste. Now’s the time to decide if you want it sweeter or maybe a touch more salt. If you do, add the extra honey or maple syrup and salt, then mix again.
-
Chill and serve: Your creamy peanut butter yogurt dip is technically ready to eat right away, but it tastes even better after chilling in the refrigerator for about an hour. This lets the flavors meld together beautifully. Serve it with a side of your favorite fruits like apple slices, banana rounds, or even some crunchy vegetables for dipping.
Customizing Your Dip:
What’s great about this dip is how versatile it is. You can easily customize it to cater to your taste buds or dietary needs. Try adding a tablespoon of cocoa powder for a chocolate twist, or mix in some chia seeds for an extra nutritional punch. The possibilities are truly endless.
Conclusion:
And there you have it – a mouth-wateringly creamy peanut butter yogurt dip that’s not only easy to make but also fairly healthy. It’s a fantastic way to appease your snack cravings without straying too far off the healthy path. Whether you’re enjoying it as a solo treat or sharing it with friends and family, this dip is sure to be a hit. So go ahead, give it a try, and watch it become a staple in your snack rotation. Happy dipping!


