How to Make Creamy Ricotta Cheesecake with Lemon: A Simple Guide
Picture this: a creamy, tangy, and utterly delectable slice of ricotta cheesecake, infused with the zesty taste of fresh lemon. Sounds like a dream, doesn’t it? But what if I told you that making this culinary masterpiece could be your reality, and it’s not as difficult as it might seem? This simple guide will walk you through the steps of creating a creamy ricotta cheesecake with lemon that is bound to impress anyone who takes a bite.
Ingredients:
- 2 cups of ricotta cheese (make sure it’s fresh and of good quality)
- 1/2 cup of granulated sugar
- 1/4 cup of all-purpose flour
- 2 large eggs
- 1/2 cup of heavy cream
- Zest of 1 lemon
- 2 tablespoons of fresh lemon juice
- 1 teaspoon of vanilla extract
- A pinch of salt
- Graham cracker crumbs (for the base)
- Unsalted butter, melted (for the base)
Instructions:
Preparation:
-
Create the Base: Before you get to the juicy part (literally!), let’s start with the base. Mix graham cracker crumbs with melted butter till it resembles wet sand. Press this mixture firmly into the bottom of a springform pan. This will form a crust for your cheesecake. Put the pan in the fridge to set while you work on your filling.
-
Preheat Your Oven: Set your oven to 350°F (175°C). This ensures that your oven reaches the optimal temperature for baking your cheesecake to perfection.
Making the Filling:
-
Blend the Ricotta: In a food processor, blend the ricotta cheese until smooth. This step is crucial for achieving that creamy texture we all love in a cheesecake.
-
Mix the Ingredients: In a large bowl, blend the smoothed ricotta with granulated sugar and flour. Stir them together until the mixture is smooth. Next, crack the eggs and add them one by one into the mix, ensuring each is fully incorporated before adding the next.
-
Add Flavor: It’s time to give your cheesecake its zesty personality. Add the heavy cream, lemon zest, lemon juice, vanilla extract, and a pinch of salt to your cheese mixture. Mix these ingredients gently until the batter is just combined. This step infuses your cheesecake with that refreshing lemony flavor that will make your taste buds sing.
Putting It All Together:
-
Prepare for Baking: Take the crust from the fridge and pour your creamy ricotta mixture over it. Level the top with a spatula or the back of a spoon.
-
Bake: Place your cheesecake in the preheated oven and bake for about 45-50 minutes. You’ll know it’s done when the edges are set but the center is still a bit wobbly if you give the pan a gentle shake. This wobbliness will set as the cheesecake cools, resulting in a perfectly creamy texture.
-
Cool Down: After taking the cheesecake out of the oven, let it cool at room temperature for an hour. Then, transfer it to the fridge and let it chill for at least 4 hours, but overnight is best. This allows the flavors to meld and intensify, making your cheesecake even more delicious.
Finishing Touches:
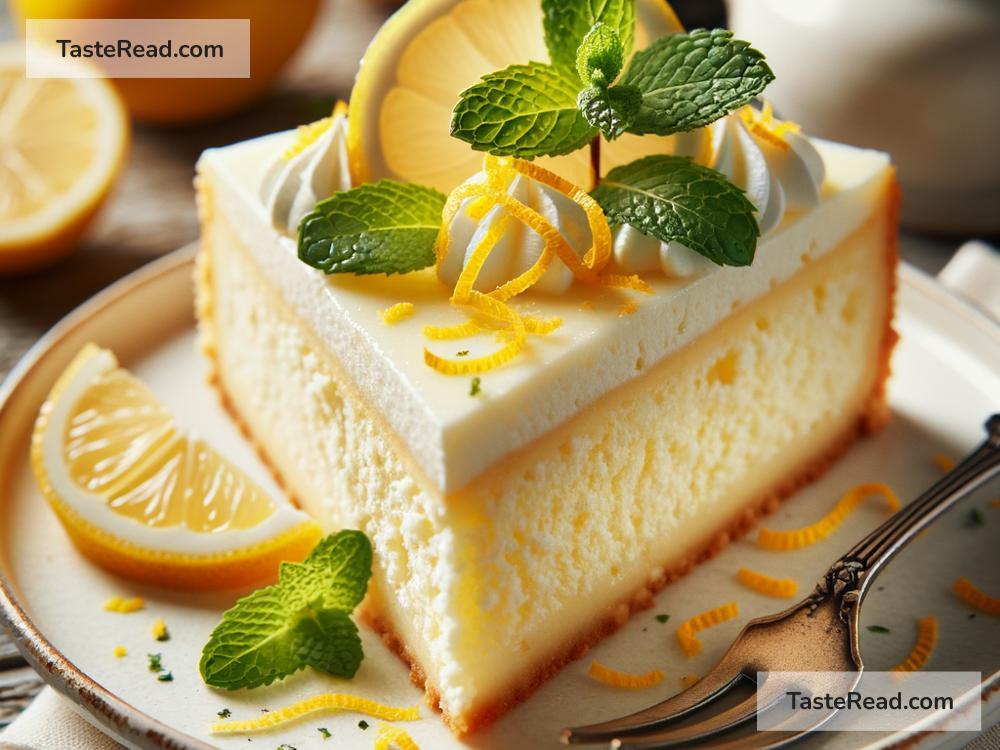
Who says perfection can’t be improved? Before serving, consider adding a dollop of whipped cream on top or a sprinkle of lemon zest for that extra zing. These little touches can elevate your cheesecake from great to unforgettable.
Enjoy Your Creation:
Congratulations! You’ve just made a creamy ricotta cheesecake with lemon that’s bound to be the star of any dessert table. Slice it up, serve, and watch as your friends and family marvel at your culinary prowess. Making cheesecake from scratch might seem daunting at first, but with this simple guide, you’re well on your way to becoming a dessert master.
As you savor that first bite, allow yourself a moment of pride. You’ve just created something beautiful, delicious, and from the heart. And remember, the beauty of homemade cheesecake is not just in its taste but in the love and effort put into making it. Enjoy every bite, and here’s to many more baking adventures ahead!