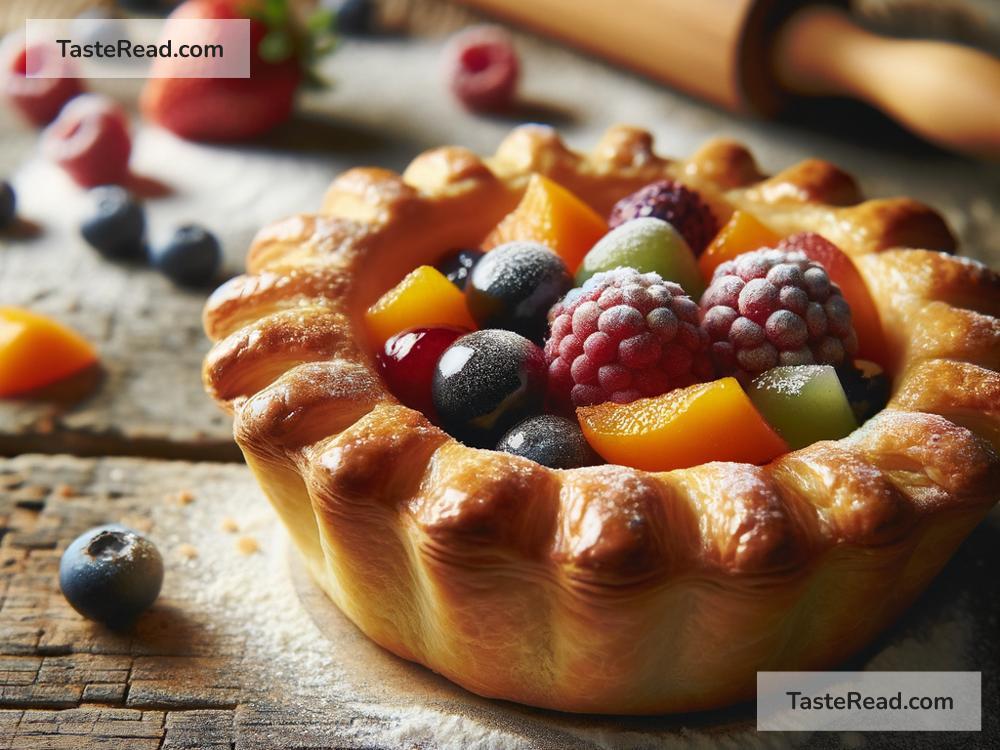
Title: Perfect Your Pastry: A Beginner’s Guide to Flawless Tart and Pie Shells
Have you ever dreamed of making those picture-perfect pastry shells for your tarts and pies but found yourself stuck with soggy bottoms or cracked edges? Don’t worry, you’re not alone. But with a few simple techniques and some practice, you can create flawless pastry shells that are as delicious as they are beautiful. Here’s your beginner-friendly guide to making the perfect pastry shells every time.
1. Choose Your Recipe Wisely
First things first, you need a good pastry recipe. Most classic pastry shells for tarts and pies are made from either shortcrust pastry or pâte sablée. Shortcrust is versatile and easy to handle, making it perfect for both sweet and savory recipes. Pâte sablée, on the other hand, is sweeter, crumblier, and great for dessert tarts. Whichever you choose, make sure you follow the recipe closely for the best results.
2. Keep Everything Cold
The secret to a flaky pastry lies in keeping everything cold. This starts with cold butter (or lard, depending on your recipe). You want to cut it into small pieces and mix it with your flour until it resembles coarse breadcrumbs. The idea is to have tiny bits of butter throughout your dough. When these bits melt in the oven, they create steam pockets that result in that desirable flaky texture. It also helps to chill your dough before rolling it out. This makes it easier to handle and keeps the fat from melting too soon.
3. Gentle Does It
When it comes to mixing your dough, less is more. Overworking your pastry can activate the gluten in the flour, leading to a tough, chewy shell rather than a tender, flaky one. Mix just until the dough comes together, then wrap it in plastic wrap and let it chill in the fridge for at least an hour. This resting period allows the gluten strands to relax and makes the dough easier to roll out.
4. Roll With Confidence
Rolling out dough can be intimidating, but it’s easier if you remember a few key tips. Start with a lightly floured surface to prevent sticking, and aim for a uniform thickness to ensure even cooking. Rotate your dough by a quarter turn after every few rolls to maintain a circular shape and prevent it from sticking to your work surface. If the dough starts to warm up or becomes too soft, pop it back in the fridge for a few minutes to firm up.
5. Get Into Shape
Gently transfer your rolled-out dough to your pie plate or tart pan. Ease it into the corners without stretching it, as this can cause shrinkage during baking. Trim any overhanging edges with a sharp knife, but leave a small border to account for any shrinkage. For an extra layer of insurance against soggy bottoms, you can brush the surface of your dough with beaten egg white before filling. This creates a barrier that helps keep moisture out.
6. Blind Bake to Perfection
Many tarts and pies require “blind baking” or pre-baking the shell before adding the filling. This ensures a crispy base that’s fully cooked. To blind bake, prick the bottom of your dough lightly with a fork (this prevents air bubbles from forming), line it with parchment paper, and fill with baking beans, rice, or dried lentils. Bake according to your recipe’s instructions, removing the weights and paper halfway through to brown the bottom. This is the time to achieve that golden, crispy base.
7. Fill and Finish
Once your shell is baked to perfection, it’s ready to be filled with your chosen sweet or savory deliciousness. For pies that need further baking, fill your shell and continue to bake according to your recipe. For tarts or pies with a no-bake filling, ensure your shell is completely cool before adding the filling to prevent it from becoming soggy.
In Conclusion
Mastering the art of making flawless pastry shells may take a bit of practice, but it’s undoubtedly within reach. Remembering to keep ingredients cold, handle the dough gently, and blind bake when necessary will set you on the path to success. So go ahead, delight in the process, and get ready to impress with your beautiful, homemade tarts and pies. Happy baking!


