The Art of Making Food Look Fresh and Delicious in Photos
In today’s world, where social media platforms are flooded with mouth-watering images of food, photography plays a crucial role in making dishes look enticing. Whether you’re a blogger, budding chef, or simply someone who takes joy in sharing culinary creations with friends and family, knowing how to present food in photographs is essential. Here’s a step-by-step guide to making your food look fresh and delicious in photos.
Step 1: Lighting Is Key
The importance of good lighting cannot be overstated. Natural light is your best friend when it comes to food photography. Aim for soft, diffused daylight, which highlights the food’s vibrant colors and textures without creating harsh shadows. Try to take pictures near a window or outdoors. If natural light isn’t available, LED lights that mimic daylight can be a good alternative.
Step 2: Pick the Right Angle
Different foods look best from different angles. While a pizza might look most appetizing from above, showing off its toppings, a burger might benefit from a side angle that captures its layers. Experiment with various angles to find what showcases the unique characteristics of your dish best.
Step 3: Consider Your Background
The background can make or break your food photo. Use simple backgrounds that don’t distract from the food. Neutral colors or wooden surfaces often work well. A clean, clutter-free background ensures that the focus remains on the food, making it look more appealing.
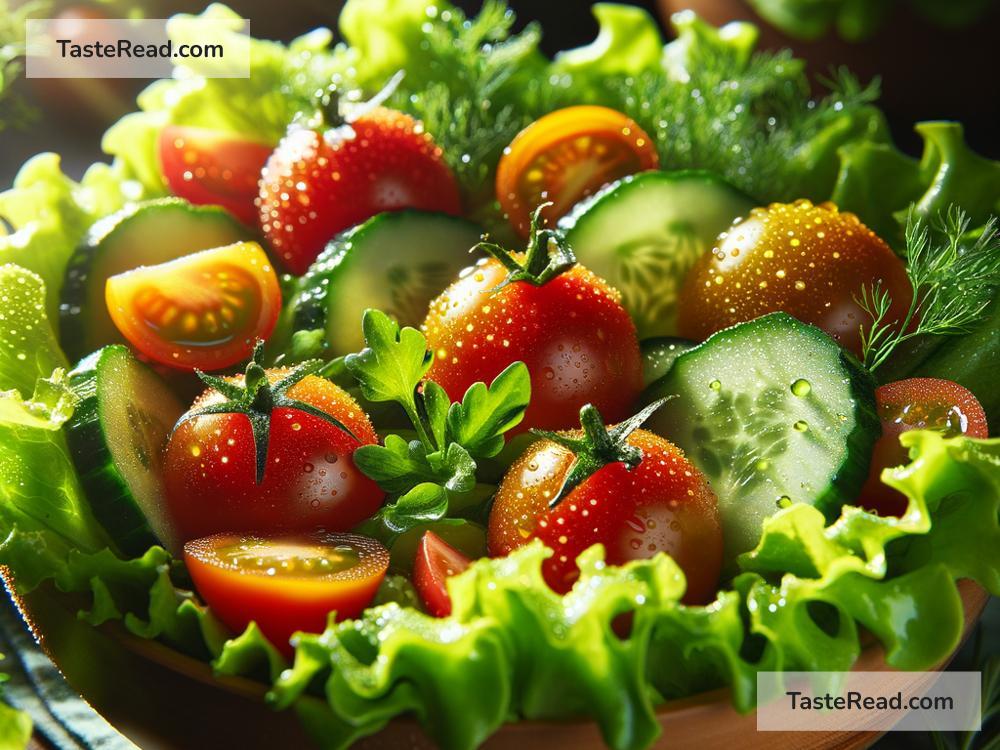
Step 4: Use Fresh Ingredients
This might seem like a given, but it’s worth emphasizing. Fresh, vibrant ingredients will always look more appetizing than wilted or stale ones. Pay attention to the details. Even garnishes like a sprig of fresh herbs or a squeeze of lemon can make a big difference in making your dish look fresh and inviting.
Step 5: Play With Textures
Textures can add depth and interest to your food photos. A creamy soup might look more tempting with a sprinkle of crunchy croutons on top, or a smoothie might look better with some seeds or nuts for contrast. Think about how you can introduce different textures to make your dish more visually appealing.
Step 6: Add Props Wisely
Props, when used judiciously, can enhance a food photo. Think of items that relate to the food, like utensils, napkins, or ingredients used in the recipe. However, be careful not to overcrowd the scene. The food should always be the star of the show.
Step 7: Edit Thoughtfully
A little bit of editing can go a long way in making your food photos look professional. Adjusting the brightness, contrast, and saturation can make the colors pop. However, it’s essential to keep edits realistic. The goal is to make the food appealing, not to deceive.
Step 8: Practice Makes Perfect
Like any other skill, mastering food photography takes practice. Don’t be discouraged if your first attempts don’t turn out as expected. Keep experimenting with different dishes, lighting conditions, and angles. Over time, you’ll develop an eye for what works and what doesn’t.
Step 9: Stay True to Your Style
As you get more comfortable with food photography, you’ll start to notice that certain styles and themes emerge in your work. Embrace it! Developing a unique style can set your food photos apart from the rest.
In conclusion, making food look fresh and delicious in photos is about understanding and manipulating elements like lighting, angle, background, and texture. By following these simple tips and practicing regularly, you can transform your culinary creations into stunning visual feasts that entice viewers and celebrate your love for food. Whether for professional purposes or personal satisfaction, the ability to effectively photograph food opens up a realm of culinary storytelling that’s as fulfilling as it is fun. Happy snapping!