How to Make Homemade Granola for Breakfast or Snacking
Are you tired of spending lots of money on store-bought granola that’s often packed with unnecessary sugars and preservatives? Why not make your own delicious and nutritious homemade granola? It’s surprisingly simple, highly customizable, and perfect for breakfast or a healthy snack. Plus, the aroma that fills your kitchen during baking is absolutely irresistible! Let’s dive into how you can make your very own granola at home with just a few ingredients and easy steps.
Ingredients You’ll Need:
- Old-fashioned oats: 3 cups
- Nuts and seeds of choice (almonds, walnuts, pumpkin seeds, etc.): 1 cup
- Sweetener (honey, maple syrup, or agave): 1/2 cup
- Oil (coconut, vegetable, or olive): 1/4 cup
- Salt: a pinch
- Optional for flavor: cinnamon, vanilla extract, or nutmeg
- Optional for mix-ins: dried fruit, chocolate chips, coconut flakes
Step 1: Preheat Your Oven
First thing’s first, get your oven warmed up to 300°F (150°C). This temperature is ideal for letting our granola bake to perfection without burning.
Step 2: Mix Dry Ingredients
In a large mixing bowl, combine your 3 cups of old-fashioned oats with 1 cup of your chosen nuts and seeds. If you like a little spice, this is the time to add a teaspoon of cinnamon or a dash of nutmeg. Just a little can bring a warm, inviting flavor to your granola.
Step 3: Add Your Wet Ingredients
In a separate small bowl, mix together your 1/2 cup of sweetener and 1/4 cup of oil. If you’re using honey, maple syrup, or agave, any will work great as they help to bind the granola together while adding a touch of natural sweetness. Pour this mixture over your dry ingredients, ensuring you coat them well for that perfect, crunchy texture.
Don’t forget a pinch of salt! It might seem counterintuitive to add salt to a sweet treat, but it’s essential to balance the flavors and bring out the natural sweetness of your other ingredients.
Step 4: Spread It Out
Line a baking sheet with parchment paper for easy cleanup and spread your granola mixture out in an even layer. You’ll want to give your granola plenty of room to bake evenly, so if it seems too crowded, use two pans instead of one.
Step 5: Bake with Patience
Here comes the part that requires a bit of patience. Bake your granola for about 20 to 25 minutes. The key to perfectly baked granola is to stir it gently every 10 minutes or so. This ensures an even bake and prevents any burning, especially around the edges and the bottom.
Step 6: Cool and Customize
Once your granola is golden brown and aromatic, pull it out of the oven and let it cool completely. It will still be a bit soft when it’s fresh out of the oven but will harden as it cools, creating those delightful clusters we all love.
Now, it’s time to get creative! Add your favorite mix-ins like raisins, dried cranberries, or even chocolate chips for a sweet treat. Coconut flakes are also a delicious addition that adds a bit of texture and flavor.
Step 7: Store and Enjoy!
Once entirely cooled, store your homemade granola in an airtight container. It keeps well at room temperature for up to 2 weeks, but if you’re anything like me, it won’t last that long!
Serving Suggestions:
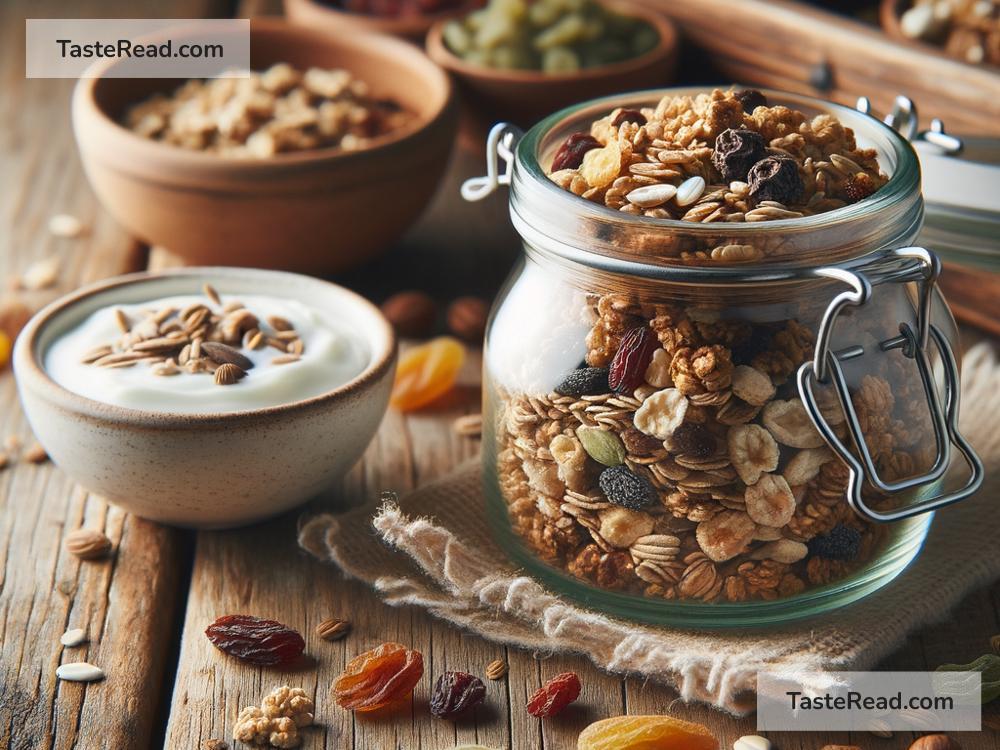
Homemade granola is incredibly versatile. Serve it over yogurt with some fresh fruit for a delicious breakfast, or grab a handful as a quick, energy-boosting snack. You can also sprinkle it on top of smoothie bowls or mix it into pancake batter for a delightful crunch.
Final Thoughts:
Making your own granola at home is not only simple and cost-effective, but it also allows you to control the quality of ingredients and tailor it to your taste preferences. Experiment with different nuts, seeds, and mix-ins until you find your perfect combination. Homemade granola is a healthier, tastier, and more personalized choice that’s well worth the small effort to prepare. So, what are you waiting for? Get baking and enjoy the delicious results!
Remember, the best part about homemade granola is that it’s made by you, for you. Enjoy your tasty, crunchy creation knowing it’s filled with nothing but goodness. Happy baking!