How to Make Homemade Mayonnaise with Simple Ingredients
Making mayonnaise at home might sound like a tricky task, but it’s actually pretty simple! And the best part? You only need a few basic ingredients that you likely already have in your kitchen. Homemade mayonnaise not only tastes better, but you can also customize it to your liking and avoid the additives found in store-bought versions. So, let me guide you through the easy steps to make your very own fresh and delicious mayo.
What You Need:
Before we dive into the making process, let’s check the ingredients and tools you’ll need.
Ingredients:
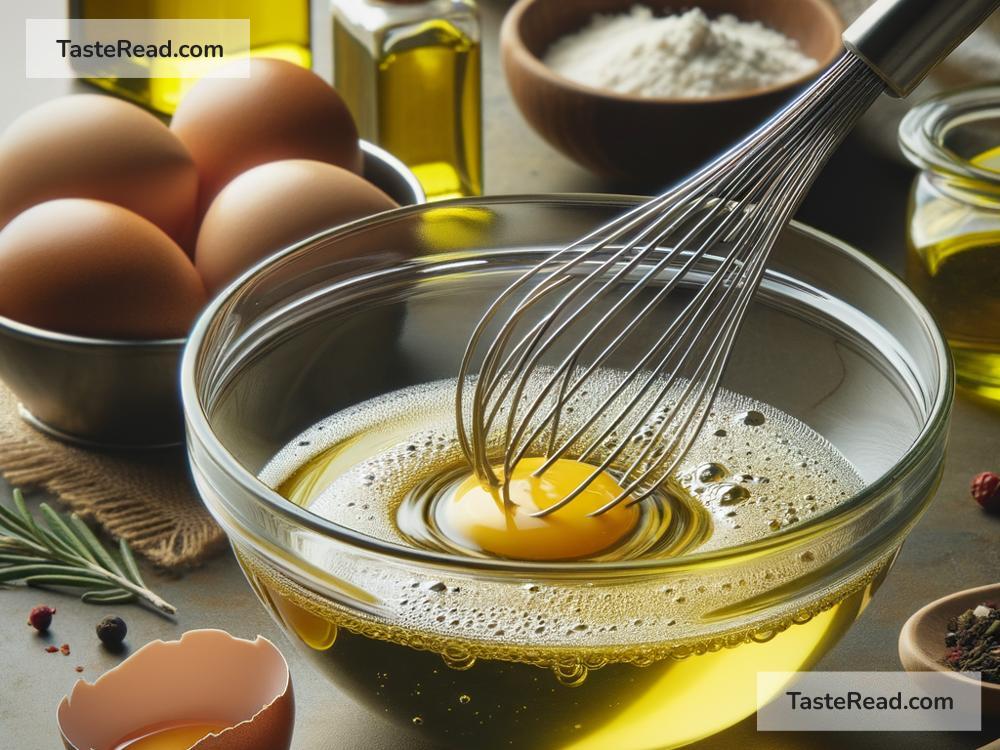
– 1 large egg at room temperature
– 1 tablespoon of Dijon mustard or a mustard of your choice
– 1 tablespoon of vinegar (white wine vinegar works great) or lemon juice for a fresher flavor
– A pinch of salt
– 1 cup (240 ml) of light tasting oil like canola, sunflower, or a mild olive oil
– Optional: black pepper, garlic, or herbs for added flavor
Tools:
– A blender, food processor, or an immersion blender
– A clean, dry jar or a bowl
Step by Step Instructions:
- Preparation:
- Make sure all your ingredients are at room temperature, especially the egg. This helps emulsify the mixture better.
-
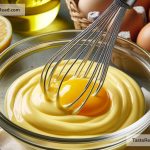
Crack the egg into your blender, food processor, or a bowl if you’re using an immersion blender.
-
Adding Flavor:
-
Add the tablespoon of mustard, a pinch of salt, and the tablespoon of vinegar or lemon juice. If you’re adding any optional ingredients like pepper, garlic, or herbs, now’s the time!
-
Blending:
-
Start your blender on a low speed or start mixing with your immersion blender. The mustard and egg will blend together, forming the base of your mayonnaise.
-
Adding Oil:
-
This is the most crucial step. Slowly, and I mean slowly, start pouring your oil into the mixture while the blender is still running. Begin with a very thin stream of oil, almost like you’re drizzling it in. This slow addition ensures the oil emulsifies properly with the egg mixture, which is what gives mayonnaise its creamy texture.
-
Watching the Magic Happen:
-
As you keep adding oil, you’ll notice the mixture start to thicken. Once it begins to look more like mayonnaise, you can slightly increase the speed of pouring oil. However, be mindful not to rush this process.
-
Taste Test:
-
Once all the oil is incorporated, turn off the blender and give your mayo a taste test. This is where you can adjust the seasoning to your liking. Add more salt, another squeeze of lemon juice, or even more mustard if desired.
-
Storing Your Mayonnaise:
- Transfer your homemade mayonnaise into a clean, dry jar and seal it with a lid. Homemade mayonnaise doesn’t contain the preservatives that store-bought versions do, so it’s important to store it in the refrigerator. Properly stored, it can last for up to a week.
Tips for Perfect Homemade Mayonnaise Every Time:
- Room Temperature Ingredients: I can’t stress enough how important this is. Cold ingredients might not emulsify well.
- Oil Choice: Use a light-tasting oil to avoid overpowering the delicate flavor of your mayonnaise. Olive oil is great but choose a mild one.
- Be Patient: Adding oil slowly is key. Rushing might cause the mayonnaise to separate.
- Fixing Broken Mayonnaise: If your mayonnaise separates and doesn’t emulsify, don’t panic. Start with another egg in a separate bowl and slowly drizzle in the broken mayo, just like you would with the oil. It often fixes the problem!
Conclusion:
Homemade mayonnaise is a versatile condiment that you can customize to your heart’s desire. Whether you like it plain or jazzed up with garlic and herbs, making it yourself allows you to control the quality of ingredients and avoid unnecessary additives. Follow these simple instructions, and you’ll be a mayo-making pro in no time. Experiment with flavors, enjoy the process, and take pride in creating something delicious from scratch. Happy cooking!