Title: How to Make Homemade Pizza Dough for Perfect Crusts: A Simple Guide
Calling all pizza lovers! Have you ever dreamed of creating the perfect pizza crust right in your own kitchen? The kind that’s crispy on the outside yet fluffy and tender inside, just like your favorite pizzeria’s? What if I told you that crafting such a masterpiece is not only possible but surprisingly simple? Yes, you read that right! Today, I’m going to guide you through the process of making homemade pizza dough from scratch that promises to elevate your pizza game to the next level.
Ingredients You’ll Need:
For this basic yet magical recipe, gather the following:
- 2 cups (250g) all-purpose flour (plus extra for dusting)
- 1 packet (2¼ tsp) instant yeast
- 1 tsp salt
- 1 tsp sugar
- ¾ cup (180ml) warm water (not hot)
- 2 Tbsp olive oil (plus extra for greasing)
Step 1: Mix Your Dry Ingredients
Start by taking a large mixing bowl and combining your flour, instant yeast, salt, and sugar. Give them a good stir to make sure they are evenly mixed. It’s essential to distribute the yeast and salt evenly throughout the flour for a consistent rise.
Step 2: Add Warm Water and Olive Oil
Next, add the warm water and olive oil to your dry mixture. The water’s warmth is crucial as it activates the yeast, bringing the dough to life. Mix these together using a wooden spoon or your hands until a rough dough starts to form.
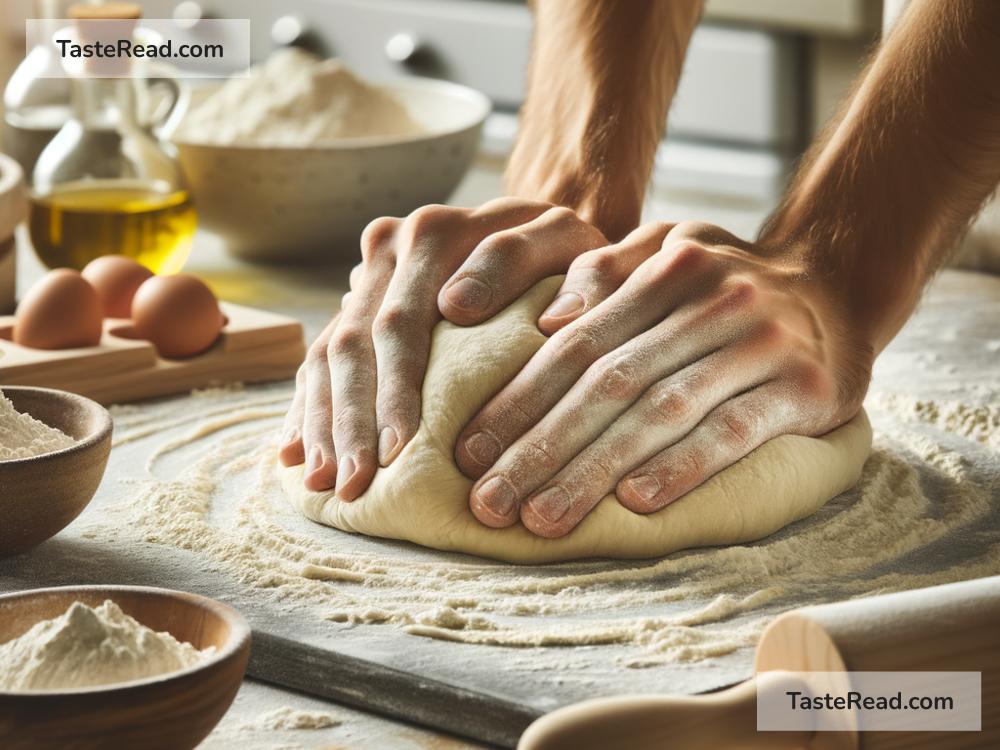
Step 3: Knead Your Dough
This step is where the magic really starts to happen. Sprinkle a clean surface with a bit of flour and place your dough on it. Knead the dough for about 10 minutes, or until it becomes smooth and elastic. Don’t be afraid to add a little more flour if the dough is too sticky. Kneading is a key process as it develops the gluten in the flour, giving your crust that desirable chewy texture.
Step 4: Let the Dough Rise
Once kneaded, form the dough into a ball and place it in a lightly oiled bowl, turning it once to coat. Cover the bowl with a damp cloth or plastic wrap and put it in a warm place to let it rise. You’ll want it to double in size, which should take about 1 to 2 hours depending on the temperature of your room. This rise is essential for developing flavors and creating a light, airy structure within the dough.
Step 5: Punch Down and Shape
After the dough has doubled in size, gently punch it down to release any air bubbles. This step is not only fun but necessary for creating that perfect texture. Then, transfer the dough to a floured surface, divide it if you’re planning on making multiple pizzas, and start shaping. Use your hands or a rolling pin to shape the dough into rounds. Remember, it doesn’t have to be perfect – rustic is part of the homemade charm.
Step 6: Pre-Bake (Optional)
For an extra crispy bottom, consider pre-baking your crust before adding the toppings. Place your shaped dough onto a pizza stone or a baking tray and bake in a preheated oven at 475°F (245°C) for about 5 minutes. Then, remove it, add your favorite toppings, and bake until the cheese is bubbly and golden.
Step 7: Bake and Enjoy!
If you’re not pre-baking the crust, simply add your toppings to the shaped dough and bake at 475°F (245°C) for about 10-15 minutes or until the crust is golden brown and the cheese is melting and bubbly. Once done, take your homemade pizza out of the oven, let it cool for a few minutes, and get ready to amaze yourself and your loved ones with your creation.
Congratulations! You have now mastered the art of making homemade pizza dough. Not only is it a fun and rewarding process, but the results are also undeniably delicious and customizable to your taste. Imagine the endless possibilities of toppings and the joy of biting into a pizza crust that’s been made with your own hands. So, tie on that apron, get kneading, and prepare to enjoy pizza night like never before. Happy baking!

