How to Make Silky, Flavor-Infused Custards: A Step-by-Step Guide
Custard is a comfort food beloved across the world, but many folks think it’s too tricky to make at home. The truth? With a few simple steps, making silky, flavor-infused custards can be straightforward, fun, and incredibly rewarding. Whether you’re a beginner looking to try something new or a seasoned kitchen wizard ready to refine your craft, I’ve got you covered. Let’s break down the art of custard-making into bite-sized pieces.
What You’ll Need:
Before we dive into the steps, make sure you have the following items handy:
– A medium-sized saucepan
– A whisk
– Mixing bowls
– A fine mesh sieve
– Individual ramekins or a large baking dish
– An oven for baking
– Ingredients (which we’ll detail below)
Ingredients:
- 2 cups of whole milk or heavy cream (for richness)
- 4 large eggs (for structure)
- 1/2 cup of sugar (for sweetness)
- A pinch of salt (to balance flavors)
- Your choice of flavoring: vanilla extract, lemon zest, chocolate, or anything else you fancy
Step 1: Preheat and Prepare
Kick things off by preheating your oven to 325°F (165°C). This will ensure the oven is ready by the time your custard mixture is set to go in. Also, arrange your ramekins in a large baking dish. This setup will be important for a baking technique known as a “water bath” that helps cook the custard gently and evenly.
Step 2: Heat Your Liquid
In your saucepan, heat the milk (or cream) over medium heat until it’s steaming but not boiling. This step is crucial because if it’s too hot, it can scramble the eggs when combined, ruining the smooth texture of your custard.
Step 3: Mix Eggs, Sugar, and Flavor
In a mixing bowl, whisk together the eggs, sugar, salt, and whatever flavoring you’ve chosen until the mixture is smooth and well-combined. This is your custard base, where you get to play with flavors. Love vanilla? Add a teaspoon of vanilla extract. Fan of citrus? Grate some lemon zest into the mix. The sky’s the limit!
Step 4: Combine and Strain
Slowly pour the warm milk or cream into your egg mixture, whisking continuously. This method, called “tempering,” gradually heats the eggs without cooking them outright. Once combined, strain the mixture through a fine mesh sieve into a clean bowl to remove any lumps or egg strands, ensuring your custard’s signature silky texture.
Step 5: Bake in a Water Bath
Pour the custard mixture into your prepared ramekins or baking dish. Then, carefully pour hot water into the baking dish around the custards until it comes halfway up the sides of the ramekins. This “water bath” creates a gentle heat environment, protecting the delicate custards from cooking too quickly or unevenly.
Bake in the preheated oven until the custards are just set but still slightly wobbly in the center, typically around 40-45 minutes for ramekins or a bit longer for a single large dish. The key here is patience; don’t rush the baking process, and keep a close eye on them as they near completion.
Step 6: Cool and Enjoy
Once done, carefully remove the custards from the water bath and allow them to cool to room temperature. For an extra delicious treat, refrigerate them for a couple of hours to serve them chilled. Either way, the result is a creamy, dreamy dessert that’s sure to impress.
Customization Tips:
- Mix in Fruits or Nuts: Fold in berries, sliced bananas, or chopped nuts after straining the mixture for added texture and flavor.
- Experiment with Sweeteners: Swap out traditional sugar for honey, maple syrup, or even a sugar substitute to tailor the sweetness to your liking.
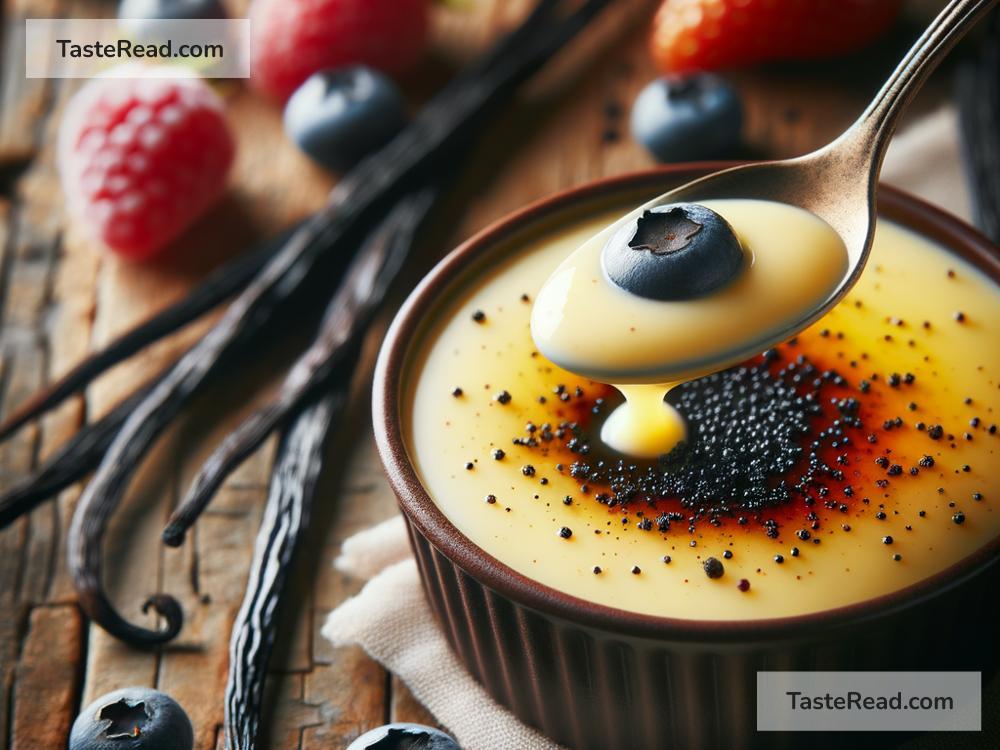
- Top it Off: From a sprinkle of cinnamon or cocoa powder to a dollop of whipped cream, toppings can add an extra layer of flavor and sophistication to your custards.
With these simple steps and a bit of creativity, you’re now equipped to make smooth, flavor-infused custards right in your kitchen. Remember, the beauty of custard-making lies in the process just as much as in the final product, so don’t be afraid to experiment and make each batch uniquely yours. Happy cooking!