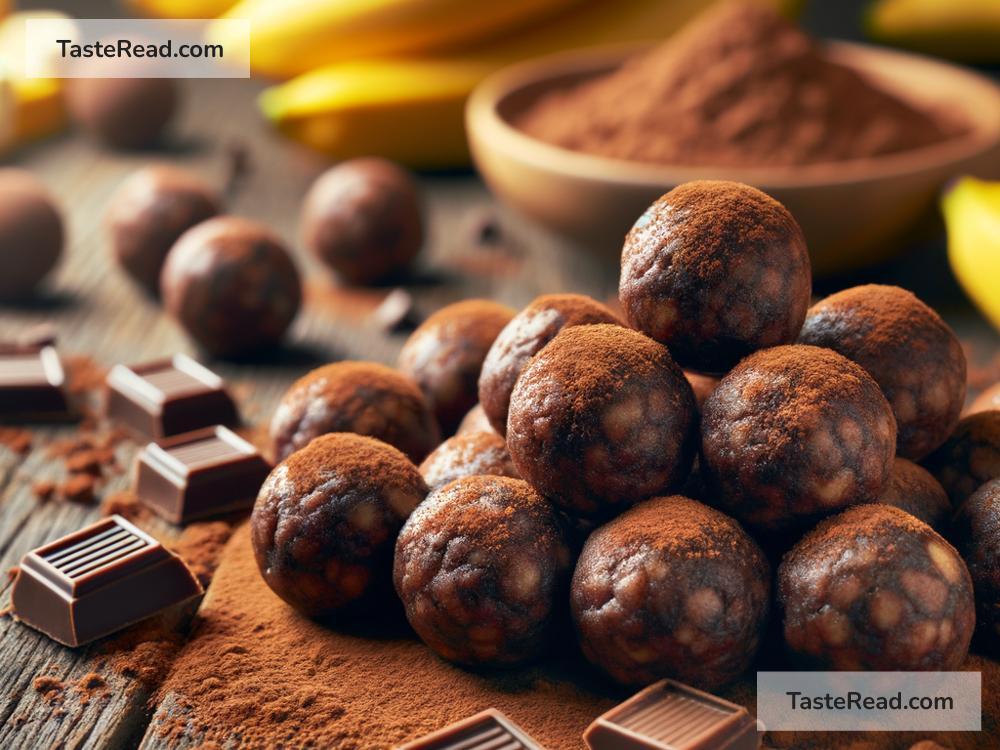
How to Make Sweet Chocolate and Banana Protein Balls
If you’re in search of a tasty, healthy snack that packs a punch of energy, look no further! Today, we’re diving into a simple yet delicious recipe: Sweet Chocolate and Banana Protein Balls. Perfect for those mid-day hunger pangs, pre-workout energy boosts, or simply as a nutritious treat, these protein balls are a great way to satisfy your sweet tooth without the guilt.
Why You’ll Love This Recipe
- Nutritious: Packed with protein and healthy fats, they’re great for energy and satiety.
- Easy to Make: No cooking required! Just mix, shape, and enjoy.
- Customizable: Easily substitute ingredients based on your dietary needs or what you have in your pantry.
Ingredients:
- 1 ripe banana
- 1 cup rolled oats
- ½ cup peanut butter (smooth or crunchy, based on preference)
- 2 tablespoons cocoa powder
- 2 tablespoons honey or maple syrup
- ¼ cup protein powder (your choice of flavor, though chocolate works great)
- A pinch of salt
- Optional: Chia seeds or flaxseeds for an extra nutritional boost
Tools You’ll Need:
- A mixing bowl
- A fork
- A spoon or spatula
- Parchment paper
- A plate or tray for chilling
Let’s Get Started:
1. Prepare your banana: Peel your ripe banana and place it in a large mixing bowl. Using a fork, mash it thoroughly until it’s smooth. Ripe bananas are easier to mash and add natural sweetness.
2. Mix the Dry Ingredients: To your mashed banana, add the rolled oats, cocoa powder, protein powder, and a pinch of salt. If you’re using chia seeds or flaxseeds, toss them in now. This is the moment to throw in any personal touches. Mix everything together until well combined.
3. Add the Wet Ingredients: Pour in the peanut butter and honey or maple syrup into the bowl. The sticky ingredients will help bind everything together, making it easier to form the balls later. Mix until you have a cohesive, sticky mixture.
4. Shape Your Protein Balls: Clear up some space and lay down a piece of parchment paper. With clean hands, scoop out a portion of the mixture – about a tablespoonful. Roll it between your palms to form a ball. If the mixture sticks to your hands, wet them slightly with water. Repeat this process until all the mixture is used. You should end up with around 12 to 15 balls, depending on their size.
5. Chill and Enjoy: Place your rolled balls on a plate or tray lined with parchment paper, making sure they’re not touching. Pop them into the refrigerator for about an hour to set. This step is crucial as it helps the protein balls firm up and become more manageable to eat.
6. Serving and Storage: Once chilled, your Sweet Chocolate and Banana Protein Balls are ready to be devoured! They can be enjoyed immediately or stored in an airtight container in the fridge for up to a week, making them a perfect grab-and-go snack.
Pro Tips for Perfect Protein Balls:
- Customize Your Flavors: Don’t hesitate to experiment with different flavors. Try adding nutmeg or cinnamon for a warm twist or substitute almond butter for peanut butter for a different nutty flavor.
- Texture Tweaks: For a crunchier texture, add chopped nuts or seeds. If you prefer a smoother texture, make sure your ingredients are finely ground or opt for extra mashed banana.
- Dipping Delight: For an extra layer of deliciousness, melt some dark chocolate and dip your chilled protein balls into it. Let them set in the fridge for a chocolate-coated treat!
Crafting these Sweet Chocolate and Banana Protein Balls is a breeze, making them an excellent project for beginners in the kitchen or those looking for a quick and healthy snack option. Their versatility and ease of preparation make them a staple for meal preps, healthy snacking, or even a thoughtful homemade gift. So, roll up your sleeves, get your ingredients ready, and indulge in the healthy, guilt-free pleasure of these protein-packed delights. Enjoy!