Mastering the Art of Baking Layered Pastries: A Beginner’s Guide
Baking layered pastries might sound like a task reserved for the pros, but guess what? With a sprinkle of patience, a dash of practice, and this simple guide, you’ll be on your way to creating flaky, buttery delights that could rival any bakery display. The key to mastering the art of layered pastries lies in understanding the basics, from the dough you’ll need to the techniques that’ll transform your baking game. Let’s dive in.
Choosing Your Dough
Two common types of dough are used in layered pastries: puff pastry and phyllo (filo) dough. Puff pastry is all about indulgence, with its multiple flaky layers that puff up in the oven thanks to the high butter content. In contrast, phyllo dough is lighter, with paper-thin layers that crisp up beautifully, often used in recipes like baklava or spanakopita.
For beginners, starting with store-bought dough can be a great way to dive into the world of layered pastries without getting overwhelmed. Once you’re comfortable, venturing into homemade dough can take your pastries to the next level.
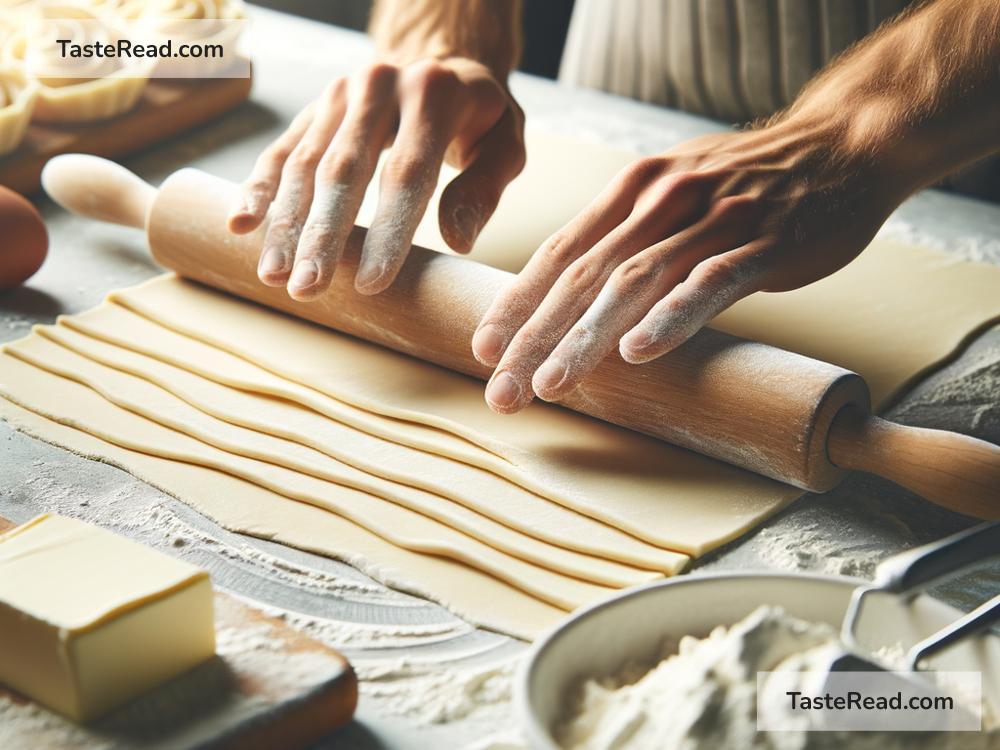
The Power of Patience: Laminating Dough
If you decide to make puff pastry from scratch, you’ll encounter a technique called “laminating.” This involves folding and rolling out the dough multiple times to create those signature buttery layers. Here’s a simplified breakdown:
- Prepare your dough and butter block: The dough (détrempe) is relatively simple, but ensure your butter block (a flattened square of butter) is cold yet pliable.
- Encase the butter: Roll out your dough into a larger square and place the butter block in the center. Fold the dough edges over the butter, sealing it inside.
- Roll and fold: Carefully roll out the dough to elongate it, then fold it into thirds like a letter. This is your first fold.
- Chill out: Layered pastry’s secret ingredient is patience. Between folds, the dough needs to chill out in the fridge. This keeps the butter from melting and maintains distinct layers.
- Repeat: Perform the roll-and-fold process a few more times (usually three to four in total), chilling the dough between each fold.
Embrace the Phyllo
Phyllo dough, while less labor-intensive than making puff pastry, has its challenges. Its thin layers can dry out and tear if not handled with care. Here are some tips:
- Keep it covered: Work with one sheet at a time, and keep the rest covered with a damp towel to prevent drying.
- Brush liberally: Between layers, gently brush with melted butter or oil. This helps the layers stick together and adds a rich flavor.
- Practice makes perfect: Handling phyllo dough can be tricky at first. If it tears, don’t sweat it. Once baked, those imperfections usually go unnoticed.
Baking to Perfection
Regardless of the type of pastry you’re making, baking is a crucial final step that turns your layers of dough into golden, crispy magic. Here are a few points to remember:
- Temperature is key: Most layered pastries bake best in a hot oven, around 400°F (200°C). This high heat quickly puffs up the layers.
- Watch and learn: Keep an eye on your pastry as it bakes. Depending on size and thickness, cooking times can vary.
- Cooling: Resist the temptation to immediately dive in. Allowing your pastry to cool slightly will give the layers a chance to set, ensuring that flaky texture.
Final Touches and Troubleshooting
- Perfection is overrated: Your first tries might not look like bakery fare, but they’ll likely still taste amazing.
- Customization: Once you’re comfortable, experiment with different fillings and flavors. Layered pastries are incredibly versatile.
- Troubleshoot: If your pastries aren’t as flaky as hoped, consider if your butter may have melted into the dough during preparation. Remember, keeping everything cold is crucial.
Baking layered pastries is a journey, one that requires patience and practice but promises delicious rewards. By starting simple, respecting the process, and embracing the learning curve, you’re not just baking—you’re mastering an art form. So preheat that oven, roll up your sleeves, and prepare to impress yourself (and eventually, your lucky taste-testers). Happy baking!