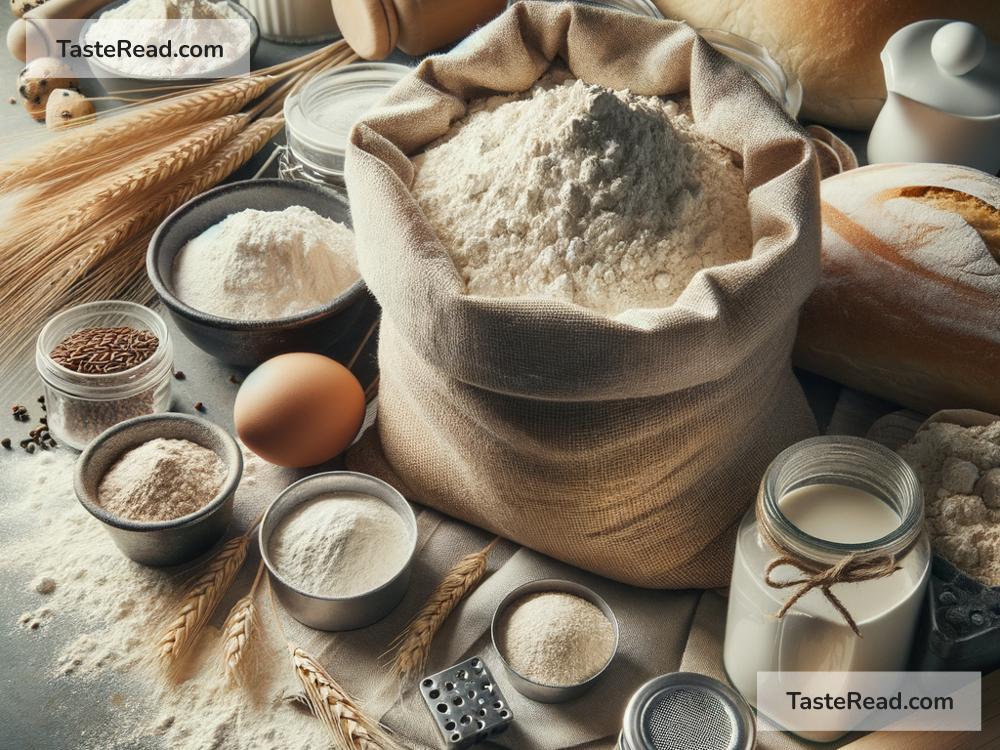
Title: Baking Magic: How to Make Delicious Bread with Stale Flour
Are you staring at a bag of flour that’s been sitting around for a bit too long? Maybe it’s lost that fresh smell, feeling a bit past its prime? Don’t rush to throw it out yet! Baking bread with stale flour might seem unconventional, but it’s entirely possible and can yield surprisingly delightful results. Here’s a simple guide on how to breathe new life into stale flour and fill your home with the warm aroma of freshly baked bread.
What Makes Flour Go ‘Stale’?
First off, it’s key to understand what we mean by ‘stale flour.’ Flour doesn’t become stale in the way bread does but can get a musty odor or taste slightly off if exposed to air, moisture, or pests over time. While it might not be at its peak, stale flour can still play a starring role in your baking with a few adjustments.
Is Stale Flour Safe?
Absolutely, as long as it has been stored properly and there are no signs of mold or pests. Always give your flour a good sniff and a quick inspection before using it.
Reviving Stale Flour
Step 1: Sift and Aerate
One of the main issues with stale flour is it becomes clumpy and loses its fluffiness. A simple sieve can work wonders. Sift your flour to break up any lumps and incorporate a bit more air into it.
Step 2: Consider Toasting (Optional)
Toasting your flour in an oven for a few minutes can help eliminate any stale tastes, giving your bread a unique depth of flavor. Spread the flour on a baking sheet and toast it at around 350°F (175°C) for about 5-10 minutes. Keep a close eye on it to prevent burning. Let it cool before using.
Baking Bread with Stale Flour
Now that your stale flour is prepped and as good as revitalized, let’s dive into the simple joy of baking bread with it.
Ingredients:
- 3 cups sifted stale flour
- 1 cup warm water (around 110°F or 45°C)
- 1 packet (2¼ tsp) active dry yeast
- 2 tbsp sugar
- 1 tsp salt
- 2 tbsp olive oil
Instructions:
1. Activate the Yeast
In a small bowl, dissolve the sugar in warm water. Sprinkle the yeast over the surface. Let it sit for about 10 minutes until frothy, which means your yeast is alive and ready to work its magic.
2. Mix the Ingredients
In a large mixing bowl, whisk together the revived stale flour and salt. Make a well in the center and add the frothy yeast mixture and olive oil. Stir everything with a wooden spoon until a shaggy dough forms.
3. Knead the Dough
Transfer the dough to a floured surface and knead it for about 10 minutes. Your goal is to achieve a smooth and elastic dough. If the dough is too sticky, add a little more flour; if too dry, add a bit of water.
4. First Rise
Place your dough in a lightly oiled bowl, cover it with a clean kitchen towel, and let it rise in a warm spot. Wait for it to double in size — it usually takes about 1 to 2 hours depending on the temperature of your kitchen.
5. Shape and Second Rise
Punch down the risen dough to release air bubbles. Shape it into a loaf and place it in a greased loaf pan. Cover again and let it rise until it nearly doubles, which might take another hour.
6. Bake
Preheat your oven to 375°F (190°C). Bake your bread for about 25 to 30 minutes, or until the top is golden brown and the loaf sounds hollow when tapped on the bottom.
7. Cool and Serve
Allow the bread to cool in the pan for about 10 minutes, then transfer it to a wire rack to cool completely. Resist the temptation to slice it right away; the bread continues to bake from residual heat and sets as it cools.
Final Words
Baking bread with stale flour not only reduces waste but also proves the age-old adage that with a bit of ingenuity, nothing in the kitchen ever truly goes to waste. This simple guide shows that stale flour, though past its prime, can still yield comforting and delicious bread. So, the next time you find a bag of flour that’s been overlooked, remember, it still has the potential to become a wholesome loaf of bread that’s sure to warm any baker’s heart. Happy baking!


