Creating Broth from Leftover Herb Stems: A Simple Guide to Sustainable Cooking
In the world of cooking, herbs play a pivotal role in flavoring our favorite dishes. From the fragrant basil adorning a pizza to the cilantro that brightens a taco, herbs are the unsung heroes in the kitchen. However, after plucking the leaves, what usually remains are the stems – parts that often end up in the trash. But did you know that these leftover stems can be turned into a savory broth, rich in nutrients and full of flavor? In this simple guide, we’ll show you how to make the most out of your herb stems, embracing a more sustainable way of cooking.
Step 1: Gather Your Herb Stems
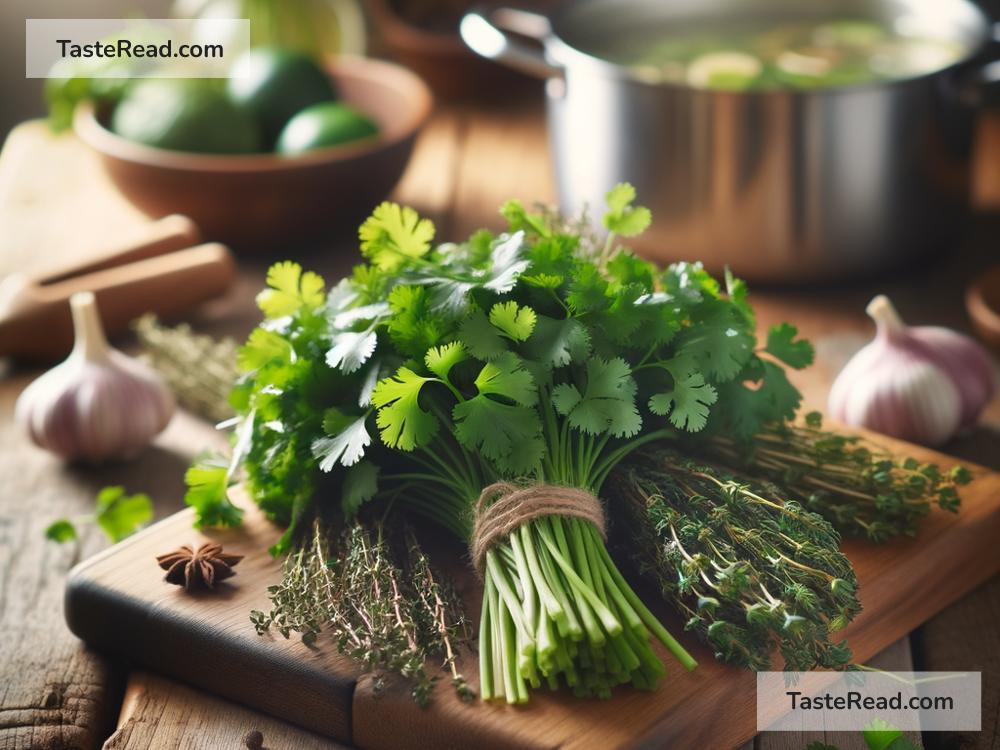
First things first, start saving those stems! Whenever you use fresh herbs in your cooking, rather than tossing the stems away, wash them thoroughly and store them in a ziplock bag or an airtight container in the freezer. You can mix different kinds of herb stems – think basil, parsley, cilantro, thyme, and rosemary. Over time, you’ll accumulate a variety of stems that will serve as the base for your broth.
Step 2: Prepping for the Broth
Once you have enough stems, it’s time to prepare for the broth-making process. You’ll need a large pot, water, and any additional aromatics you enjoy in a broth, such as garlic, onions, carrots, or celery. Roughly chopping these additional ingredients will help release their flavors into the broth.
Step 3: Cooking Your Broth
Place your herb stems and any additional ingredients you’ve chosen into the pot. Pour enough water to cover the ingredients by a couple of inches – typically, for a good-sized pot, around 6 to 8 cups of water should suffice.
Bring the pot to a gentle boil, then reduce the heat, allowing it to simmer. A simmer means small bubbles occasionally rise to the surface, rather than a full, roaring boil. This slow cooking process helps in extracting flavors from the stems and other ingredients.
Allow the mixture to simmer for at least an hour. This gives the stems ample time to imbue the water with their essence, creating a flavorful broth. If you have time, letting it simmer for a couple of hours can deepen the flavors even more.
Step 4: Straining Your Broth
After simmering, the next step is to separate the liquid broth from the solid ingredients. With a fine-mesh sieve or a colander lined with cheesecloth, strain the broth into another pot or a large bowl. Press lightly on the solids to extract as much liquid as possible, then discard the remains.
Step 5: Seasoning and Using Your Broth
Now that you have your clear broth, taste it and adjust the seasoning as desired. A pinch of salt can enhance the flavors, but remember, you can always add but cannot subtract, so go easy with the seasoning.
Your homemade broth can be used immediately or stored for future use. It’s perfect for soups, stews, cooking grains like rice or quinoa, and anywhere else you might use store-bought broth. It adds a delightful herby undertone that can elevate your dishes.
To store, let the broth cool completely. It can be kept in the refrigerator for up to a week or frozen for longer storage. Ice cube trays are handy for freezing small portions that can be easily thawed as needed.
Why Make Herb Stem Broth?
Beyond the joy of creating something delicious from what would be waste, making broth from herb stems is a step towards more sustainable cooking practices. It reduces food waste and helps you extract every bit of flavor and value from your groceries. Plus, homemade broth is free from the preservatives and excessive sodium often found in commercial broths, making it a healthier choice.
So, next time you’re cooking with fresh herbs, remember to save those stems. With a little effort and patience, you can transform them into a savory broth that not only tastes good but is also good for the planet. Happy cooking!