How to Make Zero-Waste Jams from Overripe Fruit
In today’s world, being mindful of our environment is more important than ever. One small, delicious step you can take towards a more sustainable lifestyle is making zero-waste jams from overripe fruit. Not only does this approach help in reducing food waste, but it also gives you an opportunity to savor flavors you’ve created yourself, free from preservatives found in store-bought jams. Here’s a simple guide to get you started on your zero-waste jam-making journey.
Step 1: Gather Your Overripe Fruit
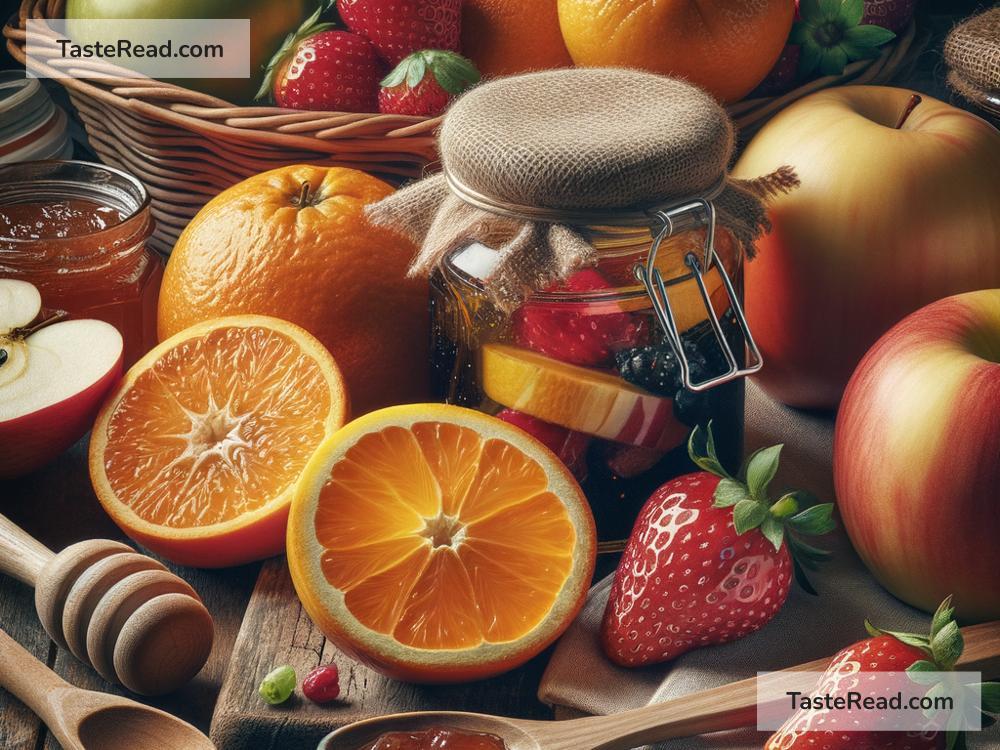
The first step in this eco-friendly venture is to collect your overripe fruit. This could be anything from strawberries, blueberries, and raspberries to peaches and apricots. Overripe doesn’t mean rotten. You’re looking for fruit that’s too soft to eat fresh but not spoiled. Often, these fruits are perfect for jam because their heightened sweetness and soft texture break down easily when cooked.
Step 2: Prep Your Fruit
Once you’ve gathered your fruit, it’s time to prepare it. Wash your fruits thoroughly and then chop them into smaller pieces. If you’re using peaches or apricots, remember to remove the pits. For berries, just hull them or remove any stems. The size you chop the fruit into depends on how you like your jam. If you prefer a smoother jam, chop smaller; for a chunkier texture, leave the pieces a bit larger.
Step 3: Weigh and Sweeten
Traditional jam recipes call for equal parts fruit and sugar, but in our zero-waste jam, we’re opting for a less sweet version. Weigh your prepared fruit and for every pound of fruit, you’ll need about half a pound of sugar. You can adjust this according to your taste preferences and the natural sweetness of your fruit. If you’re looking for a healthier alternative, honey or maple syrup can be great substitutes for sugar.
Step 4: Let the Magic Happen
Place your prepped fruit and sugar (or its substitute) in a large, thick-bottomed pot. Stir it gently over low heat until the sugar has completely dissolved. Then, increase the heat, bringing your mixture to a boil. Keep a keen eye on it and stir occasionally to prevent sticking. Once it reaches a rolling boil, reduce the heat and let it simmer. The magic starts now as the mixture thickens and turns into beautiful, aromatic jam. This could take anywhere from 20 to 60 minutes, depending on the fruit and your desired consistency.
Pro Tip: To test if your jam is ready, place a small spoonful on a cold plate. If it gels, your jam is set. If not, keep cooking and test again in a few minutes.
Step 5: Store It Right
Once your jam has reached its perfect consistency, remove it from the heat. If you prefer a smoother texture, you can blend your jam or mash it with a potato masher. Pour the hot jam into sterilized jars, leave about a quarter-inch of space from the top, and seal them while still hot. Turn the jars upside down for about 5 minutes to help seal them. Then, let them cool completely. Stored this way, your homemade, zero-waste jam can last up to a year unopened in a cool, dark place. Once opened, keep it refrigerated and enjoy within a month.
Zero Waste Tips:
- Compost Your Scraps: Any peels or pits you have left over can go into your compost bin, adding back valuable nutrients to the earth.
- Repurpose Old Jars: Instead of buying new jars, clean and reuse jars from previous store-bought jams or sauces.
- Get Creative: Don’t be afraid to mix fruits or add in spices like cinnamon, vanilla, or even a dash of liquor for an extra kick.
Making zero-waste jams from overripe fruit is a simple, gratifying way to contribute towards a more sustainable planet. It’s a creative process that cuts down on food waste, reduces your carbon footprint, and provides you with a healthier, homemade alternative to commercial jams full of preservatives and artificial flavors. Plus, these homemade jams can be a thoughtful, delicious gift for friends and family.
Begin your zero-waste journey today with this simple yet rewarding project. The satisfaction of spreading your homemade, eco-friendly jam on a piece of toast is incomparable. Happy jamming!