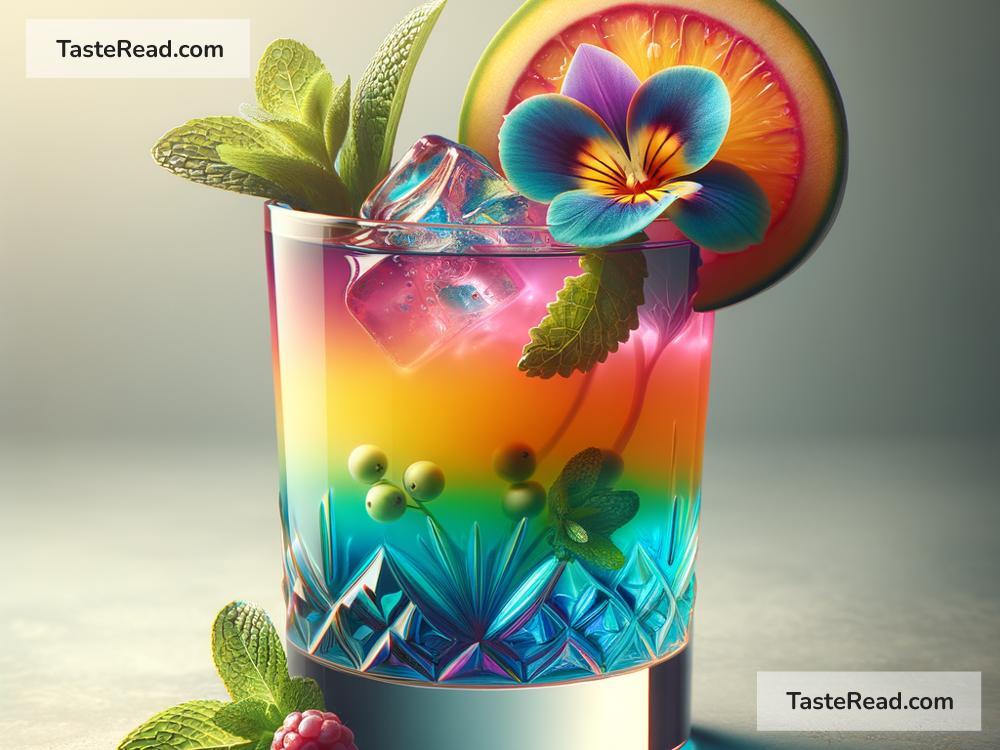
How to Photograph Cocktails with Stunning Garnishes: A Beginner’s Guide
Cocktails are more than just a drink; they’re a crafting of art that combines flavors, colors, and textures to create something truly special. And when it comes to sharing these creations on social media or your blog, capturing their essence through photography is key. If you’re looking to make your cocktail photos stand out, particularly those with eye-catching garnishes, you’re in the right place. Let’s dive into how you can photograph cocktails like a pro.
1. Lighting Matters
One of the most crucial elements in photography is lighting, and it’s no different when photographing cocktails. Natural light is your best friend here. Try to set up your photo shoot beside a window during the day. The soft, diffused daylight enhances the colors and textures of your cocktail, making the garnishes pop. Avoid direct sunlight, though, as it can create harsh shadows and highlights that detract from the beauty of your drink.
2. Choose the Right Background
The background plays a significant role in making your cocktail garnishes stand out. Opt for simple, neutral backgrounds that don’t compete with your subject. A plain white table or a wooden surface can provide a nice, clean look. If you’re aiming for something more dynamic, consider using textures or patterns that complement the drink’s colors without overwhelming it.
3. Get the Angle Right
Experiment with different angles to find the most flattering perspective for your cocktail. A top-down angle works well for drinks with interesting garnishes scattered on the surface, like a sprinkle of spices or an artistically placed herb. For cocktails with standout elements like a slice of fruit on the rim or a tower of olives, try shooting from the side to capture the height and depth of the garnish.
4. Pay Attention to Composition
The rule of thirds is a basic photography principle that suggests imagining your image divided into nine equal segments by two equally spaced horizontal lines and two equally spaced vertical lines. Placing your cocktail along these lines or their intersections can create a more balanced and visually appealing photo. Also, consider the placement of your garnishes and any props to lead the viewer’s eye toward the cocktail.
5. Focus on the Garnishes
Since garnishes are the stars of this show, ensure they’re in sharp focus. Whether you’re using a professional camera or your smartphone, you can usually tap on the screen or use manual focus to ensure the garnishes are crisply highlighted. Vibrant and intricate garnishes not only add to the aesthetic appeal but also tell a story about the flavors and creativity behind the cocktail.
6. Play with Props
Props can add context and depth to your cocktail photography. Think about what complements your drink – it could be the ingredients used in the cocktail, a beautiful cocktail shaker, vintage glasses, or even a book on mixology. However, remember the golden rule: less is more. Use props sparingly to avoid cluttering the shot and distracting from the cocktail and its garnish.
7. Edit Wisely
Even the best photographs can benefit from a little touch-up. Use editing software or apps to adjust the brightness, contrast, and saturation to make your cocktail’s colors truly stand out. However, it’s important to keep edits realistic and not overdo them; your cocktail should look appetizing and true to life.
8. Practice Makes Perfect
Like any other form of photography, capturing stunning cocktail shots takes practice. Experiment with different cocktails, garnishes, lighting setups, and angles. Over time, you’ll develop an eye for what works and what doesn’t, and your unique style will start to shine through.
Photographing cocktails with stunning garnishes might seem daunting at first, but with these tips, you’re well on your way to capturing breathtaking images. Remember, the goal is to make viewers feel like they can taste and smell the cocktail through your photos. So, embrace your creativity, have fun with it, and cheers to your next great shot!


