How to Photograph Food for Restaurants Menus: Creating Enticing Photos
Photographing food is more than just snapping pictures; it’s an art that requires patience, skill, and an understanding of how to make every dish look its irresistible best. Whether you’re a restaurant owner, a budding photographer, or someone with a keen interest in food photography, this guide will walk you through how to capture mouth-watering photos that will make customers eager to taste what your menu has to offer.
Understand Your Environment
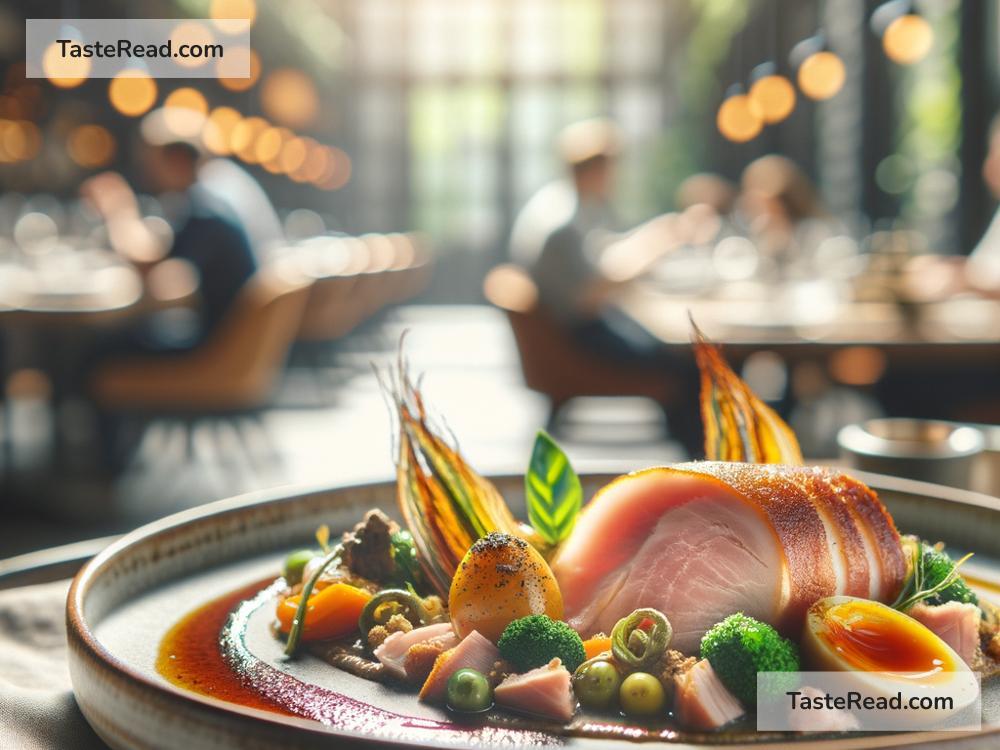
First and foremost, pay attention to your environment. Natural light is your best friend when it comes to food photography. Position your dish near a window where plenty of natural light is available, but avoid direct sunlight as it can create harsh shadows and highlights. Early morning or late afternoon offers the best light for that soft, appealing glow on your food.
Choose the Right Background
The background should never compete for attention with the food. Use simple backgrounds that complement the dish’s colors and texture. Wooden tables, plain cloths, or a marble countertop work great as backgrounds. Remember, the simpler the better, as you want the focus squarely on the food.
Pick the Perfect Angle
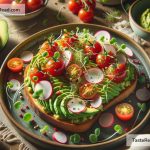
Not all foods look their best from the same angle. While some dishes look great when shot from above (like a pizza or a bowl of soup), others benefit from being photographed at a 45-degree angle (like a burger or a stacked sandwich). Experiment with different angles to find which one showcases the dish’s best features, like its height, texture, or the components that make it special.
Styling Your Food
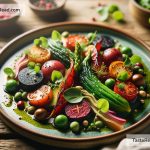
Presentation is key. Take the time to arrange your plate neatly, and pay attention to the details. Use fresh ingredients to garnish and add color. For example, a sprinkle of chopped herbs can add freshness and vibrancy to the dish. However, ensure the garnish is part of the dish to keep the photo authentic. Always opt for smaller plates as they help avoid making the dish look sparse.
Add Some Life
Introduce action and life into your shots. This could be a drizzle of sauce being poured onto the dish, a fork lifting a piece of pasta, or steam rising from hot food. These elements add a dynamic feel to your photos, making them more engaging and realistic.
Use Props Sparingly
Props can add context to your shot, but too many can distract from the main subject. Choose props that complement the meal’s theme or ingredients, such as rustic cutlery for homestyle dishes or elegant glassware for cocktails. Always remember, the food is the star of the show.
Edit with Caution
Editing is a crucial step in food photography, but it’s essential to keep changes minimal. Adjust the brightness, contrast, and saturation to make your photo pop but avoid over-editing that makes the food look unnatural. Your goal is to enhance the photo’s appeal while keeping it as true to life as possible.
Practice Makes Perfect
As with any art, practice is vital. Experiment with different dishes, setups, and lighting conditions. Review your photos critically to understand what works and what doesn’t. Over time, you will develop your style and learn how to make each dish come alive in photos.
Don’t Forget Consistency
If you’re shooting for a restaurant menu, maintaining consistency across all photographs is critical. Use the same background, plate settings, and editing style for each photo. Consistency helps to create a cohesive look for the menu, making it more appealing and professional.
When done right, food photography can transform a simple dish into a feast for the eyes, tempting people to dive right into the menu. Remember, the goal is to capture the essence and appeal of the food, making it as appetizing and inviting as possible. With these tips, you’re well on your way to creating enticing food photos that not only look delicious but also tell a story about your culinary creations. Happy shooting!