How to Photograph Food for Social Media: A Step-by-Step Guide
Have you ever scrolled through social media and stopped in your tracks at a gorgeous photo of food? You’re not alone. Photographing food has become an art form, and with a few tips and tricks, you can capture your dishes in a way that makes them irresistible online. Whether you’re a budding chef, a food blogger, or just someone who loves sharing their culinary creations, this step-by-step guide will help you shine on social media.
1. Lighting is Key
First things first: good lighting is everything. It can transform a humble dish into a masterpiece. Natural light is your best friend, so set up your shooting area near a window. Avoid direct sunlight, as it can create harsh shadows. Early morning or late afternoon light gives a soft, diffused effect that’s perfect for food photography.
2. Background and Props Matter
The background and props can make or break your photo. Choose simple, non-distracting backgrounds that complement the food’s colors and textures. Wood, marble, or a plain tablecloth can serve as great backdrops. Props like utensils, napkins, or ingredients can add a touch of realism, but don’t overdo it. The focus should always be on the food.
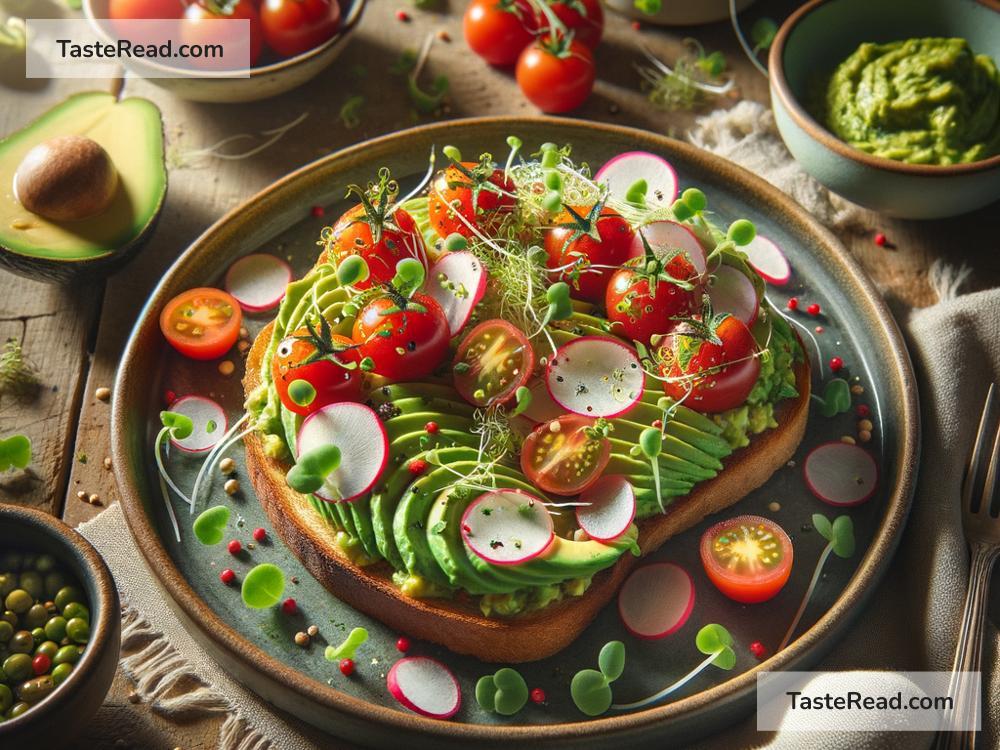
3. Find the Perfect Angle
Not all foods look their best from the same angle. Overhead shots work well for dishes with multiple components, like pizzas or salads, showcasing all the ingredients. Side angles are great for showing off the layers in cakes or the height of a stacked sandwich. Play around with different perspectives to find what best highlights your dish’s features.
4. Focus on the Details
The devil is in the details, as they say. A close-up shot can capture the texture of your dish, making it almost tangible to the viewer. The crispy edges of a chocolate chip cookie, the steam rising from a bowl of soup, or the glossy glaze on a donut can all become focal points that elevate your photo.
5. Enhance With Editing
Even the best shots can benefit from a little editing. Use apps like Lightroom or Snapseed to adjust brightness, contrast, and saturation. Remember, the goal is to enhance the photo’s natural beauty, not to transform it into something unrecognizable. Keep edits subtle and strive to maintain the food’s true colors and textures.
6. Composition is Crucial
A well-composed photo is pleasing to the eye. The rule of thirds is a classic composition technique: imagine your image is divided into nine equal segments by two vertical and two horizontal lines. Placing the main elements along these lines or at their intersections creates balance and interest. Leave some negative space to avoid clutter and give the eye a rest.
7. Tell a Story
Every dish has a story. Maybe it’s a family recipe passed down through generations, a personal creation inspired by travel, or a comfort food that has a special place in your heart. Use your caption to share these stories. It adds depth to your post and engages your followers on a more personal level.
8. Experiment and Have Fun
Lastly, don’t be afraid to experiment. Try out different styles, angles, and compositions. Not every shot will be perfect, but that’s part of the learning process. Most importantly, have fun with it. Your passion and enjoyment will shine through in your photos, attracting like-minded food lovers.
By following these simple steps, you’ll be well on your way to capturing stunning food photographs that will make your social media followers stop and stare. So, grab your camera, unleash your creativity, and let the world see your culinary masterpieces through your lens. Happy shooting!