Shoot Delicious: How to Photograph Food on a Budget with Minimal Equipment
Have you ever scrolled through Instagram or a food blog and wondered how they make dishes look so mouth-wateringly good? You might think that snapping those beautiful food photos requires a professional camera, lighting rigs, and a suite of editing software. Guess what? It doesn’t have to. You can capture stunning food images on a budget with minimal equipment. Here’s how to do it using things you probably already have around.
Step 1: Let There Be (Natural) Light
Forget about fancy lighting setups. One of the best light sources you can use is completely free – natural light. Position your food near a window where lots of natural light pours in. The best times for this are usually in the morning and late afternoon when the light is softer. Direct sunlight can be too harsh, so if it’s too bright, try diffusing it with a thin curtain or a piece of white paper.
Step 2: Use Your Smartphone
You don’t need a high-end camera to take great food photos. Today’s smartphones come equipped with fantastic cameras. The key is knowing how to use it properly. Always clean your lens before you start shooting – a simple but often overlooked step. Make sure to focus on the dish by tapping on the screen where you want the sharpest part to be. Use the natural light to your advantage, and avoid using the flash since it can create harsh shadows and highlights.
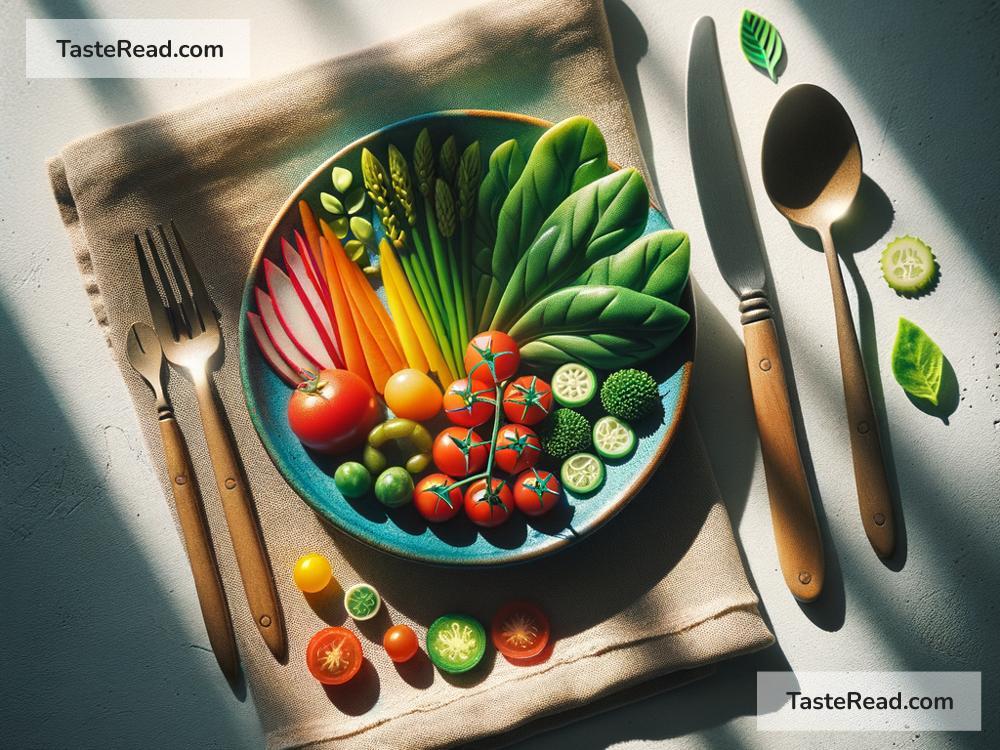
Step 3: Keep It Simple
When photographing food, simplicity is your best friend. Use plain dishes and backgrounds that won’t distract from the food. A basic white plate or a wooden table can serve as a great stage for your culinary creations. If you want to add some context, consider including a few raw ingredients related to the dish, but don’t overcrowd the scene. Remember, the food is the star of the show.
Step 4: Find the Right Angle
The angle at which you capture the food can dramatically change the look and feel of your photo. The three most common angles are top-down (bird’s eye view), straight on (at food level), and 45 degrees. The top-down shot works great for dishes with multiple components, like pizzas or salads. The straight-on angle is perfect for showcasing layers, like in a cake or a burger. Experiment with different angles to see what showcases your dish best.
Step 5: Edit Smartly But Sparingly
Even the best photos might need a bit of tweaking. Use editing apps (many of which are free or very affordable) to adjust your photo to perfection. You can play with the brightness, contrast, saturation, and sharpness to make your dish pop. Just remember – less is more. Your goal is to enhance the photo’s natural appeal, not to transform it into something it’s not.
Step 6: Practice Makes Perfect
Like with any skill, practice is key. The more you photograph food, the better you’ll get at it. Experiment with different setups, angles, and edits. Don’t be afraid to fail. Not every shot will be a masterpiece, but each will teach you something new.
Shooting exquisite food photography on a budget is entirely within reach. By harnessing natural light, mastering your smartphone’s camera, embracing simplicity, choosing the right angle, and editing with a light touch, you’ll be capturing drool-worthy food photos in no time. So, get cooking, start shooting, and prepare to impress the world with your culinary and photographic skills.