How to Photograph Plated Dishes for Maximum Impact
In the age of Instagram and Pinterest, food photography has taken center stage, making the way we present and photograph our dishes more crucial than ever. Whether you’re a budding chef, a food blogger, or just someone who takes pride in their culinary creations, capturing plated dishes in a manner that makes them jump off the screen can boost your social media presence and share your culinary passion with the world. Here’s how to photograph plated dishes for maximum impact, broken down into simple steps.
1. Lighting is Everything
The golden rule of photography, lighting, is especially true for food photography. Natural light is your best friend. It brings out the colors of your food and avoids the harsh shadows and weird hues that artificial lights can produce. Place your dish near a window where ample natural light floods in but avoid direct sunlight as it can create harsh shadows. The best times are usually early morning or late afternoon when the light is softer.
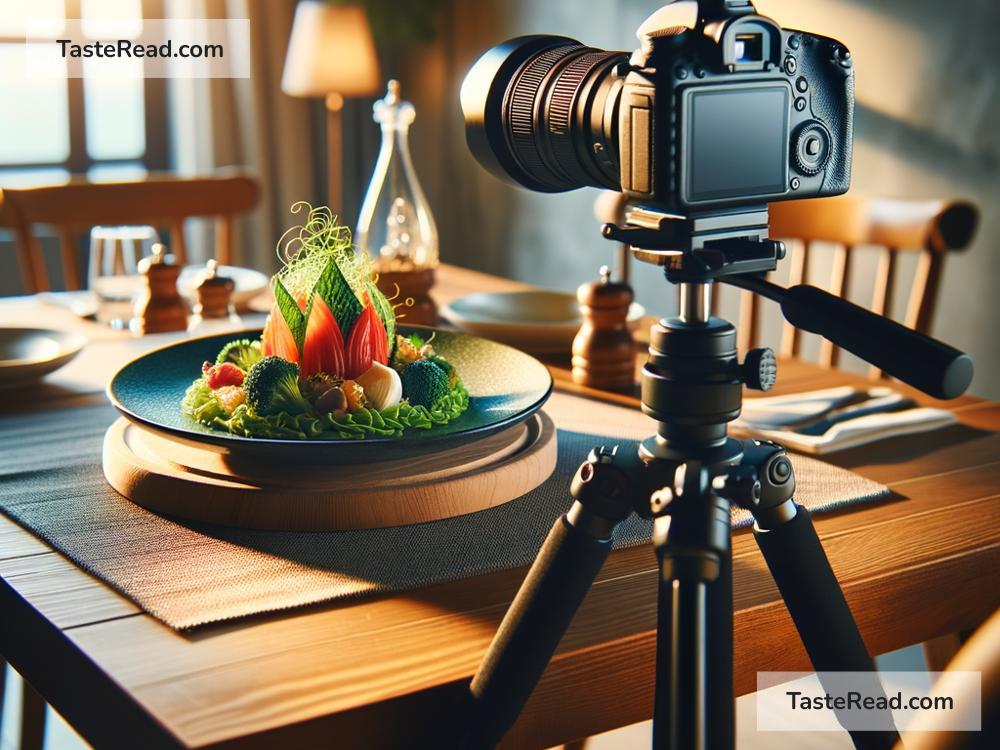
2. The Power of Angles
Your dish has a best side, just like people do. Discover it. Some dishes look stunning when shot from above, showing off all their components and the beautiful plating. Others might benefit from being captured at a 45-degree angle, highlighting the height and layers of the dish (think of a burger or a stack of pancakes). Experiment with different angles to find what showcases your dish’s best features.
3. Simple Backgrounds
Let your dish be the star of the show. Use a simple, neutral-colored background that won’t distract from the food. Tablecloths, wooden boards, or plain countertops work well. If you’re feeling a bit creative, add some context with minimal props that relate to the dish ingredients or cuisine but ensure they don’t overshadow the main attraction.
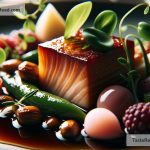
4. Color and Contrast
Playing with color can make your dish pop. Use contrasting colors to make the food stand out—think of a bright green basil leaf on a creamy, white pasta dish. Similarly, incorporating ingredients with different colors can add visual interest and make the dish more appealing.
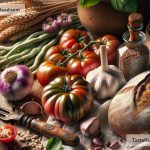
5. Fresh Ingredients
It might seem obvious, but using fresh ingredients can make a huge difference. Wilted herbs or a browned slice of fruit can quickly turn a stunning dish into something less appetizing. Always go for the freshest ingredients, and if you need to, add them right before taking the photo to ensure they look their best.
6. Attention to Detail
Small details can elevate your food photography. Wipe any spills or smudges on the plate’s edge and arrange the food neatly. Sometimes, less is more—don’t overcrowd the plate. Allow each component of your dish to have space and shine on its own.
7. Editing Wisely
A little bit of post-editing can improve your photos, but the key is subtlety. Use editing apps to adjust brightness, contrast, or saturation but avoid overdoing it. Your dish should look appetizing and real, not like it’s jumped out of a cartoon.
8. Consistency
If you’re taking photos for a blog or social media, maintaining a consistent style helps in creating a cohesive look. It might be a specific filter, angle, or plating style. This consistency makes your work immediately recognizable and helps build your unique brand.
9. Practice and Experiment
Like any other skill, mastering food photography takes practice. Experiment with different settings, plates, and presentation styles. Over time, you’ll develop a keen eye for what works and what doesn’t, refining your photography skills along the way.
10. Have Fun!
Lastly, remember to have fun with it. Food photography is a creative process, and enjoying it will reflect in your work. Don’t be afraid to try out unconventional ideas; sometimes, they lead to the best shots!
Capturing plated dishes with maximum impact doesn’t require professional gear or advanced skills—it’s about understanding a few fundamental principles and applying them with a bit of creativity. By following these simple steps, you’ll be on your way to taking mouth-watering food photos that will amaze your friends, family, and followers. So, grab your camera (or phone), get in the kitchen, and start shooting!