How to Poach Eggs Perfectly Every Time
Picture this: it’s a bright Sunday morning, and you’re craving a delicious, silky poached egg with perfectly runny yolks. But, if the thought of poaching an egg seems daunting and you’re worried about ending up with a messy egg soup instead of that Insta-worthy poached egg – fear not! Mastering the art of poaching eggs is easier than you think, and with these simple steps, you’ll be making them perfectly every time.
Step 1: Fresh is Best
The secret to a beautifully poached egg starts with the egg itself. Fresh eggs are the key because the whites are thicker, which helps them hold together better in water. So, how do you know if your eggs are fresh? A simple test is to put your egg in a bowl of water. Fresh eggs sink and lie flat, while older eggs will float. So before you start, make sure your eggs pass the freshness test.
Step 2: The Perfect Pot
You don’t need any fancy equipment to poach an egg, just a regular pot or a deep skillet. Fill it with about 2-3 inches of water – you want enough water to cover the eggs. Bring the water to a simmer, not a boil. You’re looking for tiny bubbles at the bottom of the pot, not a full-on rolling boil.
Step 3: A Splash of Vinegar
Before you crack your egg into the water, add a splash of vinegar to the pot. Vinegar helps the egg whites firm up more quickly, keeping the egg together. Don’t worry about your eggs tasting vinegar-y; you won’t notice it in the final result. Any white or apple cider vinegar will do the trick.
Step 4: The Whirlpool Method
This step is key for getting that beautiful, compact poached egg shape. Before you add your egg, use a spoon to stir the water in a circular motion, creating a whirlpool. This helps gather the egg whites around the yolk. Once the water is spinning, carefully drop the egg into the center of the whirlpool. If you’re nervous about breaking the yolk, crack the egg into a small bowl first, then gently slide it into the water.
Step 5: Timing is Everything
Now, for the cooking time. You’ll want to leave your egg in the simmering water for about 3 to 4 minutes for a runny yolk or a bit longer for a firmer yolk. But here’s a tip: don’t just set a timer and walk away. Keep an eye on your egg – if it looks like the whites are fully set and the yolk is still soft and jiggly when you gently poke it with a spoon, it’s ready to go.
Step 6: The Perfect Lift-Off
Once your egg is poached to your liking, use a slotted spoon to gently lift it out of the water. The slotted spoon allows all the water to drain away. Place the egg on a paper towel or clean kitchen towel momentarily to blot away any excess water. This ensures you’re not adding a spoonful of water onto your plate.
Step 7: Season and Serve
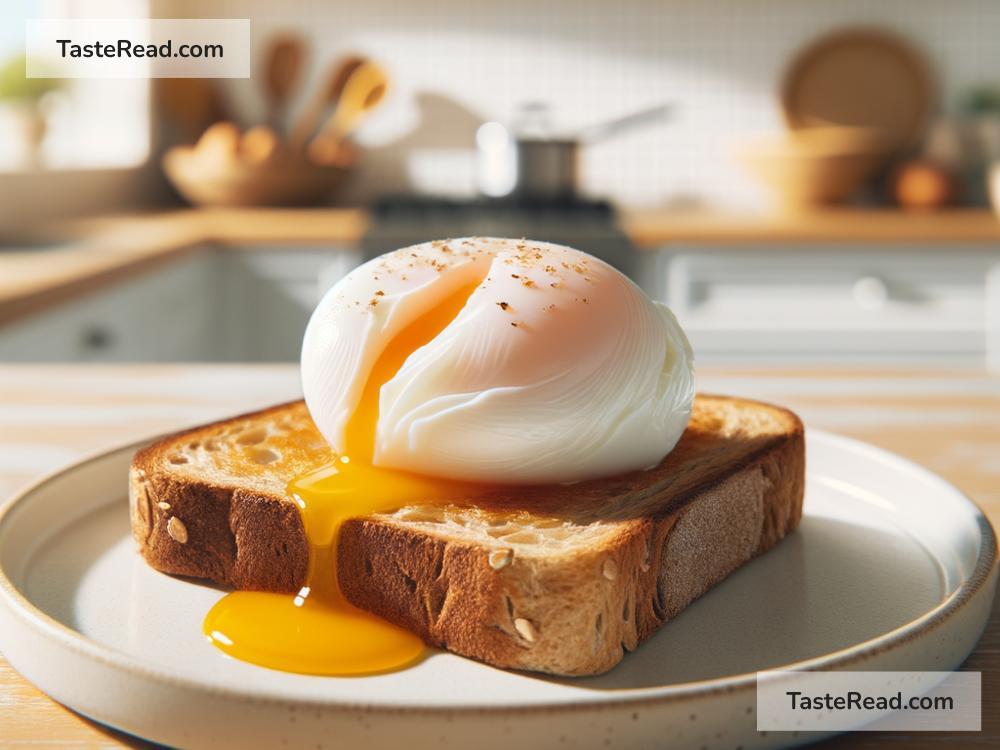
Congratulations, you’ve just poached an egg perfectly! Now it’s time to season with a little salt and pepper or any other seasoning you like. Poached eggs are versatile and can be served in many delicious ways. Try them on a slice of toast, as part of a salad, or even atop a bowl of ramen.
Troubleshooting Tips
- Egg too spread out? Make sure the water is just simmering, and don’t forget to create a whirlpool.
- Whites seem rubbery? Your vinegar amount might be too high, or the water was too hot. Adjust accordingly.
- Yolk is too hard or too runny? Adjust your cooking time. Remember, it’s about 3-4 minutes for a runny yolk.
Mastering the art of poaching eggs doesn’t have to be intimidating. With a little practice and these simple steps, you’ll impress yourself and your breakfast companions with perfectly poached eggs every time. Happy poaching!