How to Prepare a Basic Vegetable Stock from Kitchen Scraps
A warm bowl of soup feels like a hug from the inside, especially during those colder months or when you’re in need of some comfort food. But have you ever considered what gives soups their depth and warmth? The secret often lies in a good stock. Today, I’m excited to share with you an easy and budget-friendly way to make a basic vegetable stock using kitchen scraps. Yes, you heard it right – scraps! Those bits and pieces of vegetables you usually toss away can be transformed into a flavorful broth that could serve as the base for numerous dishes, not just soups. So, let’s embark on this sustainable cooking journey together and turn what would have been waste into something wonderfully tasty.
What You Need Before Starting
- A large container or freezer bag: You’ll need somewhere to collect and store your scraps until you have enough to make your stock. Keep this container or bag in your freezer.
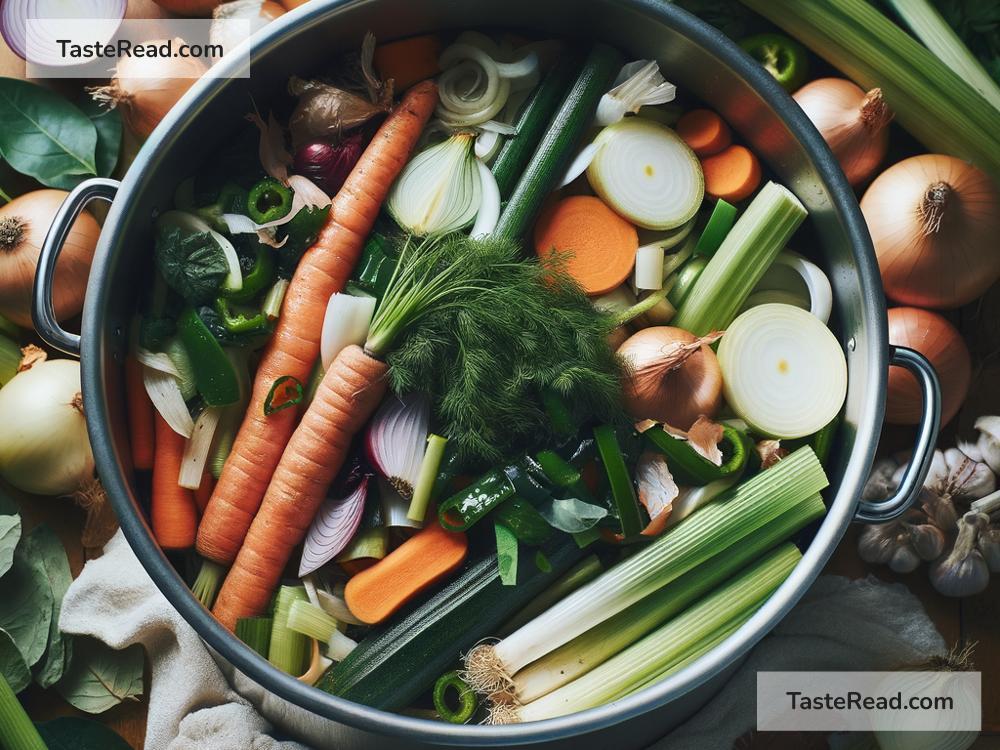
- Kitchen scraps: Nearly any vegetable scraps can be used, but the best ones include onion peels, carrot peels or ends, celery leaves and ends, garlic skins, and mushroom stems. Feel free to experiment with others like bell pepper cores or squash skins, but avoid using vegetable scraps that might overpower your stock, such as cabbage or Brussels sprouts.
- A large pot or slow cooker
- Water
- Optional additions: Bay leaves, peppercorns, or herbs like thyme or parsley can add extra layers of flavor to your stock.
- Strainer
- Containers for storing your stock
Step by Step Guide to Making Basic Vegetable Stock
-
Collect your Scraps: Start saving your vegetable scraps. Anytime you’re cutting up veggies for another dish, rinse off any dirt, and toss the scraps into your designated container in the freezer. When the container is full, it’s stock-making time!
-
Prepare Your Pot: Place all your frozen vegetable scraps into a large pot. There’s no need to thaw them first. For a slow cooker, simply put them in and set it on low.
-
Add Water: Pour in enough water to cover the scraps completely. The exact amount of water you’ll need can vary, but a good rule of thumb is about one inch over the top of the scraps.
-
Season (Optional): At this point, you can add any optional ingredients like bay leaves, peppercorns, or herbs to introduce some extra flavors.
-
Cook: If you’re using a pot, bring the mix to a boil, then lower the heat and let it simmer uncovered for about 1 to 2 hours. For slow cookers, leave it on low for 4 to 6 hours. The longer you let it cook, the more flavors will release from the scraps.
-
Strain: Once your stock has cooked, it’s time to separate the liquid gold from the scraps. Place your strainer over another pot or large bowl and carefully pour everything out. You’ll want to capture all the liquid while removing the solid bits.
-
Cool: Let your stock cool to room temperature before moving on to the next step. This makes it safer to handle and helps preserve its freshness.
-
Store: Pour the cooled stock into storage containers. If you plan to use some within a week, keep it in the fridge. Otherwise, pour it into freezer-safe containers or ice cube trays for easy use in future cooking endeavors. Remember to label them with the date!
Tips for a Successful Vegetable Stock
- Color control: If you prefer a lighter stock, avoid using too many dark-colored scraps like beet peels or purple carrots.
- Balance is key: Aim for a good mix of different scraps to achieve a balanced flavor.
- Wash your veggies: Even though you’re using scraps, make sure they’re clean to avoid any unwanted dirt in your stock.
- Reduce waste even further: Once you’ve strained your stock, consider composting the cooked scraps if you have a compost setup.
This process not only gives a second life to what would have been food waste but also allows you to have a homemade, preservative-free vegetable stock ready at your disposal. It’s a simple act, but making your own stock from scraps is an incredibly satisfying way to contribute to a more sustainable kitchen. Plus, experimenting with different vegetable combinations can lead to unique flavors, making each batch of stock a new discovery. Enjoy the process, and happy cooking!